- How To
- Nail Polish
- Community
How to Take Awesome Nail Photos for Your Social Media
June 11, 2022
Hello PP Community and welcome to the next installment of the Social Media Series! My name is Jennie Shaw, and I’ve been a nail artist for over 10 years. Through these posts, I’m sharing the hard lessons I’ve learned, along with tips and tricks. The first blog article described different lighting options, and today we’ll build on that information with social media nail photos.
This post will focus on 5 tips for taking awesome nail pictures. Because although the algorithm is tricky when it comes to static posts, they’re perfect for social media nail photos. I’d even argue they are the better medium, particularly for nail art and swatches. Whether you use your phone to take pics or a digital camera/DSLR, these tips apply. I am wearing Be Creative nail polish you can find it here!
1. Lighting
In last month’s Social Media Series, I outlined a broad overview of lighting options. Lighting is one of the most crucial elements of creating content for social media, and it’s worth investing in a good light. For more detailed information about lighting, check out the previous post!
Once you’ve figured out the lighting, it’s time to break down different ways to take a killer picture. There are a few elements involved, so let’s get started!
Read Social Series: Lighting article here.
2. Framing
Generally speaking, there are three different framing options for nail pictures: Macro, Full/Partial Hand, and Lifestyle. You must choose your frame before moving on to finer composition details because it’s the base for other elements. Let’s break that down a bit. And remember that you don’t have to pick just one style of frame to use forever. Each picture you take can be different.
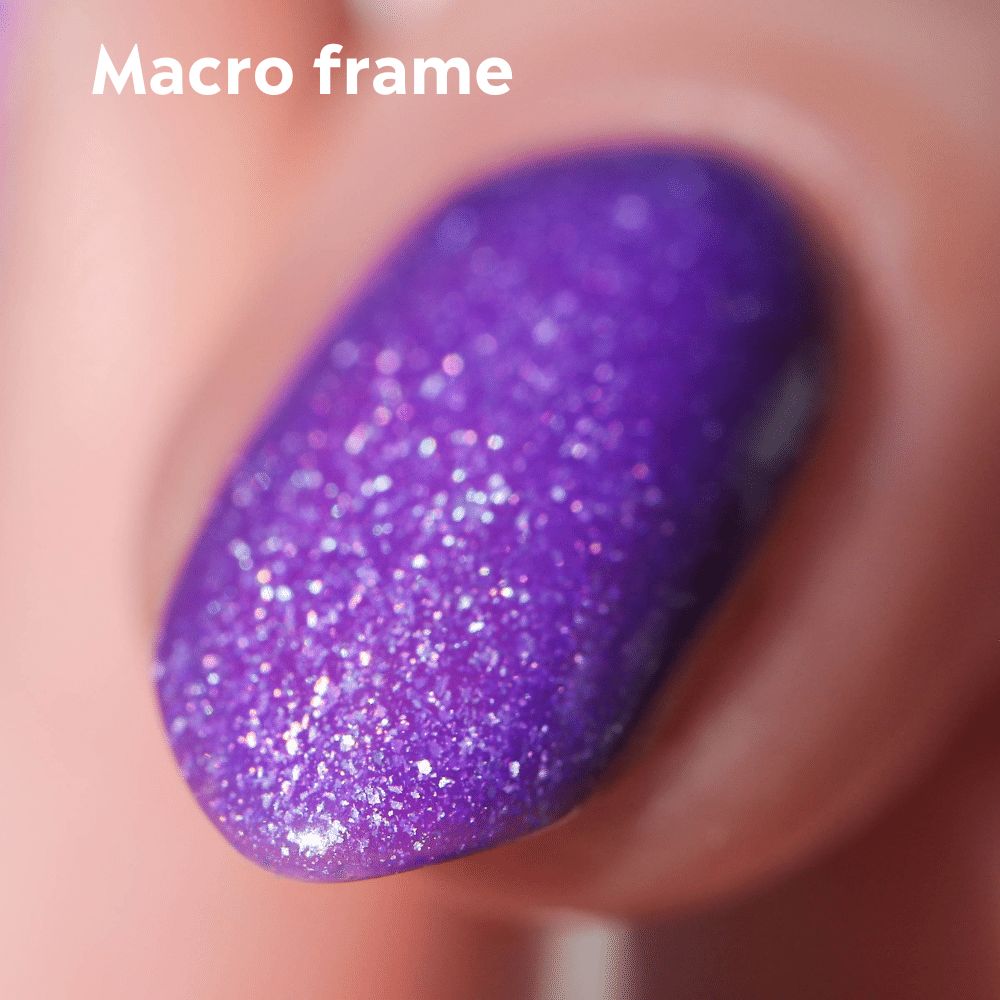
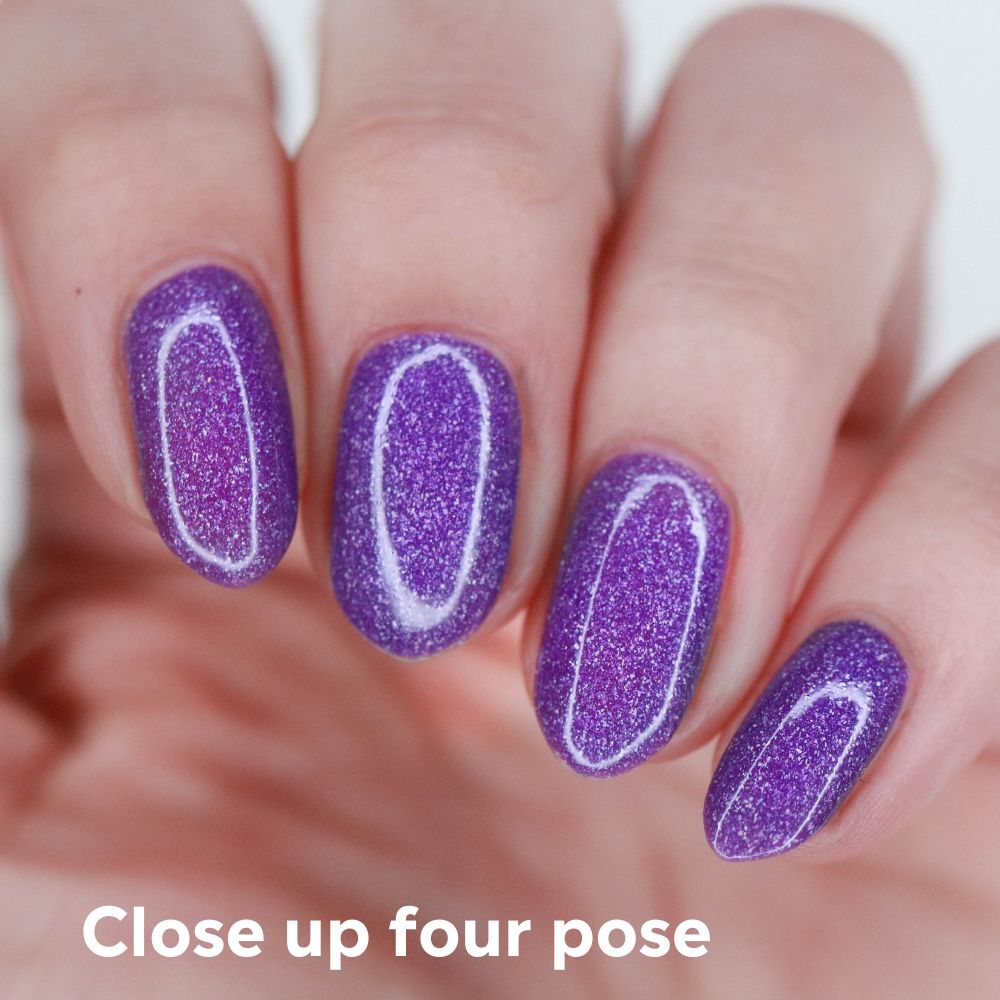
For instance, when framing a Macro shot, backgrounds, poses, and angles aren’t as crucial because your nail fills most of the frame. Focusing the camera lens on the tip of your nail works well. Or if you have a particular part of nail art you’d like to feature. Holographic polishes look incredible with macro shots because the blurred areas truly sparkle and shine. Zoom on in and let the polish steal the show!
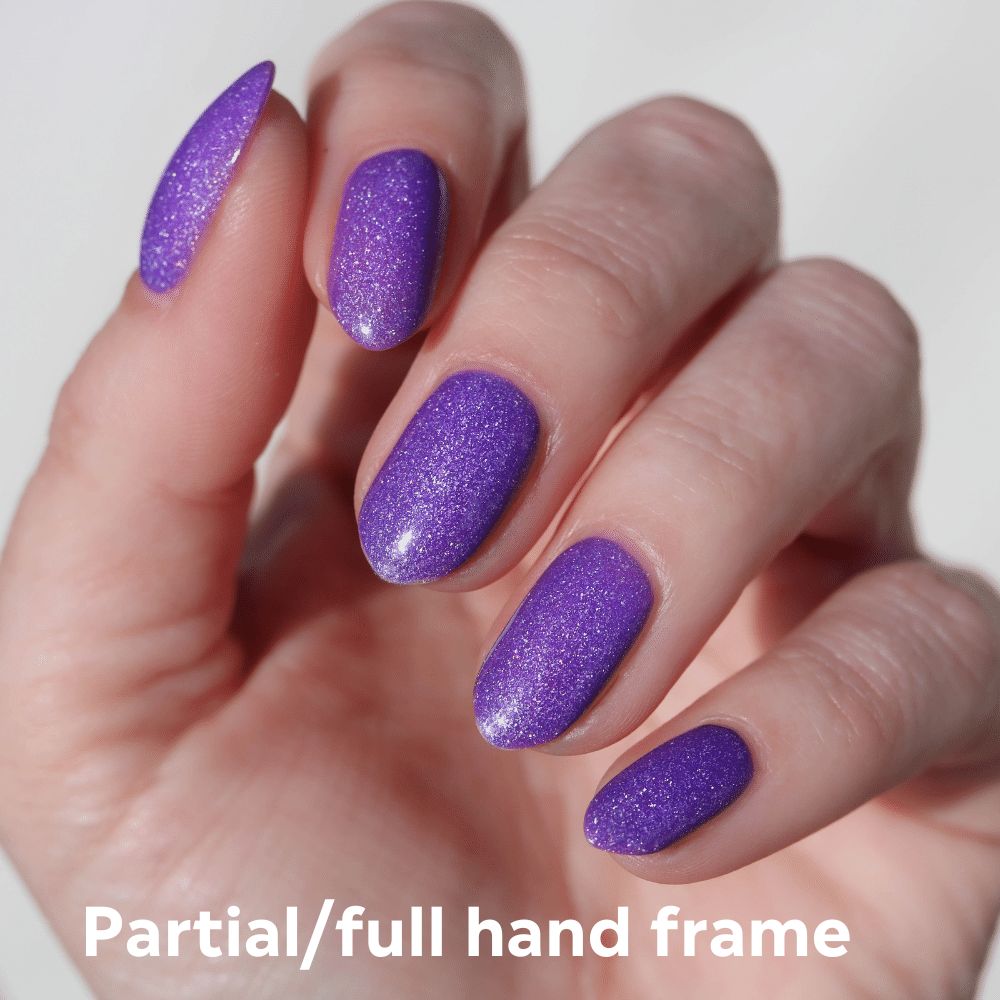
Partial/Full Hand pictures are in most NPA feeds because they include more of the manicure. A Partial hand often features four nails but could be two or three. As the name suggests, Full Hand pictures feature the entire hand. Yes, that also means the thumb. When taking Partial/Full Hand pictures, backgrounds and props play a more significant role.
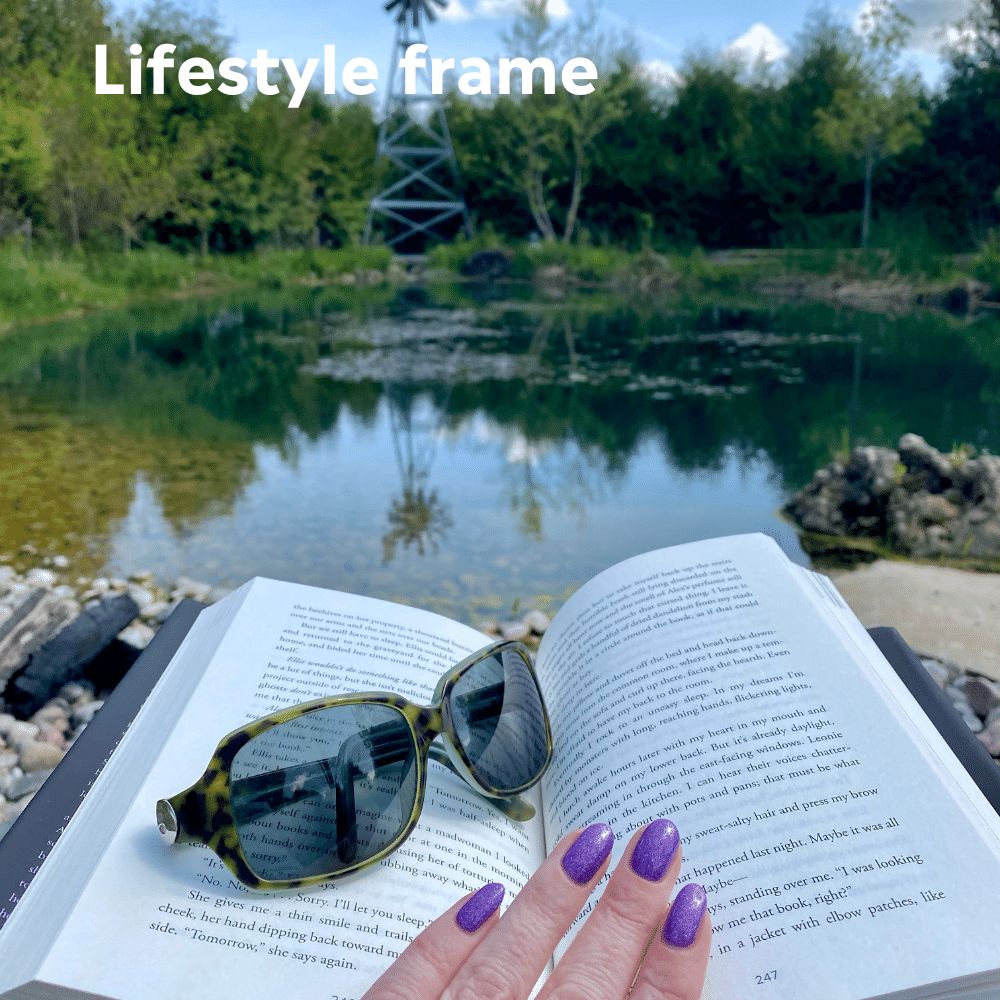
When it comes to creating a feeling, Lifestyle photo framing is a great choice. You can create a vibe by showcasing your nails and your outfit or a beautiful sunset vista. Solid colours or simple nail art designs work well with Lifestyle photos, while intricate nail art details can be lost. So bring on the vibes with Lifestyle photos and show more of your personality. Everybody loves a sunset, after all.
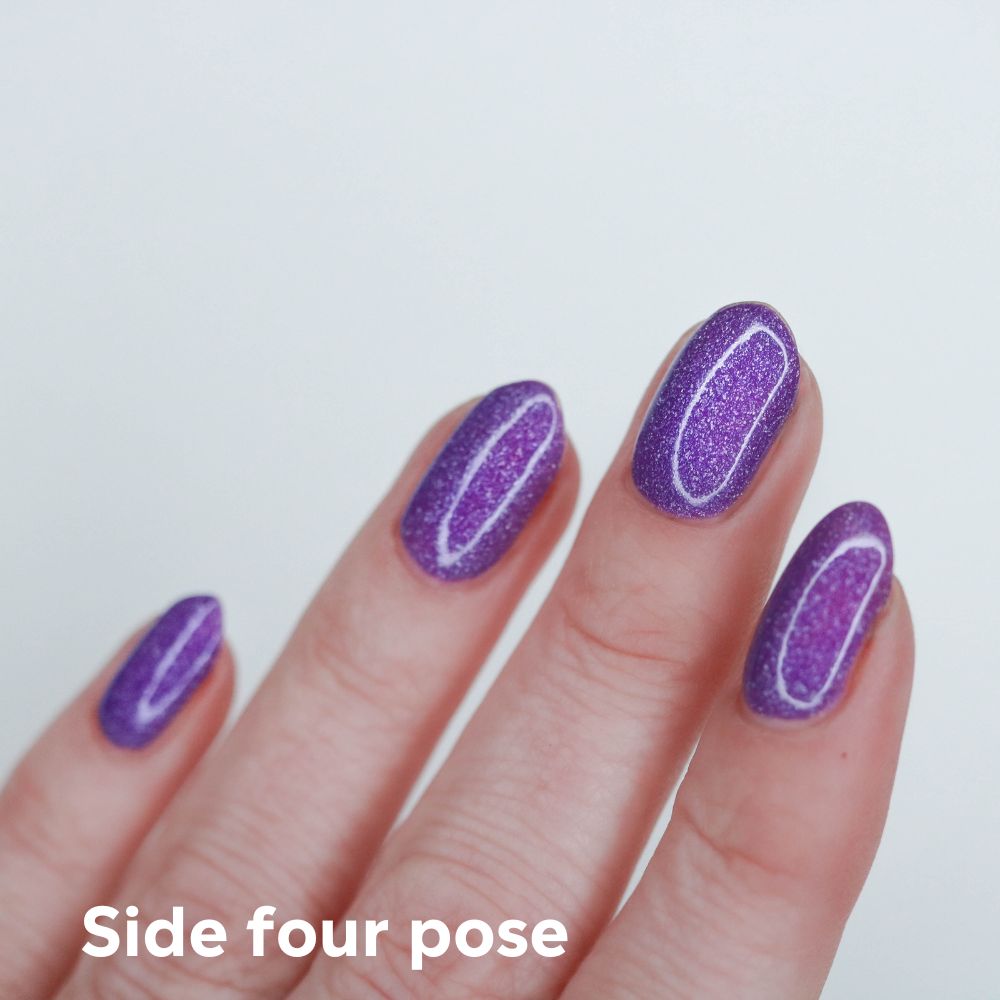
3. Poses and Angles
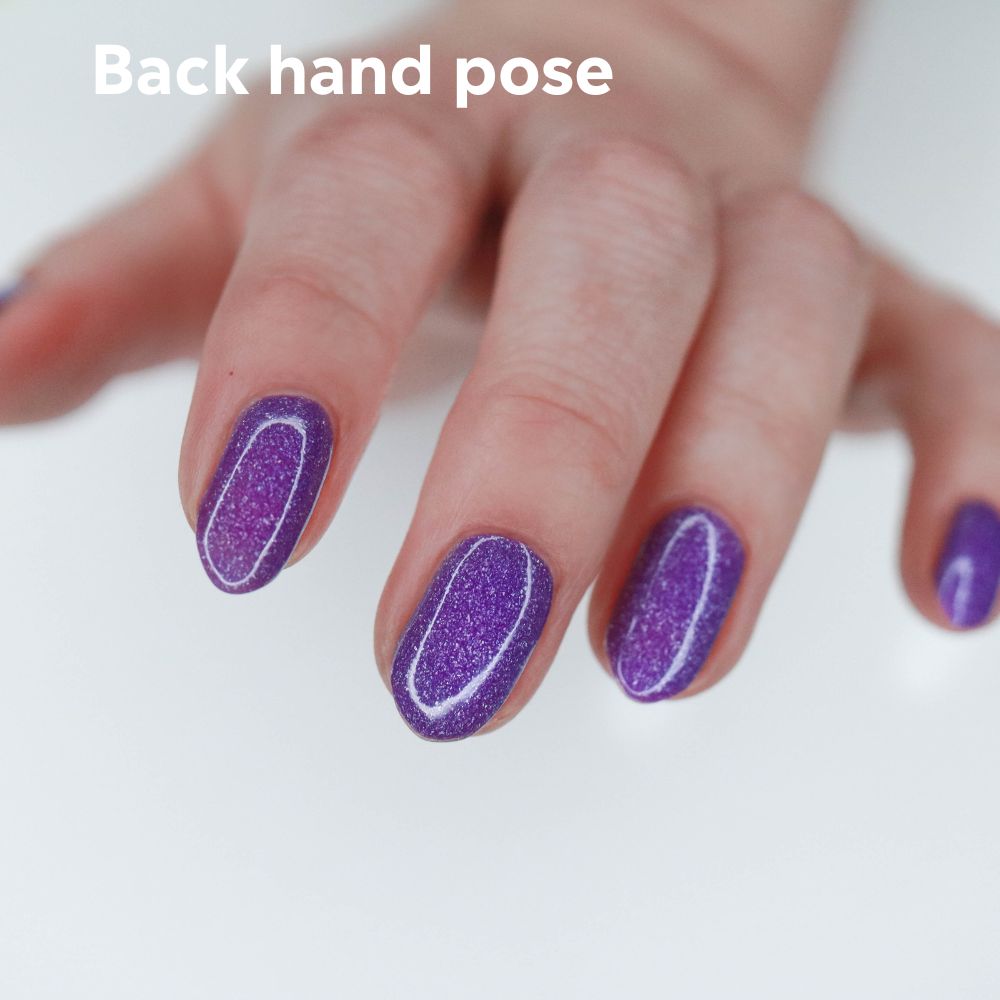
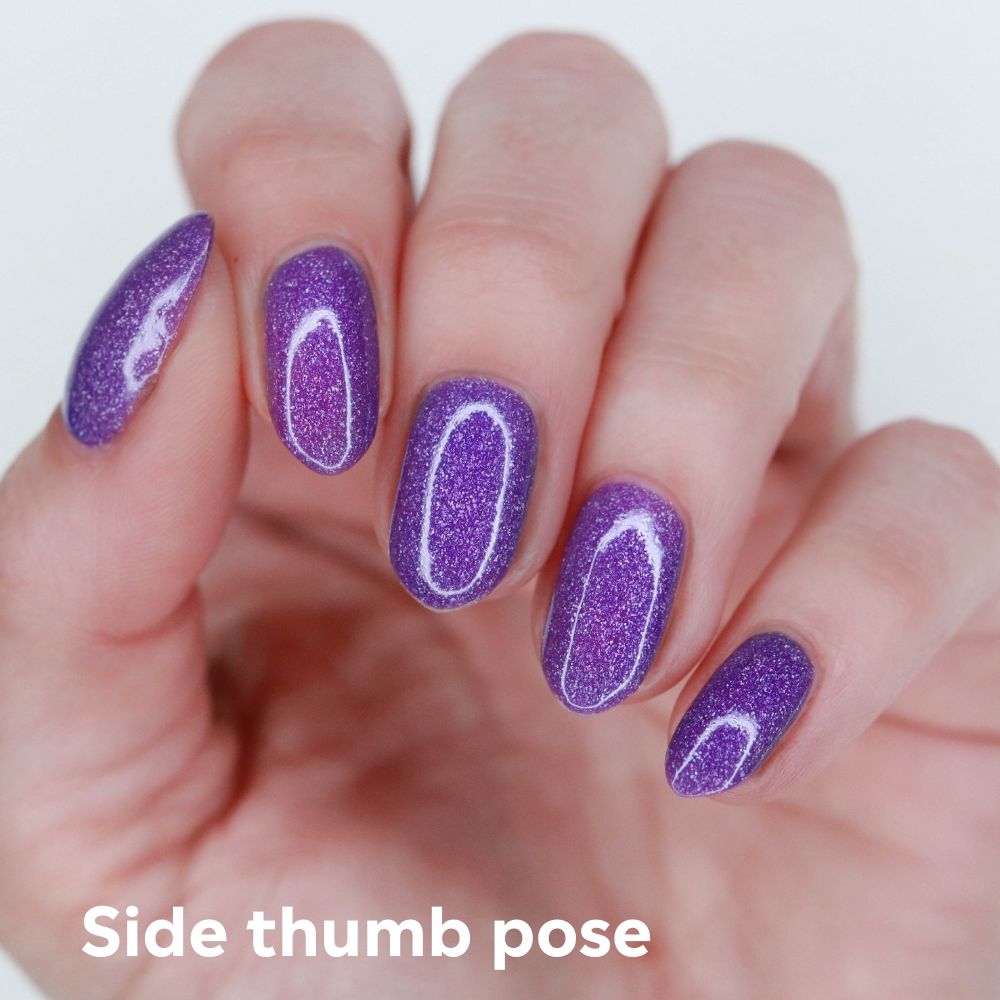
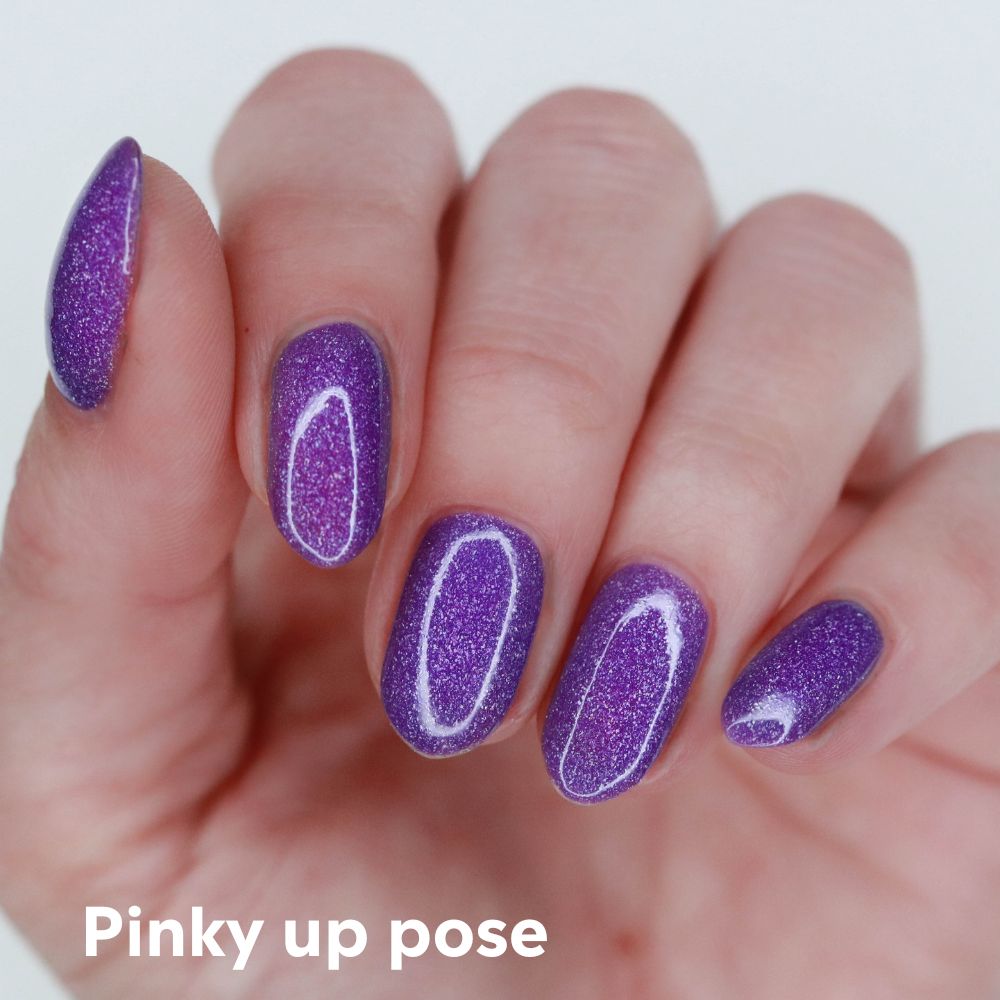
There are many different hand poses, and some are more flattering than others. Since pictures can speak louder than words, I’ve included a collage with some of the most popular Partial/Full hand poses.
Think about the goal of your photograph. Are you going for overall fashion vibes? Showing off holographic elements in a polish or an intricate nail art design? Do you want a feed with the same pose, or do you want to mix things up? Once you know the goal, you can decide which pose works best.
The Claw – Oh, man. This one gets a special mention. How it filled my feed in earlier days! I just didn’t know any better and wanted to show my thumbs. The Claw is a classic, but one that can probably be retired and thought upon with wistful nostalgia. The stiffness isn’t terribly appealing, and as you can see, there are many great alternatives.
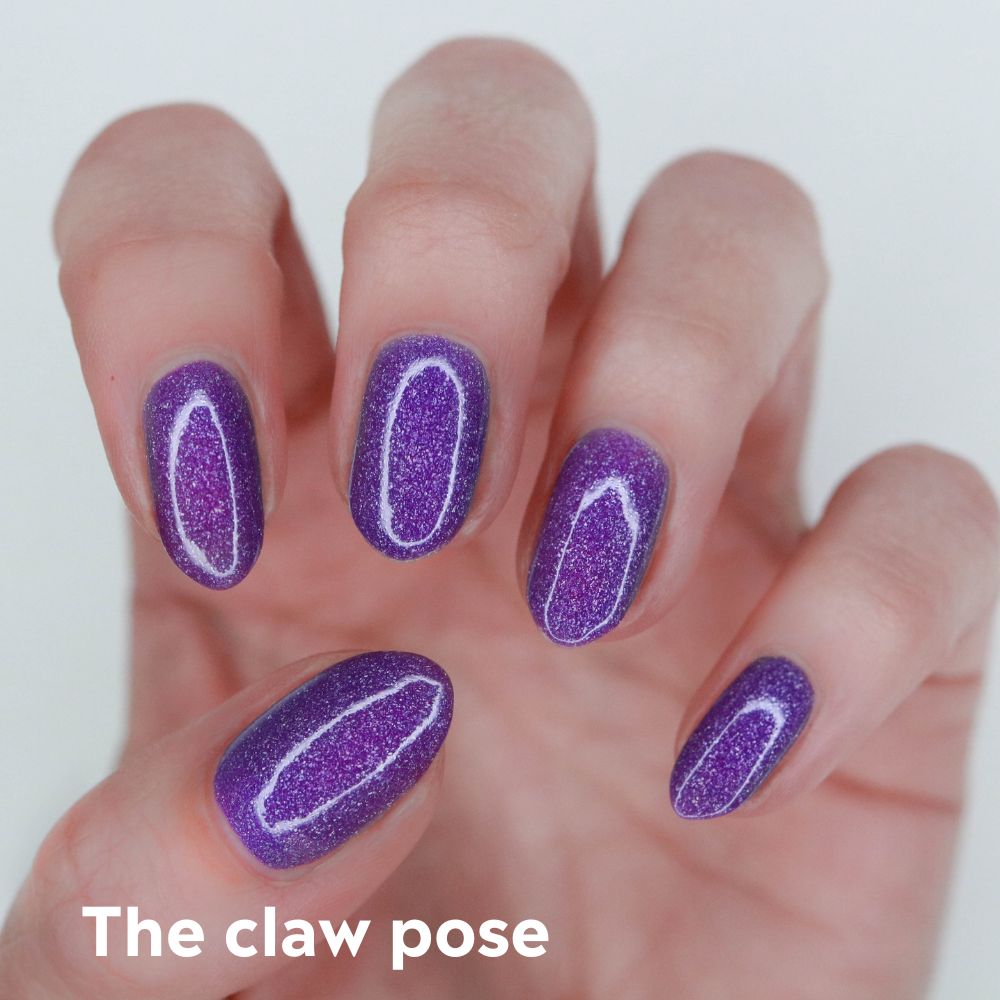
Who knew there were so many social media nail photos: hand poses….!?
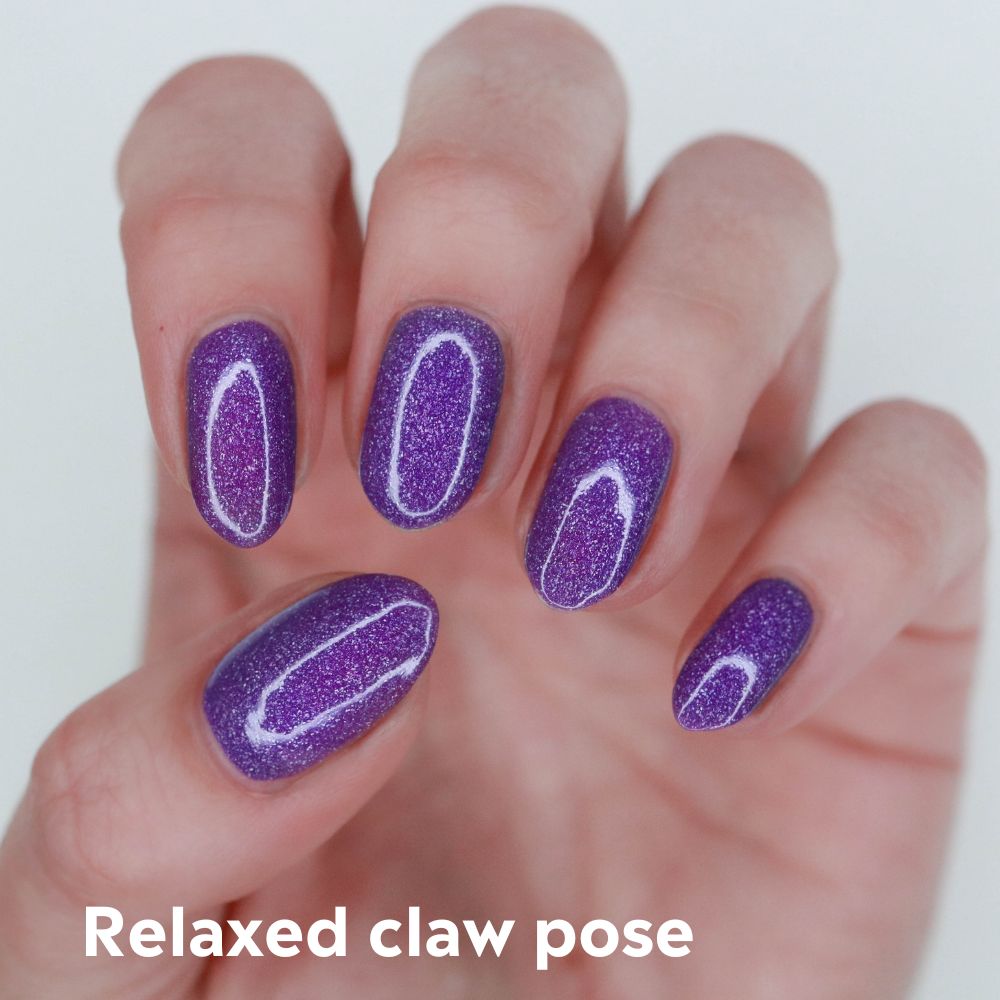
Generally speaking, the best rule of thumb—pun intended—is to relax your hand! Having tense fingers and joints can make your photos look stiff and less inviting, no matter which pose you choose. Play around, and maybe you’ll invent your own pose!
Pro Tip: When in doubt, flip it! A simple way to add some variety is to rotate your photo. While some apps can flip vertically and horizontally, be aware of possible inversion. Turning the photo will not cause this effect.
4. Props and Backgrounds
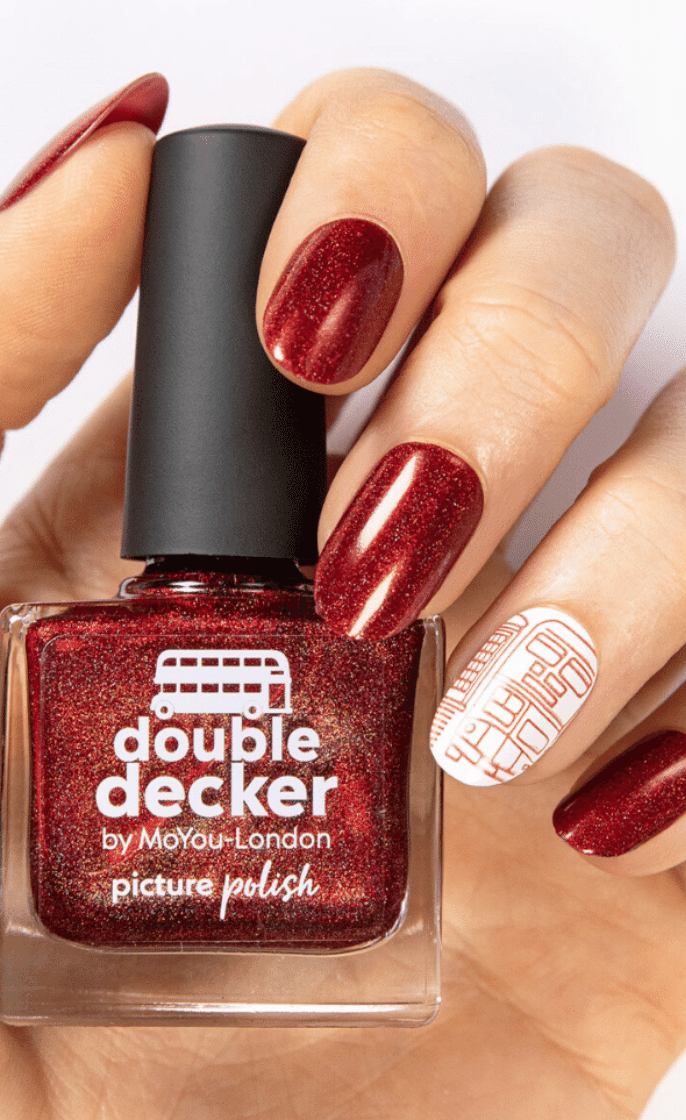
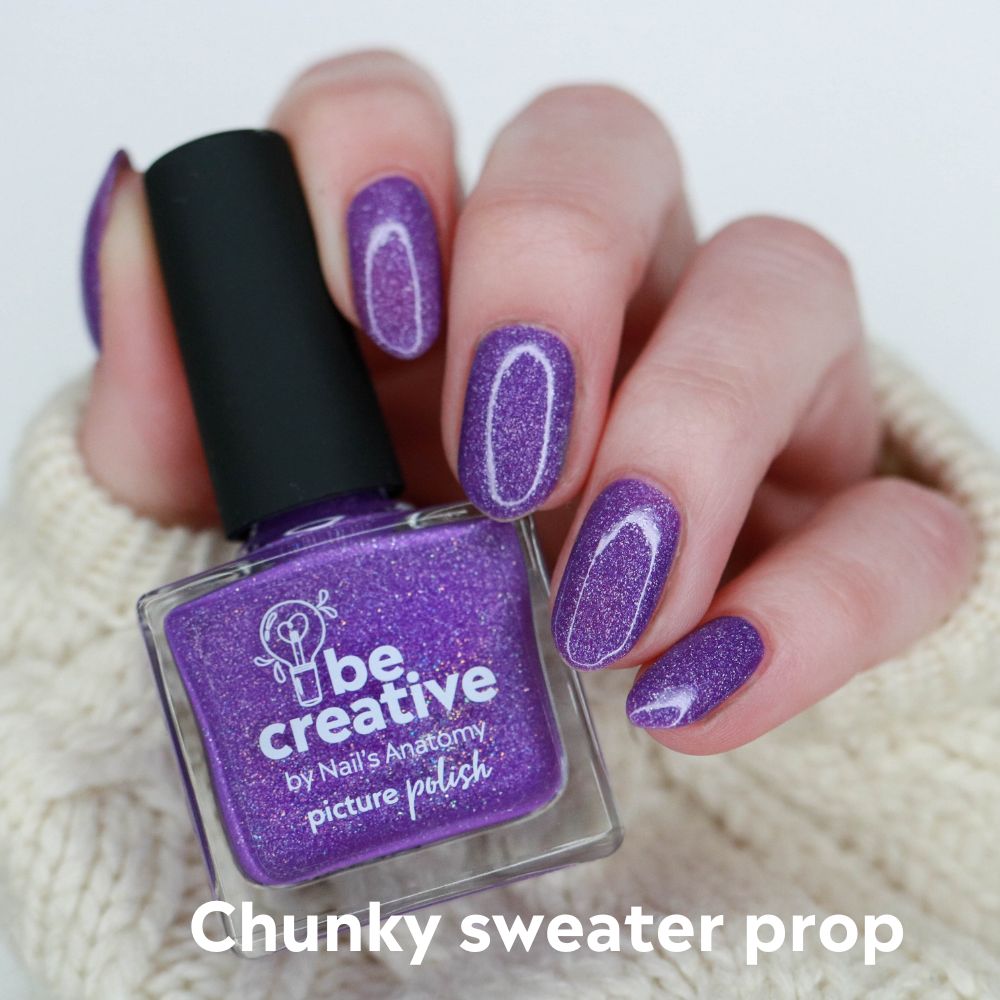
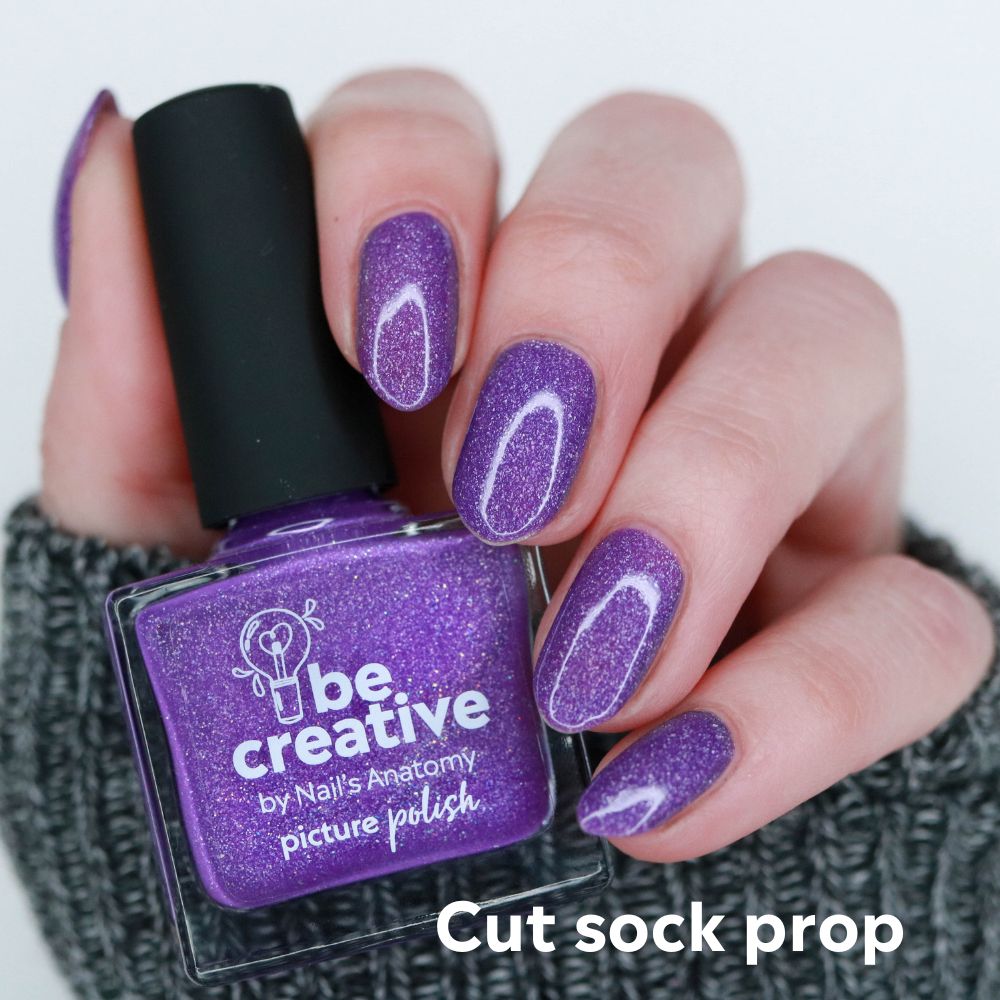
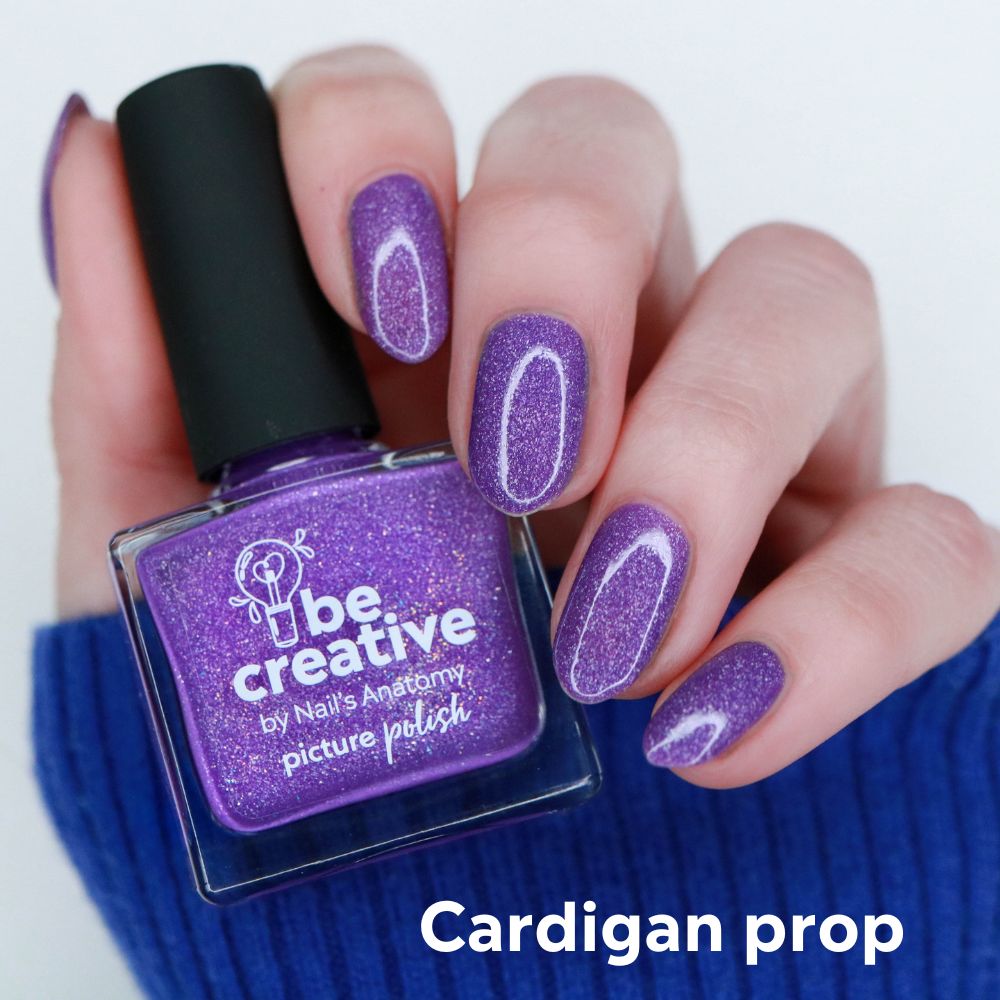
Props and backgrounds are the more amusing elements when taking nail pictures. Anything that you can hold can become a prop for your nail photo. That can include, first and foremost, the polish bottles used in the manicure.
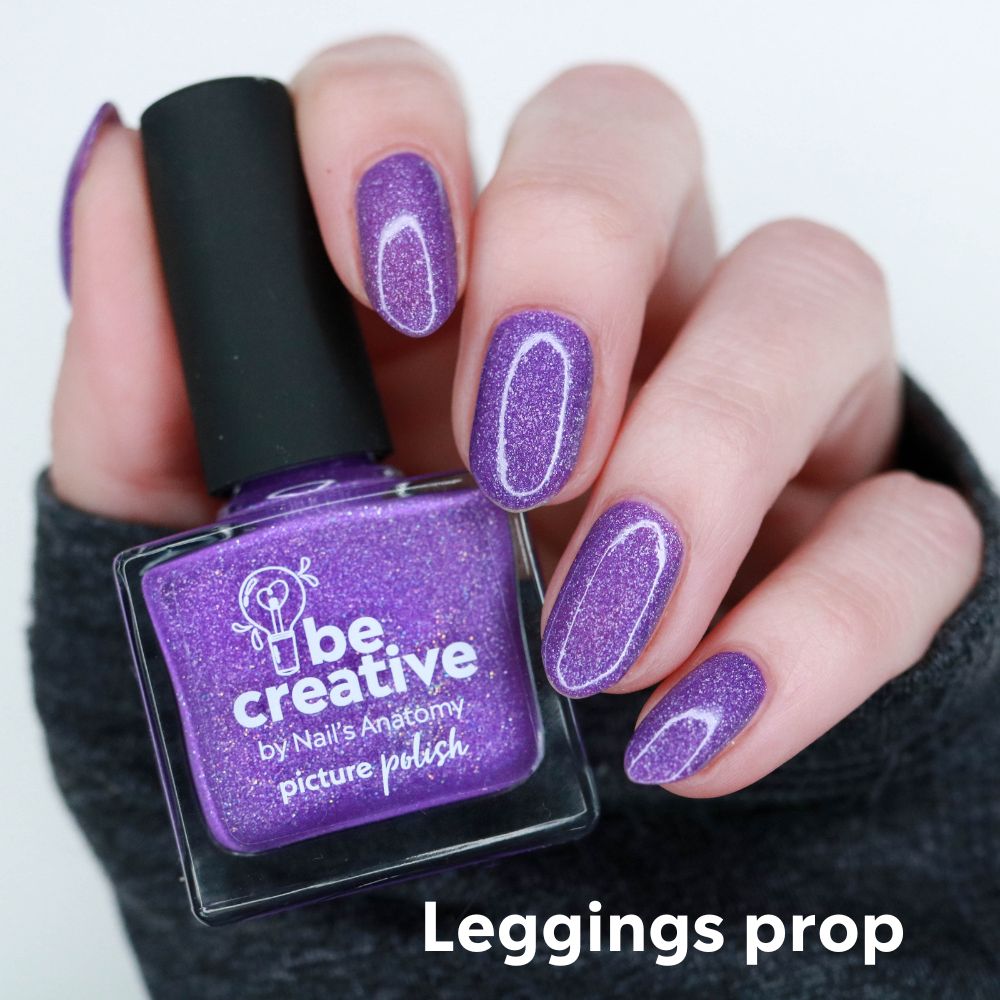
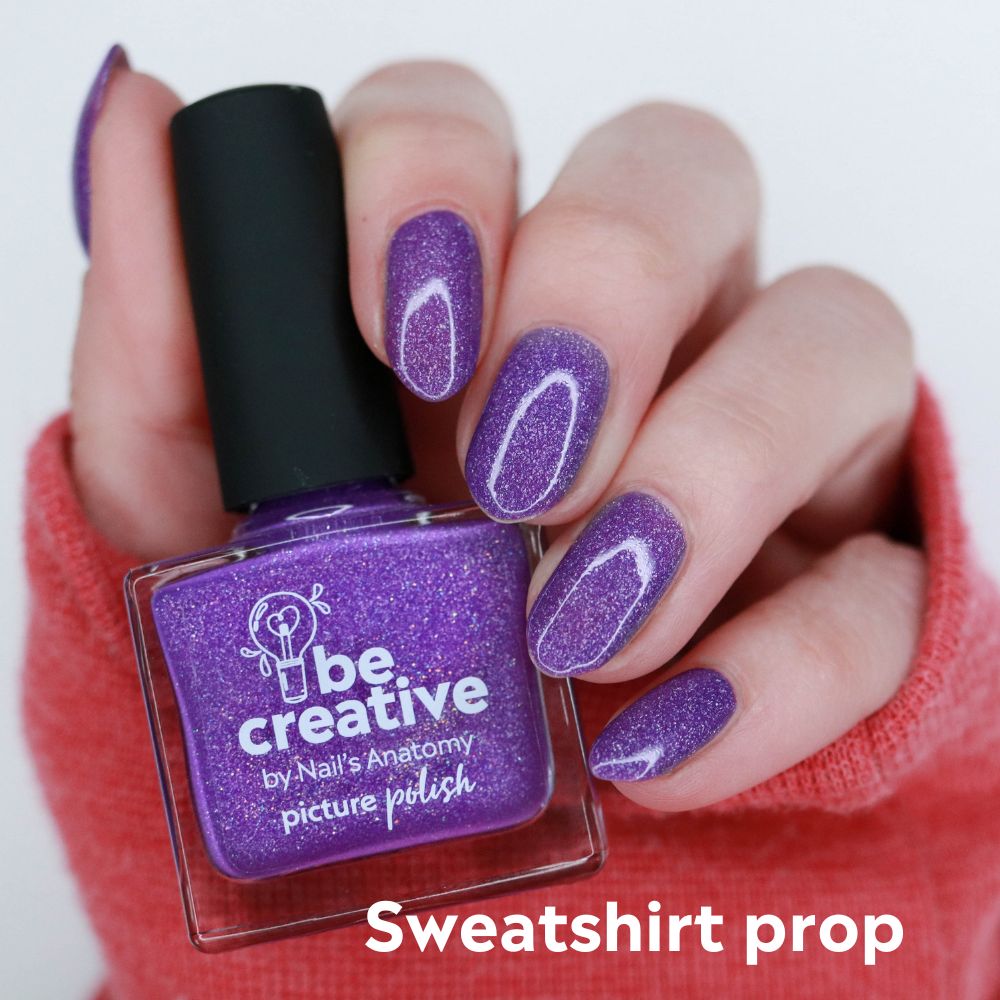
As PP fans know, sweaters are another ultimate nail photo accessory. Sweaters can be expensive to purchase, and if you love the look of a hand tucked into a cozy sleeve, here are some other options. Because any fabric item with a hem can be used as a sweater, search the rest of your home! Shove your hand into fun patterned leggings, or cut the toes off a fuzzy sock. Furthermore, any fabric with enough length and width can be draped across your hand. That could be a scarf, shawl, blanket, or pillowcase. Using a variety of fabric and styles offers increased visual interest as well.
Who knew there were so many social media nail photos: hand props….!?

Props can also help elicit a feeling. Seasonal props are already all around you if you know where to look. Summer props can be sunblock lotion bottles, sunglasses, or smooth rocks from a beach. Or grab your drink of choice, whether in a coffee cup, glass, or water bottle. And always remember to peruse your jewelry collection. Add one ring or five! Or drape a rhinestone necklace across your hand. Get creative, and soon, anything you see can be used as a nail prop.
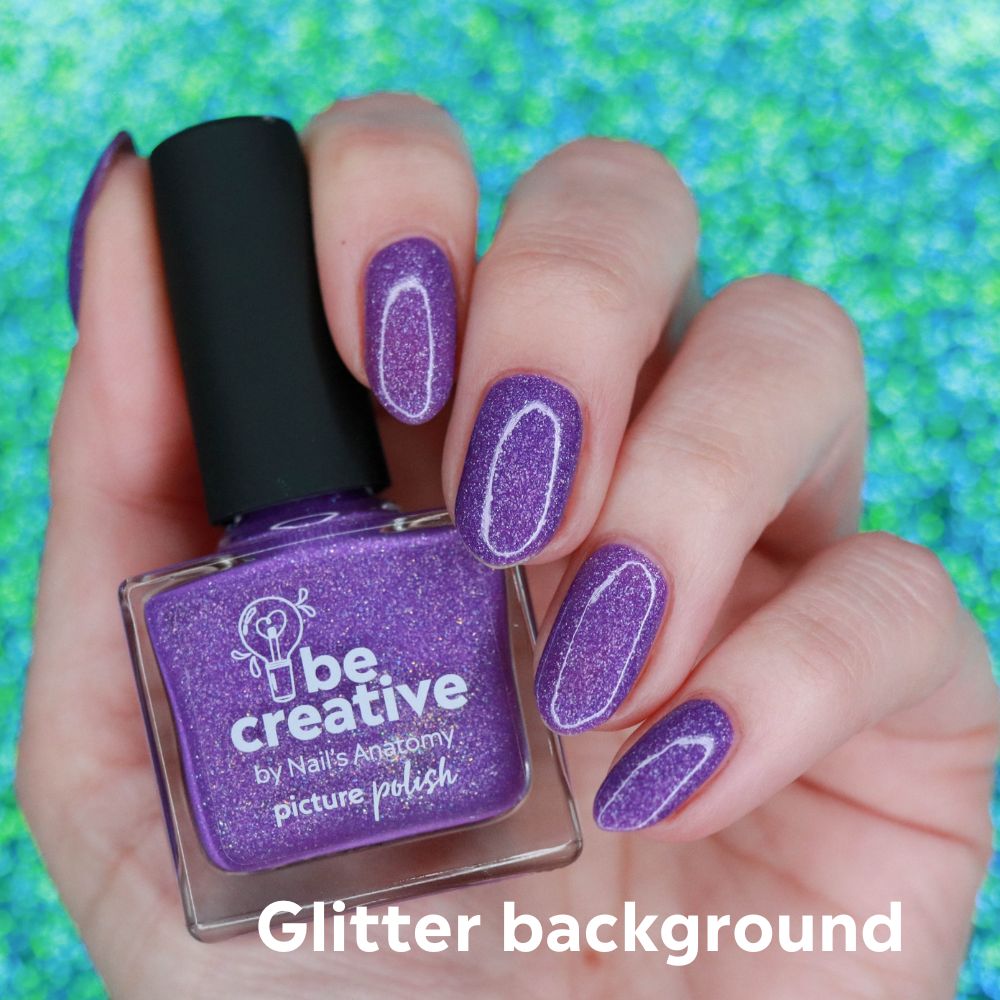
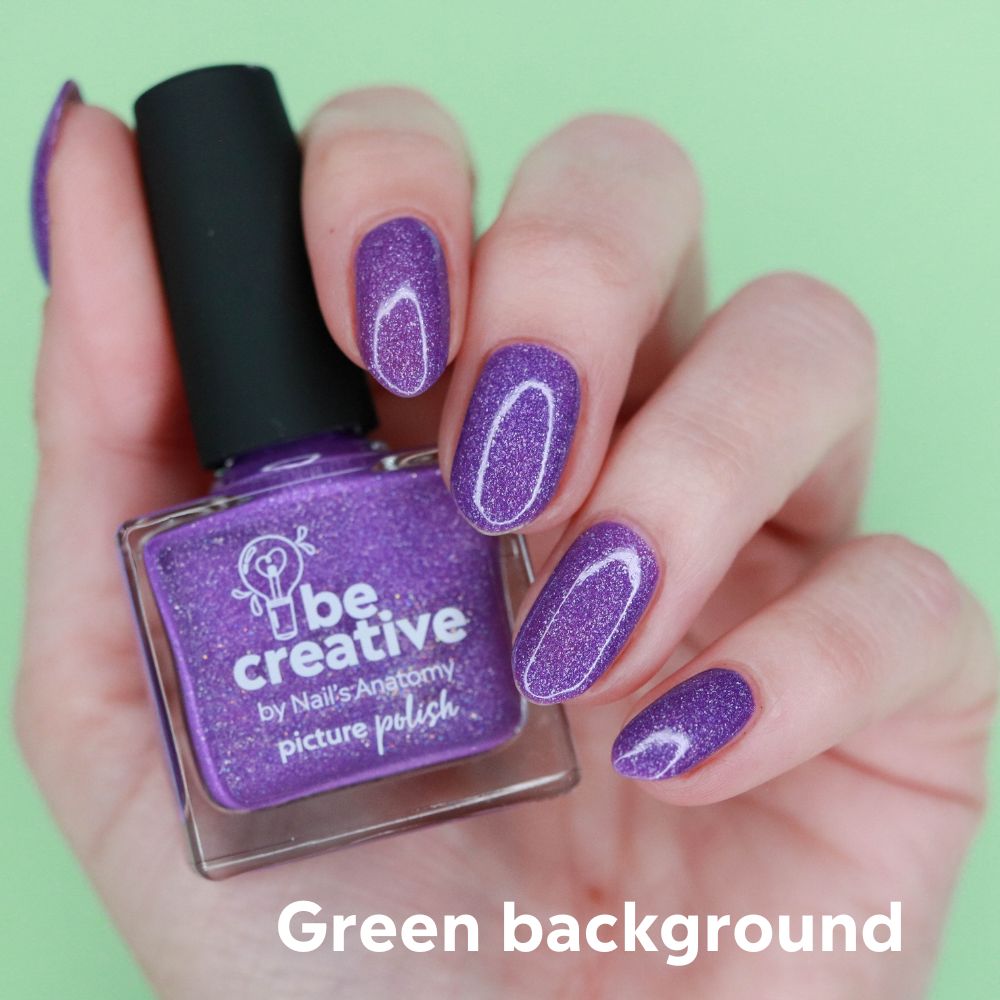
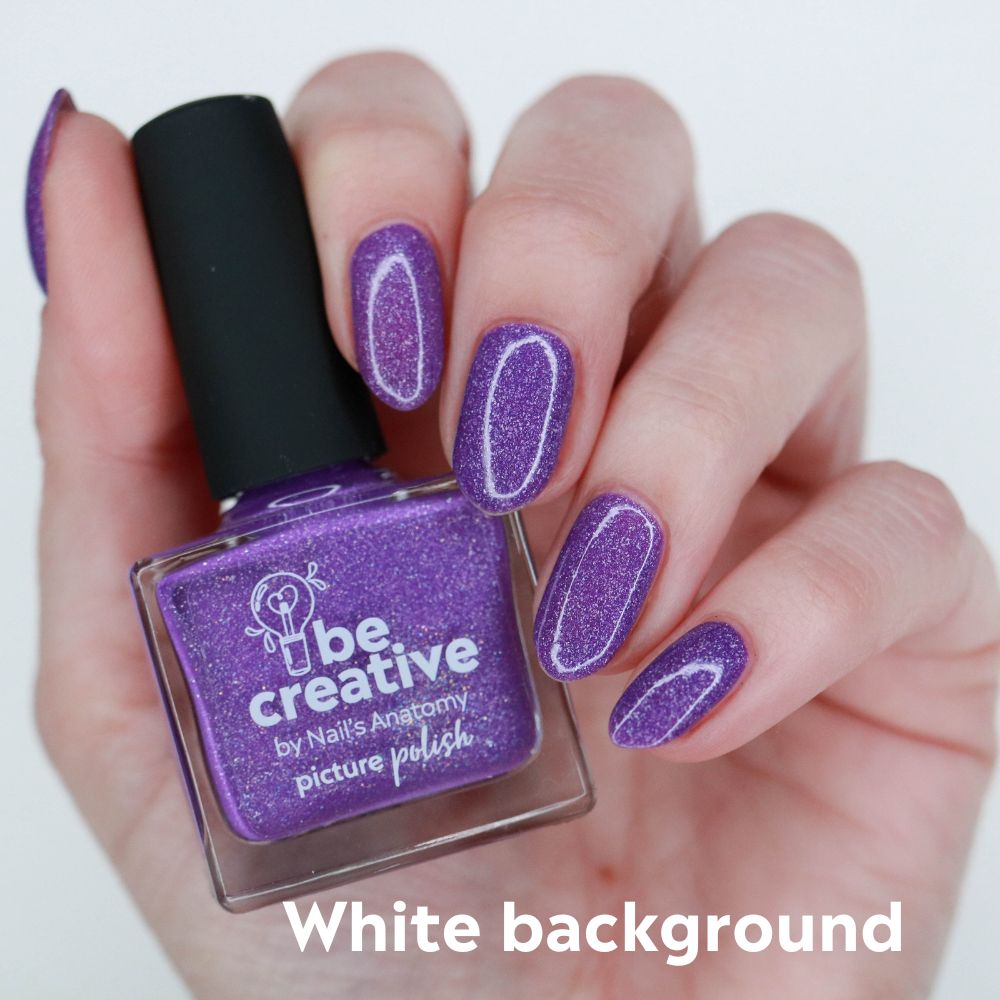
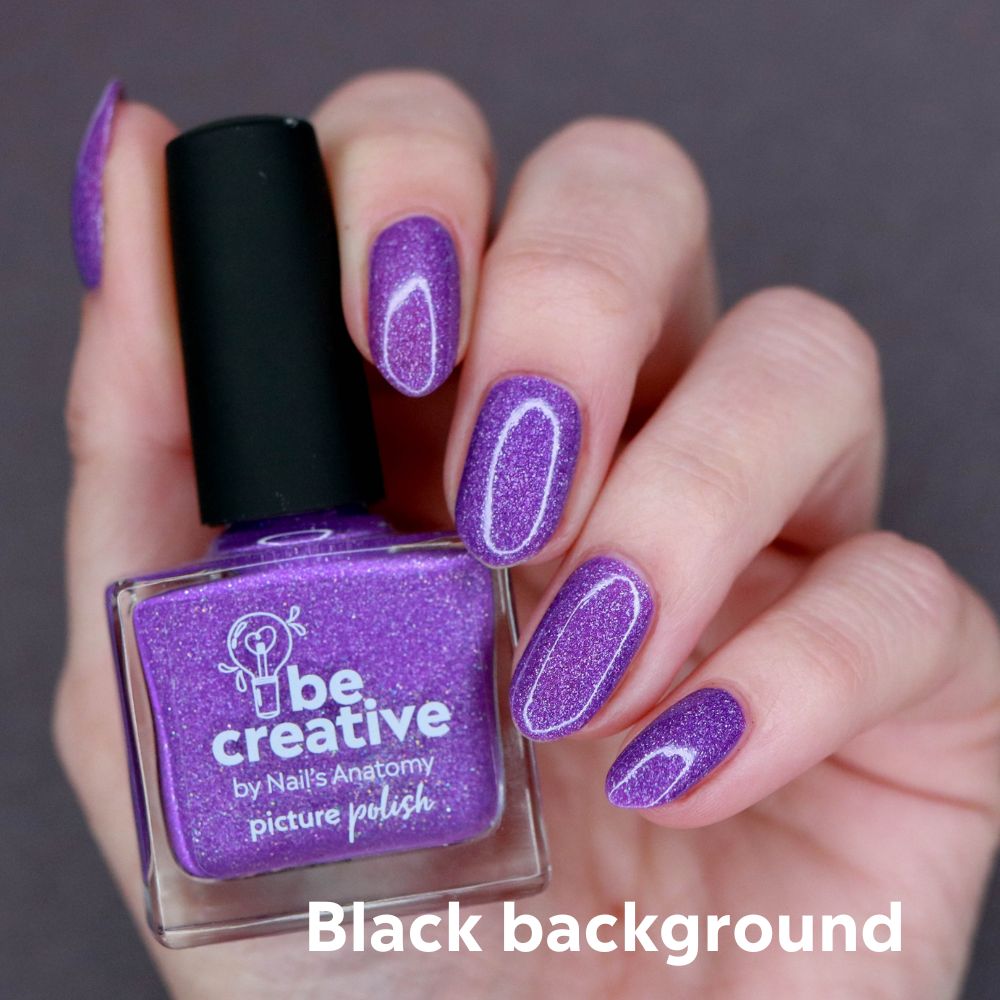
In addition to props, backgrounds can significantly enhance your photography. A white or black background creates a clean look and allows the mani colours to pop. For greater visual impact, think about adding contrasting or complementary colours. This goes for any fabric or prop choices as well. When in doubt, consult a colour wheel. This is an easy hack. For instance, if your nails are purple, holding your hand against a bright green background adds another layer of visual interest. Craft paper works splendidly as a background for colour, pattern variety, texture, and price.
5. Tagging, Captions and Watermarks
Once you’ve determined your composition, angles, props, and backgrounds, it’s finally time to post your creation! Or, it’s almost time.
Pairing your incredible nail pic with written content is the last step. Some people are chatty with their captions, while others opt for a string of emojis. This is where your personality can shine, should you choose to show it off. Tell a short story about your inspiration, list the colours used, or anything else to engage your audience.
Tagging brands and companies is done by clicking the option, and feel free to add as many that are relevant. It should go without saying, but if you don’t use a brand in your mani, don’t tag them. There isn’t much of a point. Tagging a brand versus just mentioning them can be the difference between your picture being seen or not. Brands are inundated with tags, but they make it easier for social media managers to see your work.
To add a watermark to your picture or not is up to you. Some accounts don’t tag creators, so leaving your Instagram account on the photo can guide people to you. You spent your time painting your mani, so you should try to make sure you’re credited. I do prefer to make my watermark more translucent, though.
Accessibility
As a final thought, I’d like to take a second to discuss accessibility because photography is a visual medium. That said, those who use alt-text apps to describe photos can enjoy your work with a couple of simple tips. In your caption, include a written description between “ID” and “END ID.” Begin with the broad description and then move on to smaller details. Here’s an example for this picture.
Description to include in comments: (ID: Jennie is holding a bottle of purple nail polish called Be Creative that matches her nails. The warmer purple polish glitters in the light with twinkling holographic rainbows. END ID)
As you can see, the description doesn’t have to be long. Add the description in your caption, and then also copy/paste it to Alt-Text, under “Advanced Settings.” And while it can seem fun to use imported fonts, text-readers can’t interpret them. This also applies to using a lot of emojis. Including accessibility expands your reach and is an inclusive way to share your photos.
Whew, that was a lot to get through! I’m proud you’ve made it to the end. And I hope you’ve found some inspiration for your social media nail photos. I’d love to know your tips and tricks, so head on over to @picturepolish and share in the comments
Connect with Jennie on Instagram here.

Jennie Shaw is a writer and freehand nail artist. She is also an avid reader who pairs cover-inspired manicures with book reviews. Her work has been featured in Modern Salon, Nails Magazine, and on Goodreads. She lives in the Canadian countryside and can be found on Instagram @jennieshaw