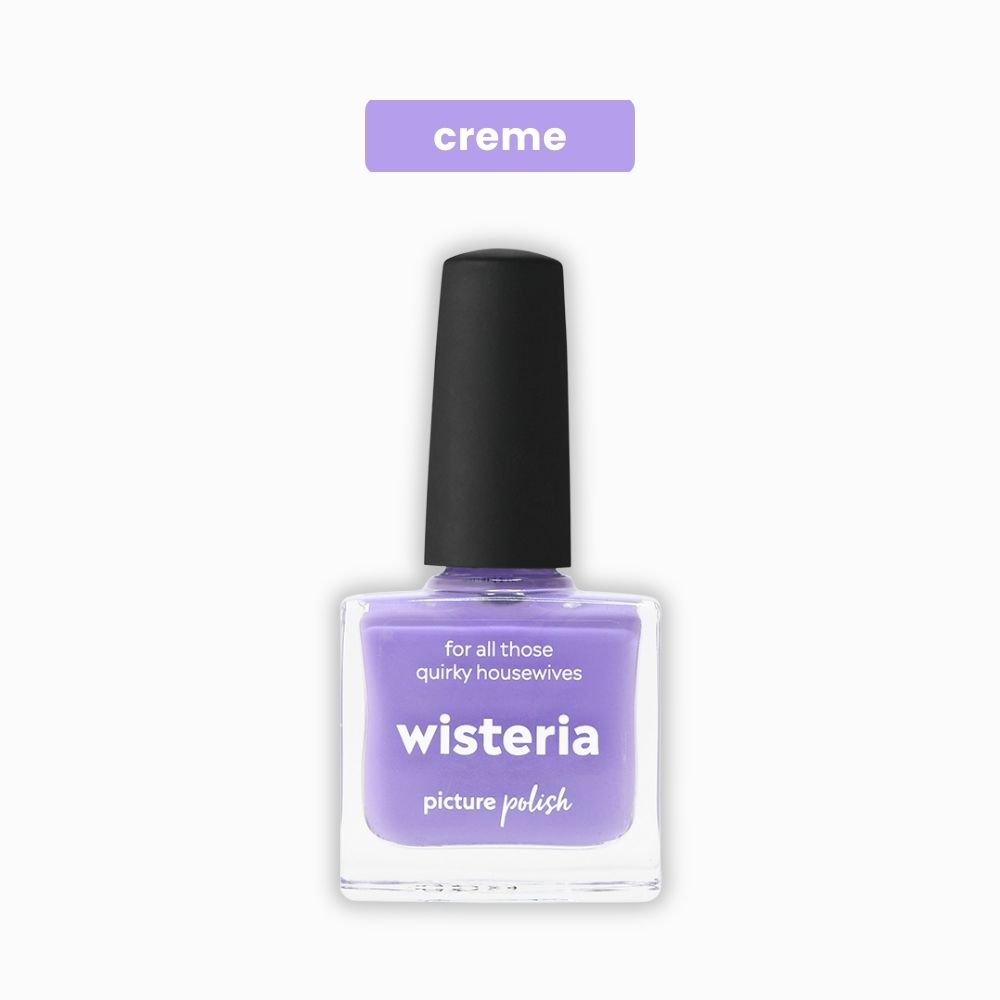
Spend $120 get a FREE Biscuit Nail Polish

Spend $120 get a FREE Biscuit Nail Polish


Original price was: $78.75.$49.61Current price is: $49.61.
In stock
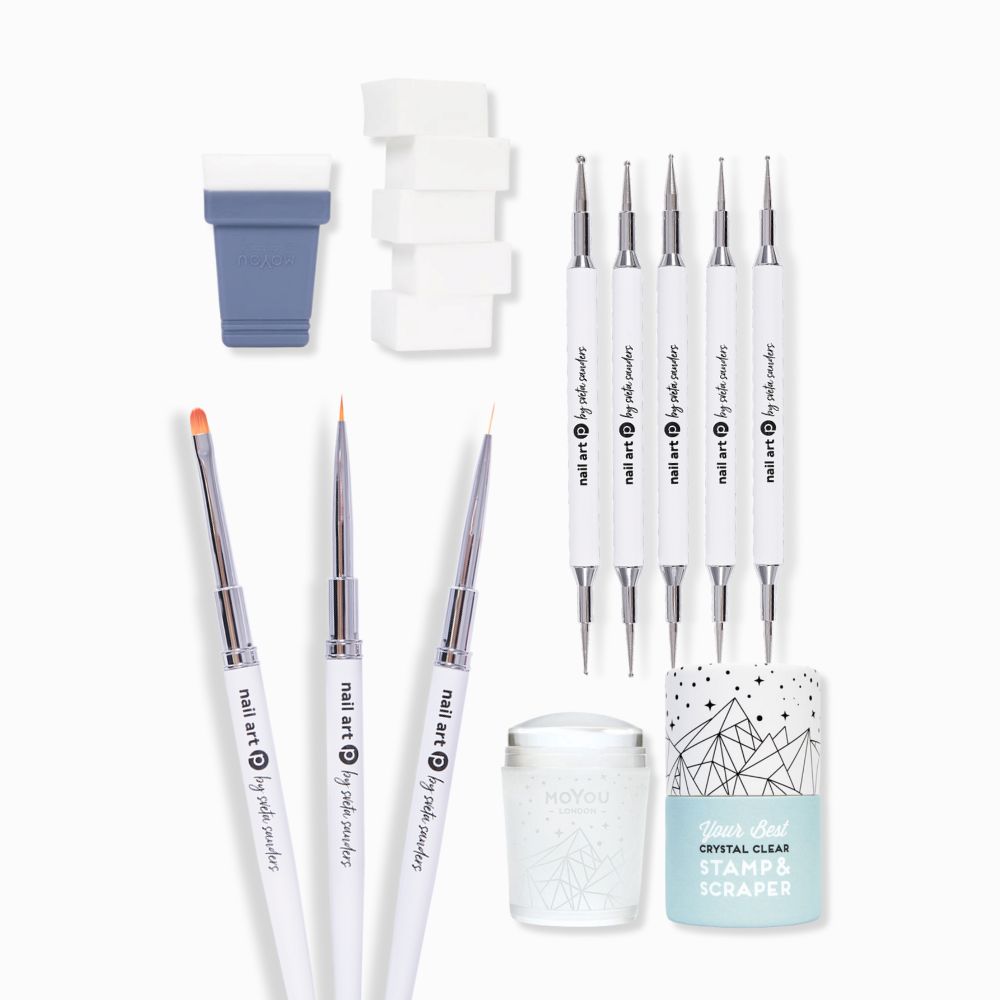
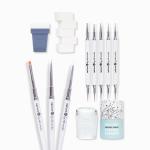
Are you ready to express your unique style with stunning nail art designs? Our comprehensive nail art kit empowers you to create salon-quality looks at home. Let’s explore the remarkable tools included in this kit and how they can transform your nail art experience.
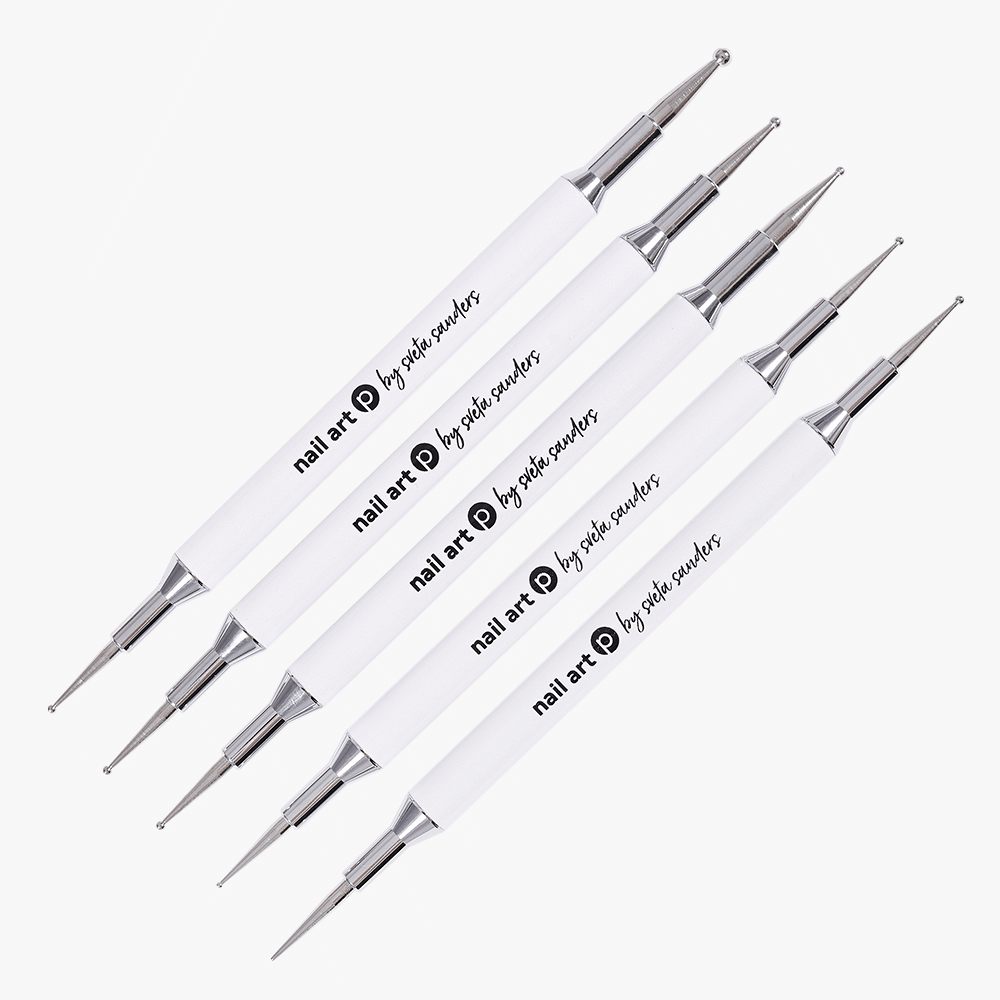
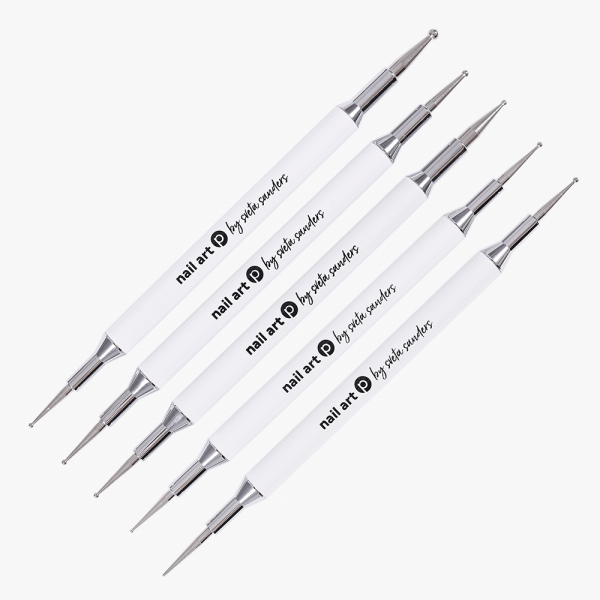
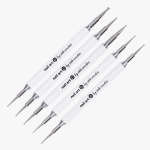
Why settle for ordinary when you can create extraordinary designs with ease? Our polka dot tools are designed with five handles providing nine different dot sizes plus one marble tool, your creativity knows no bounds. Dive into the world of nail art by dipping the tool into your favourite polish and dotting away to create flowers and other captivating designs.
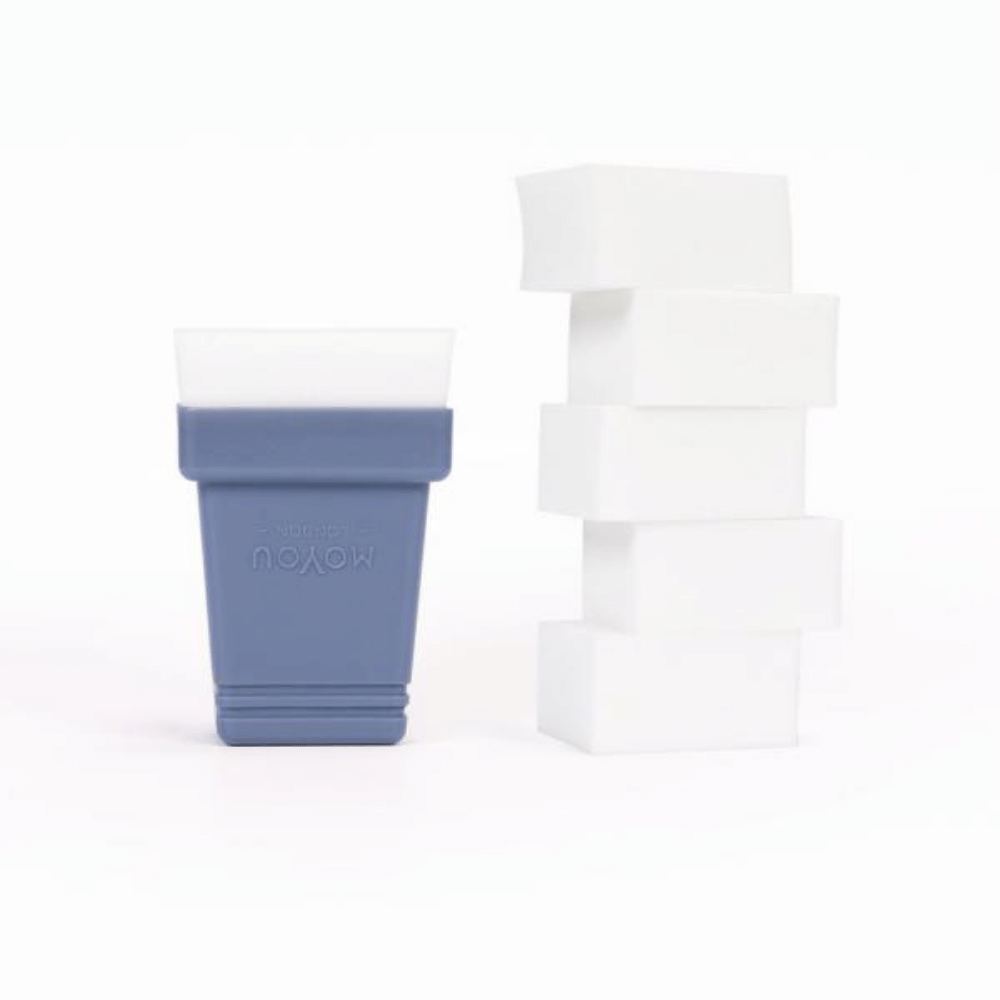
Have you ever dreamed of mastering the gradient technique? Our sponge kit, complete with a holder and six reusable rectangular sponges, makes it possible. Suitable for all skill levels, this tool allows you to blend and mix colours effortlessly, resulting in eye-catching gradients that will leave everyone in awe.
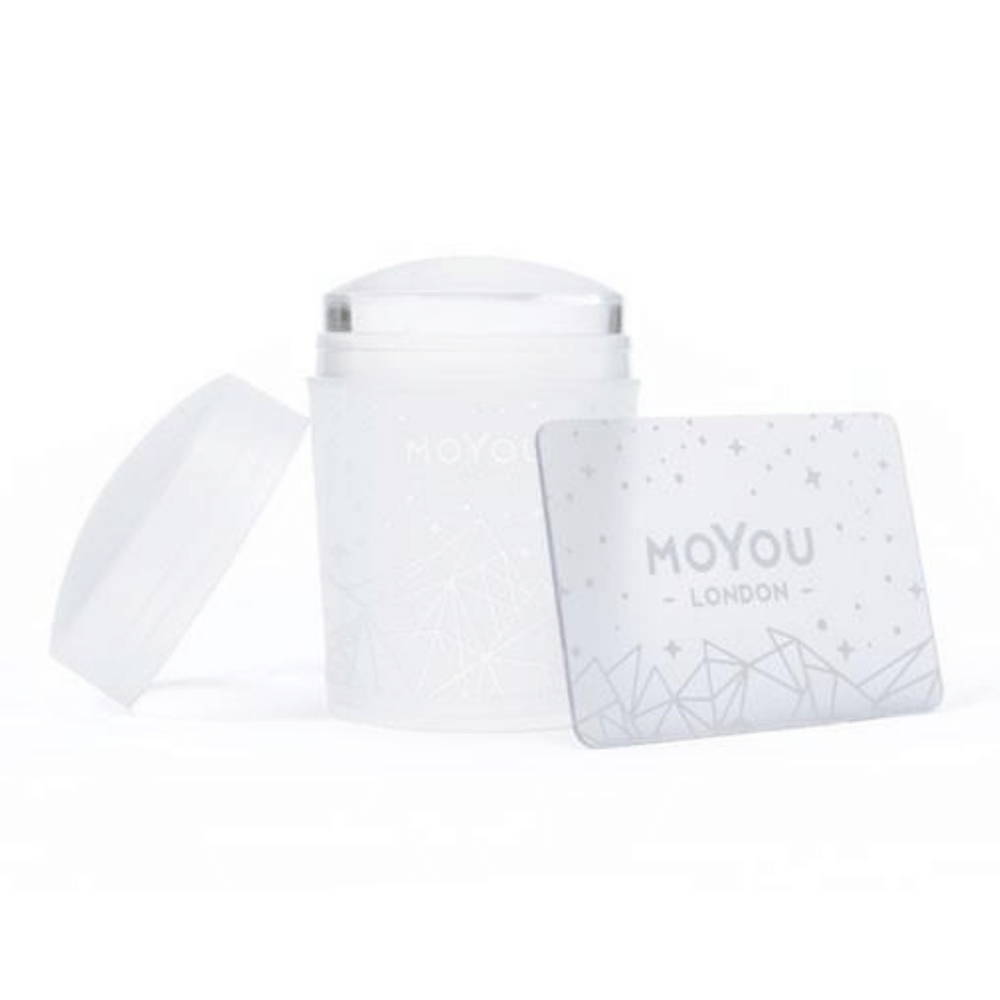
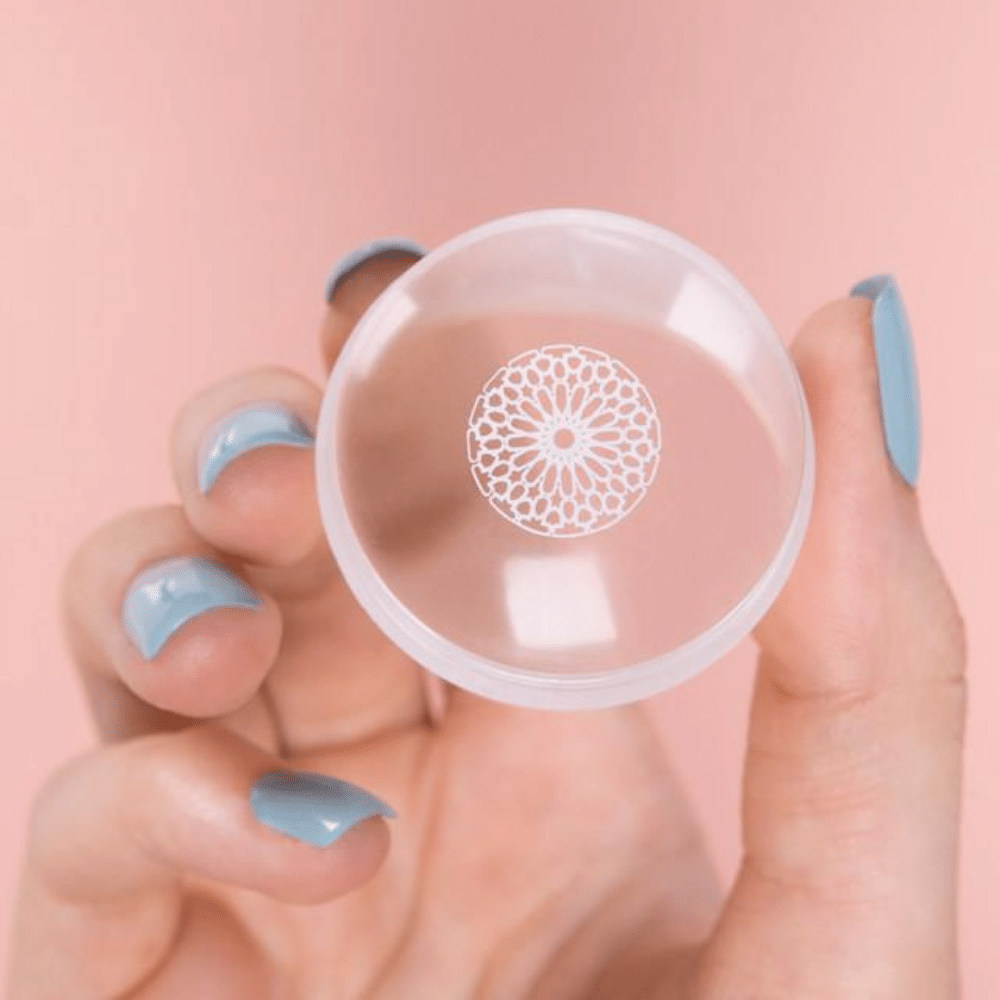
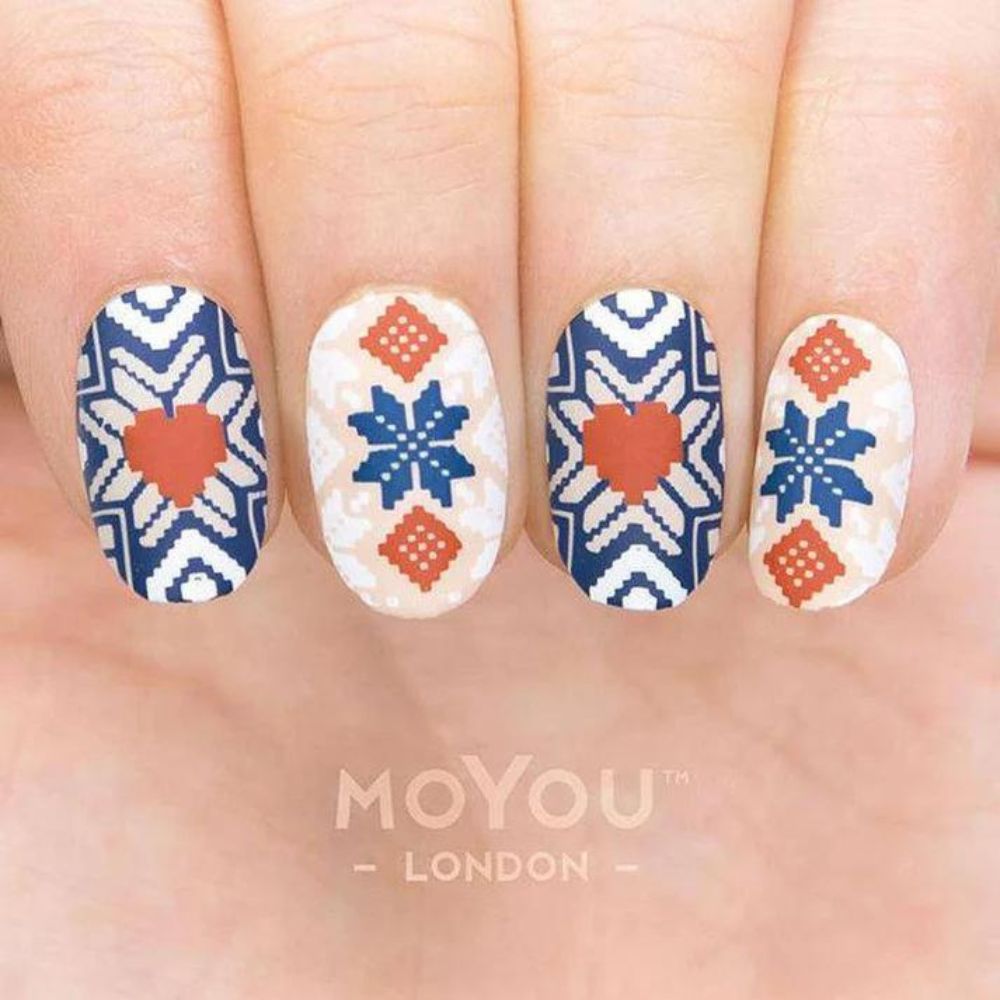
Imagine having x-ray vision for your nail designs. The Crystal-Clear stamper is your secret weapon for transferring intricate nail art designs with precision. Its transparent cylinder and silicone base ensure that your stamped images are flawlessly aligned every time, making nail stamping a breeze.
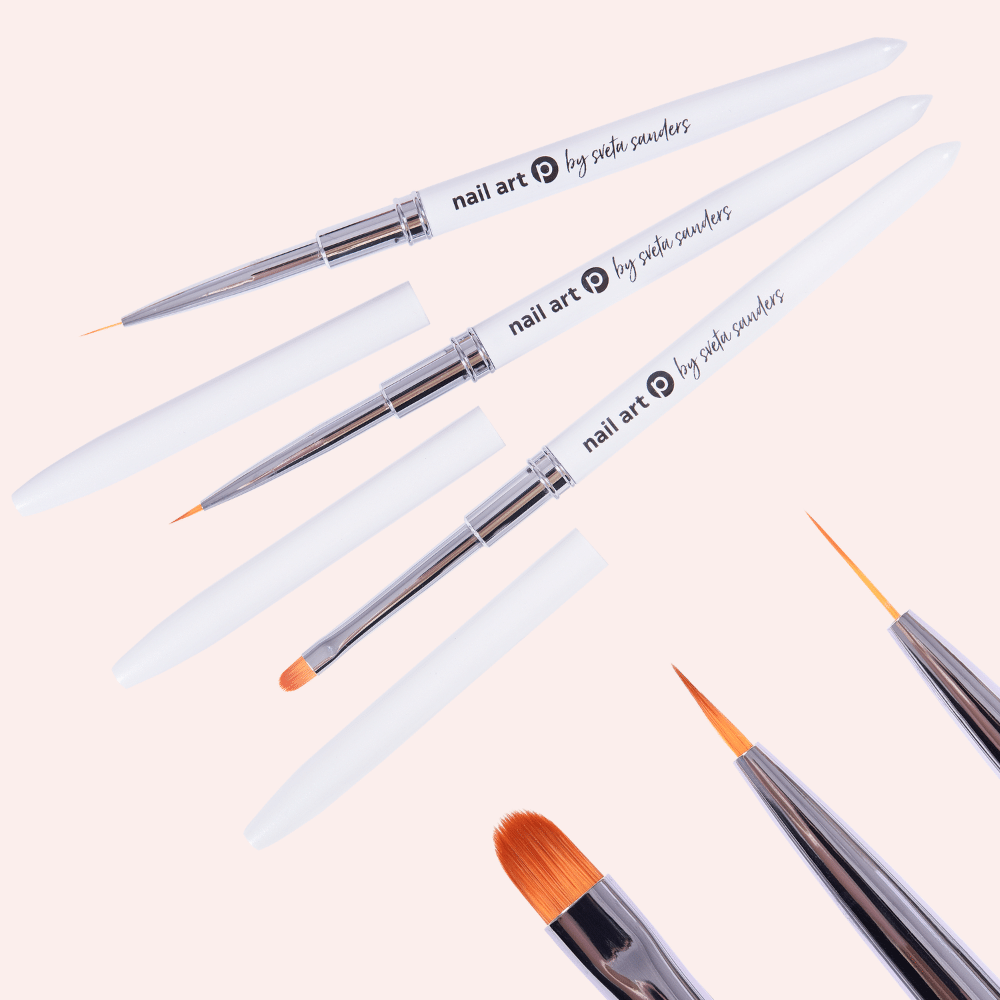
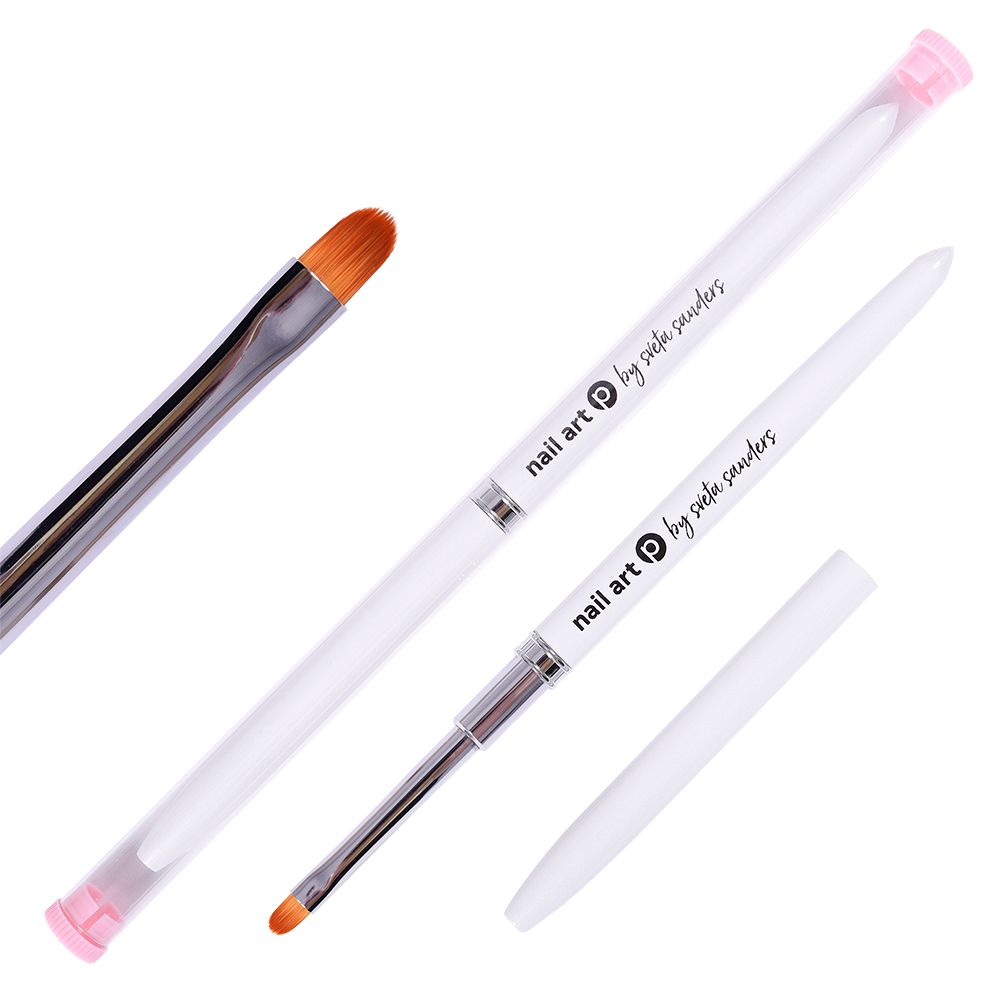
Why compromise on detail when you can achieve perfection? Our Detail & Liner Brushes, with their synthetic and tapered bristles, are your go-to tool for painting tiny, intricate designs.
What’s the secret to pristine nail art? A clean finish! Our clean-up brush, featuring a comfortable handle and synthetic bristles, ensures your designs are free of any polish mishaps around the edges. This stylish brush is the final touch to your perfect nail art creations.
Are you ready to elevate your nail art game? Our kit is designed to inspire creativity and unleash your artistic potential. Whether you’re just starting out or a seasoned pro, these tools will help you craft stunning designs that express your individuality. What will you create today?
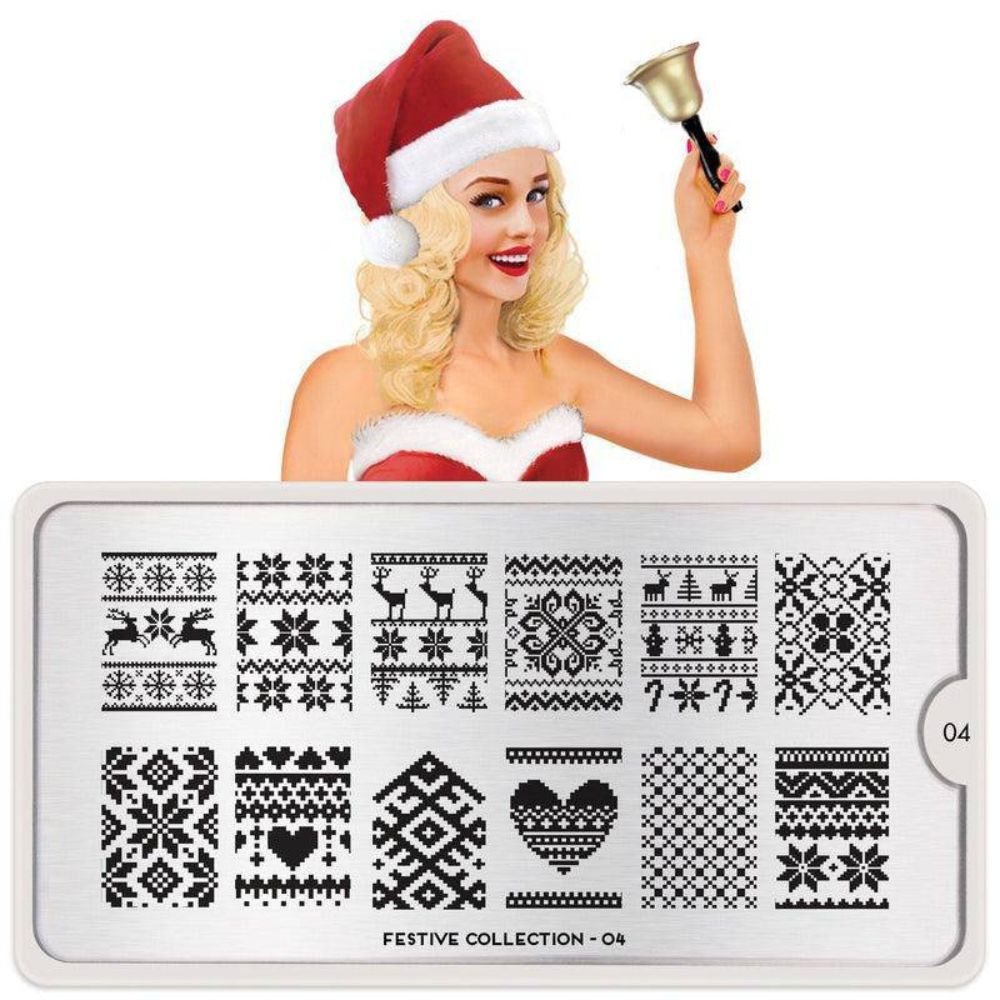
Get a curated bundle and enjoy a 37% discount plus receive a FREE stamping plate.
To learn how to use these items in this nail art kit: click the following
Select polka dot tool size. Then dip the tip of the tool in nail polish. Then create polka dots onto your nail.
After use, clean your tools with a make up pad infused with nail polish remover and store back in case.
Keep away from unsupervised children.
Starting with a white base will give your gradient extra depth.
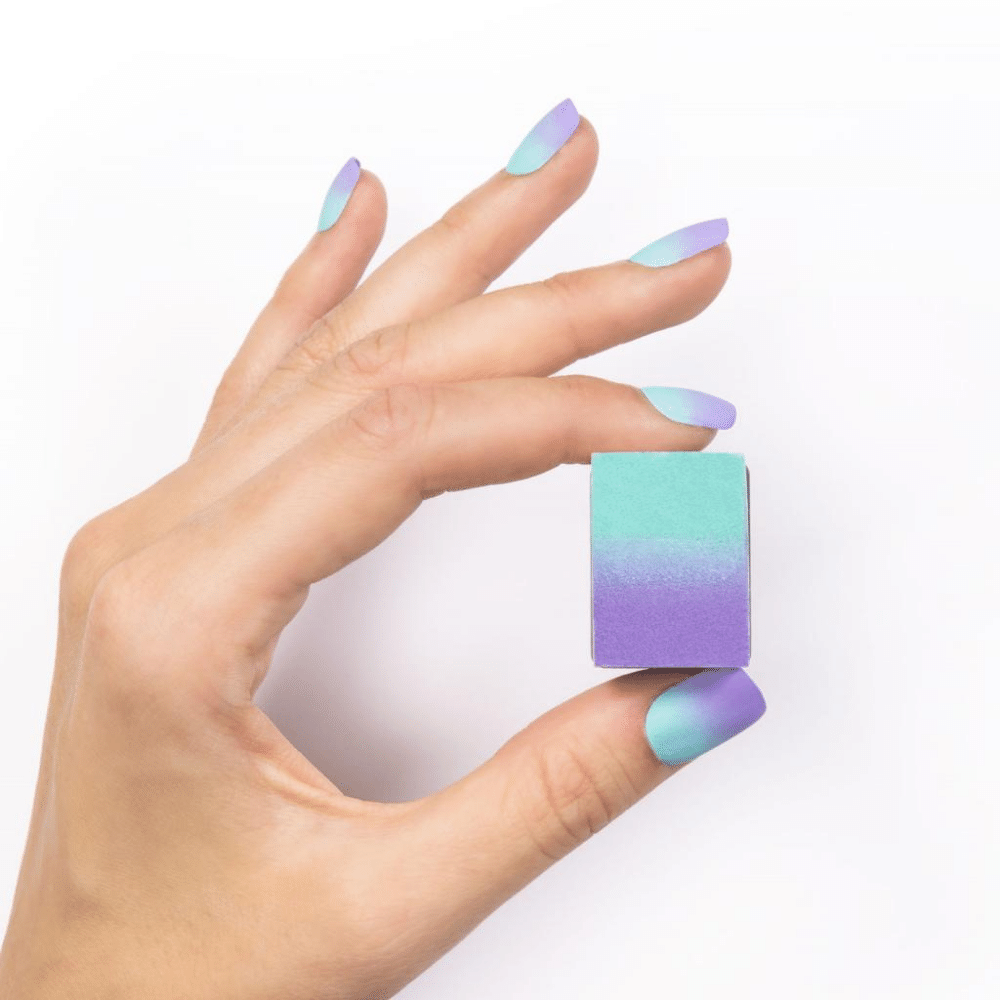
Apply at least two nail polish colours on the sponge. Then lightly dab the sponge on to your nail. Repeat till you happy with coverage.
For an even blend in between gradient colours, overlap their application slightly. After a few coats, this method creates a smoother blend!
Blog articles:
Whether you’re using our nail products at home or in your nail salon, you can SAVE every day.
This offer applies when you:
Purchase 5 to 14 items – save 10%
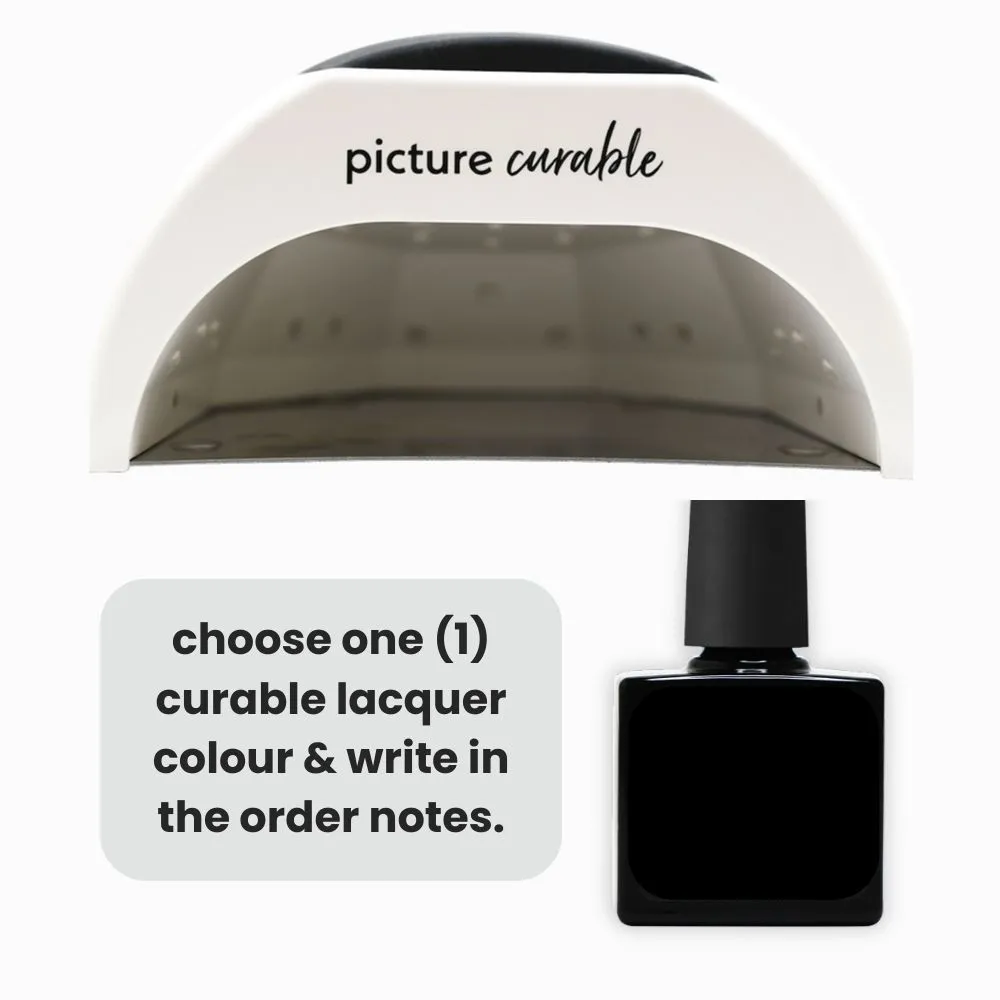
Excludes: Bundles + Biscuit + Curable
Purchase 15 or more items – save 15%
Excludes: New + Bundles + Biscuit + Curable
+ Gift With Purchase: Spend $120 get a FREE Biscuit Nail Polish
Our Buy More, Save More discounts + Gift With Purchase automatically apply at the checkout.
General Shipping Information
Australia