- How To
- Nail Polish
The Eight Most Popular Nail Shapes Explained
July 29, 2020
Who knew there were so many different nail shapes. If you were a nail shape, which one would you be?
Nail shapes are a way to express your personality and change up your mani. But it can be scary to try something new! That last thing an NPA wants to do is damage their nails. So if you’ve been craving a different nail shape but have been too nervous to try, we’re here to help!
We’ve picked some of the most popular nail shapes and outlined the steps to achieve them. If you’re unsure of the best shape for you, consider the curve of your cuticle. If you have a rounded cuticle, then oval nail shapes can be flattering. On the other hand, square and squoval nail shapes look fabulous on nails with wider and flatter cuticles. But as always, there are no rules when it comes to nails. Whichever shape you want to try, go for it!
What to use:
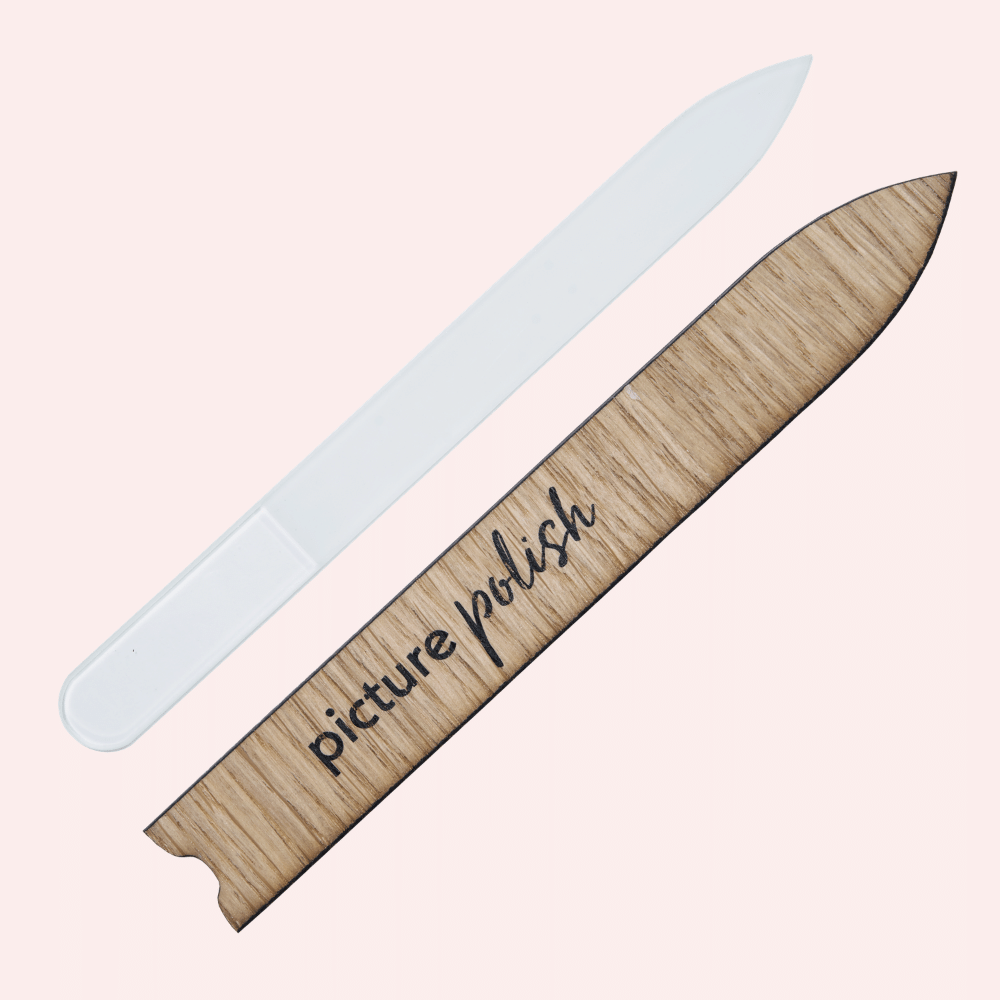
When filing your nails, we recommend using the Picture Polish Nail File. The benefits of glass files are numerous and include protecting the free edge of your nails and minimizing snags. If you have longer nails and want to try a shorter shape, use clippers to remove most of the length before filing.
View Picture Polish Glass Nail File here.
Natural
When it comes to natural nail shapes, you don’t have to do much. As the lowest maintenance nail shape, they’re easy to maintain. Just keep a glass file handy to keep the free edge and sides smooth. But remember that all nail shapes, natural included, need proper cuticle care.
For help with thick and overgrown cuticles, try Cuticle Wipe Out. This water-based cuticle moisturizing exfoliate dissolves the dead skin around your cuticle and makes them easier to push back. Finish your cuticle routine by applying CoCo Potion to keep them soft and conditioned. That’s about it for natural nail shapes, although you can always add a splash of fun with Holo On Top!
Oval
Oval nails are on the shorter side and perfect for those who prefer a more conservative appearance. Oval nails are less prone to catching and breaking, which means they’re a practical choice for those who work with their hands. Also, because oval nails are shorter, they appear neat and fresh.
Shaping Steps:
- Place the nail file against one side of your nail, angled straight up.
- Apply pressure and file upwards to create a smooth and straight side. Repeat on both sides of the nail.
- Next, it’s time to round out the free edge. Return the file to the side of your nail and file upwards, following the natural curve of your fingertip. The goal is to mimic this line for a rounded nail shape. Continue filling by alternating sides until the curve is symmetrical.
- Repeat the process with the rest of your nails, making sure to clean underneath the nail for hanging bits.
- Finish with a coat of topcoat for extra shine, or choose a fun creme colour like Mad Magenta nail polish!
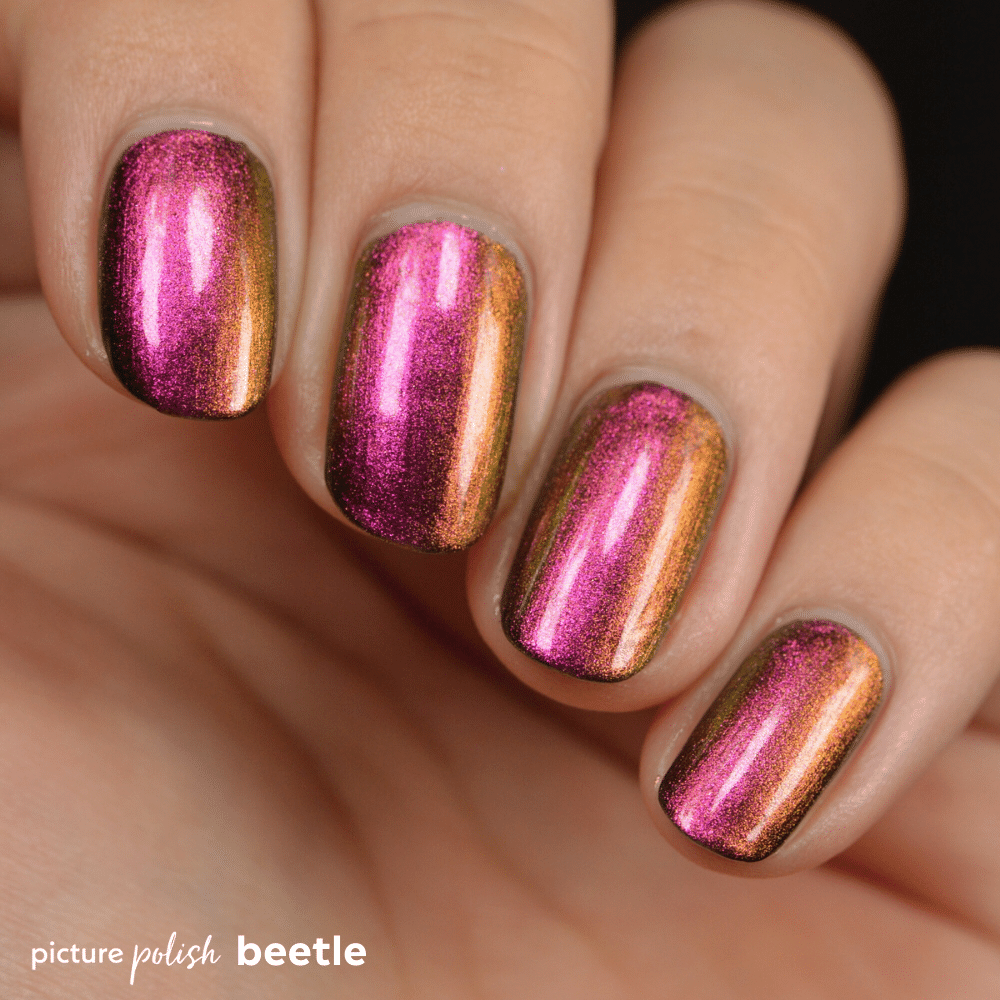
Rounded
Rounded nail shapes are short or medium in length and often extend over the fingertips. Thanks to the curved tip, rounded nails can elongate shorter fingers. And even though this is a classic and professional nail shape, rounded nails still allow space for nail art.
Shaping Steps:
- Place the nail file against one side of your nail, angled straight up.
- Apply pressure and file upwards to create a straight side. Repeat on both sides of the nail.
- Shaping the free edge of rounded nails can be tricky because the goal is to shape, not shorten. Place the file at a 45-degree angle and file from one side of your nail towards the middle. Alternate sides and repeat this process until you’re satisfied.
- Continue shaping the rest of your nails, making sure to clean underneath the nail for hanging bits.
- To add a little punch, add a pop of multi-chrome with Beetle nail polish.
Square
A favourite shape for nail artists, square nails feature a straight top and sides with 90-degree edges. Square nails can be long or short and are also one of the stronger nail shapes, perfect for natural nails. This shape can shorten the look of fingers, so keeping a little length will go a long way.
Shaping Steps:
- Place the nail file against the tip of your nail.
- Apply pressure and file the free edge horizontally to create a straight line. Go slowly, checking to make sure the tip is even. Continue until you’re happy with the length.
- Next, place the nail file against one side of your nail, angled straight up.
- Apply pressure and file upwards, creating a smooth and straight side with 90-degree edges. Repeat on both sides.
- Continue the process with the rest of your nails, and then finish with a crisp white polish like Bright White nail polish.
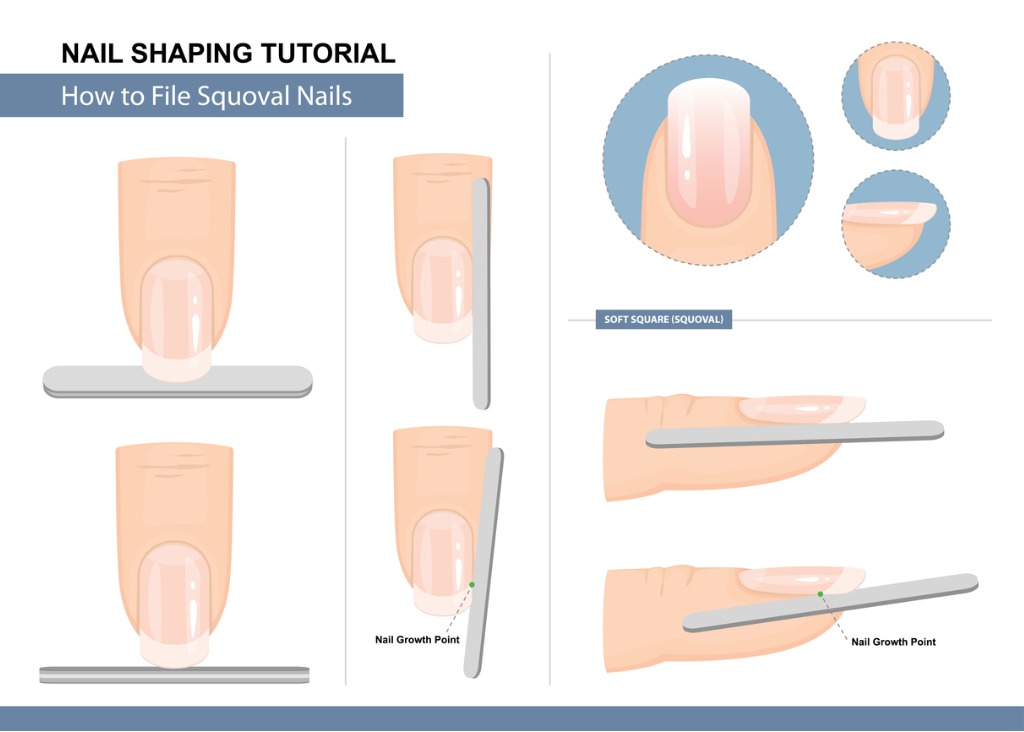
Squoval
If you have a hard time deciding between oval or square-shaped nails, squoval nails are the way to go! A fusion of two popular shapes, squoval nails have a straight top with slightly rounded edges. Rounding out the 90-degree edges creates a softer look while maintaining the strength of natural nails. Short to medium length squovals are extra flattering for wider nail beds.
Shaping Steps:
- Place the file against the free edge of your nail.
- Apply pressure and file the tip horizontally to create a straight line. Continue until you’re happy with the length.
- Place the file against one side of your nail, angled straight up.
- Apply pressure and file upwards to create a smooth and straight side.
- Angle the file at 45 degrees and soften the hard edges in a single stroke, being sure not to file too much.
- Repeat on the rest of your nails, and then maybe try a French gradient!
Almond
Arguably one of the hottest nail shapes of the year, almond nails are on the longer side and extend over the fingertip. Just like the nuts, almond-shaped nails have wider bottoms and soft, narrow tips. As a universally flattering nail shape, when in doubt, choose almond-shaped nails!
Shaping Steps:
- Place the file against the side of your nail, angled at 45-degrees.
- Apply pressure and file upwards toward the middle of your nail.
- Focus on tapering the free edge above the fingertip by alternating sides until the nail is narrow but has a soft tip.
- Repeat with the rest of your nails.
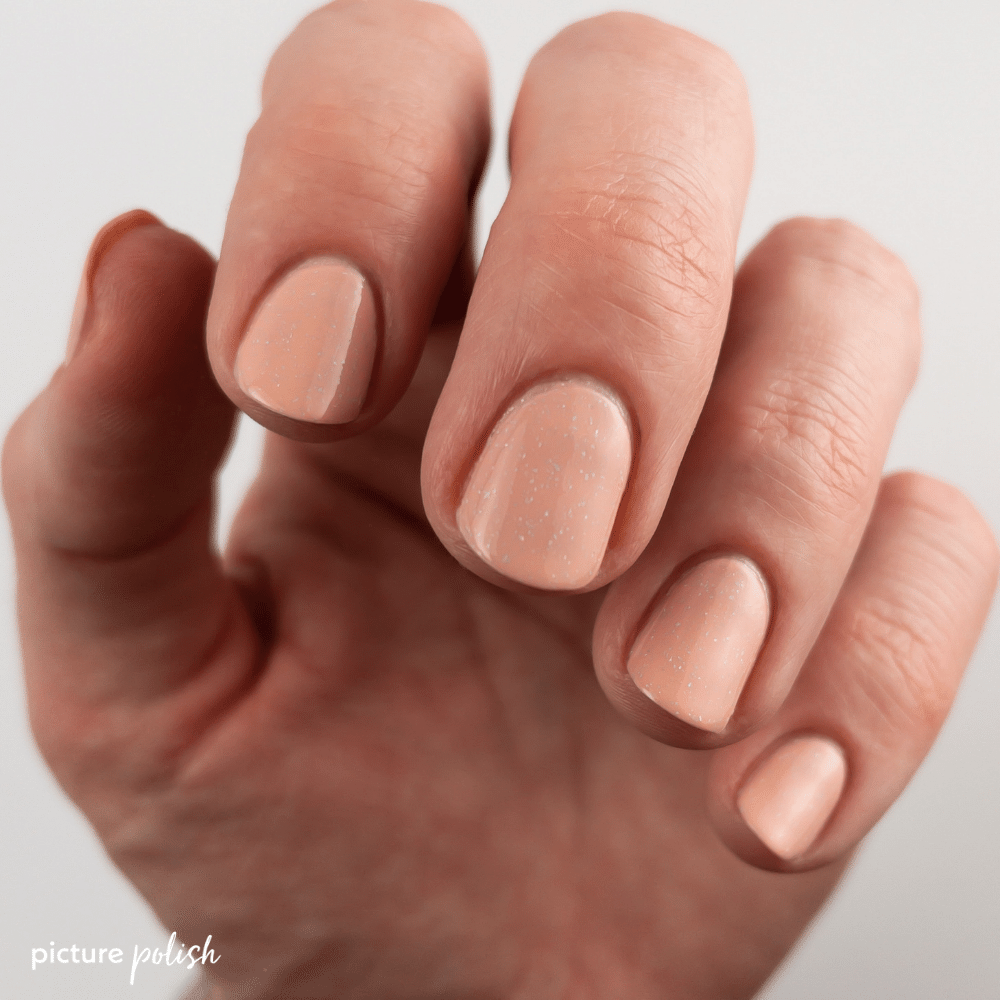
- Accentuate your fresh almond nails with a neutral like Nougat nail polish and a coat of G’Day Matte top coat for extra impact!
Stiletto
Fierce and daring, stiletto nails are sure to draw attention. Similar to almond nails, stilettos are wider at the bottom and narrower at the tip. But stiletto nails come to a sharp point and tend to be longer. So get ready for a chic set of claws when rocking stiletto nails!
Shaping Steps:
- Place the file against the side of your nail, angled at 45-degrees.
- Apply pressure and file upwards toward the middle of your nail.
- Taper the free edge above the fingertip until it comes to a point in the middle of your nail, alternating sides.
- Repeat the process with the rest of your nails.
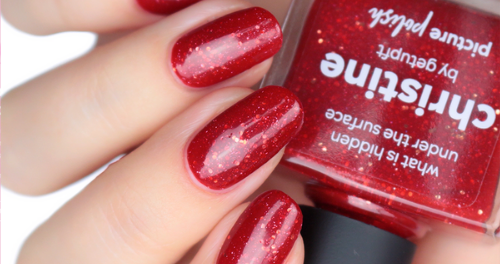
- Finishing with a bold red is a must, so look no further than Bridget nail polish.
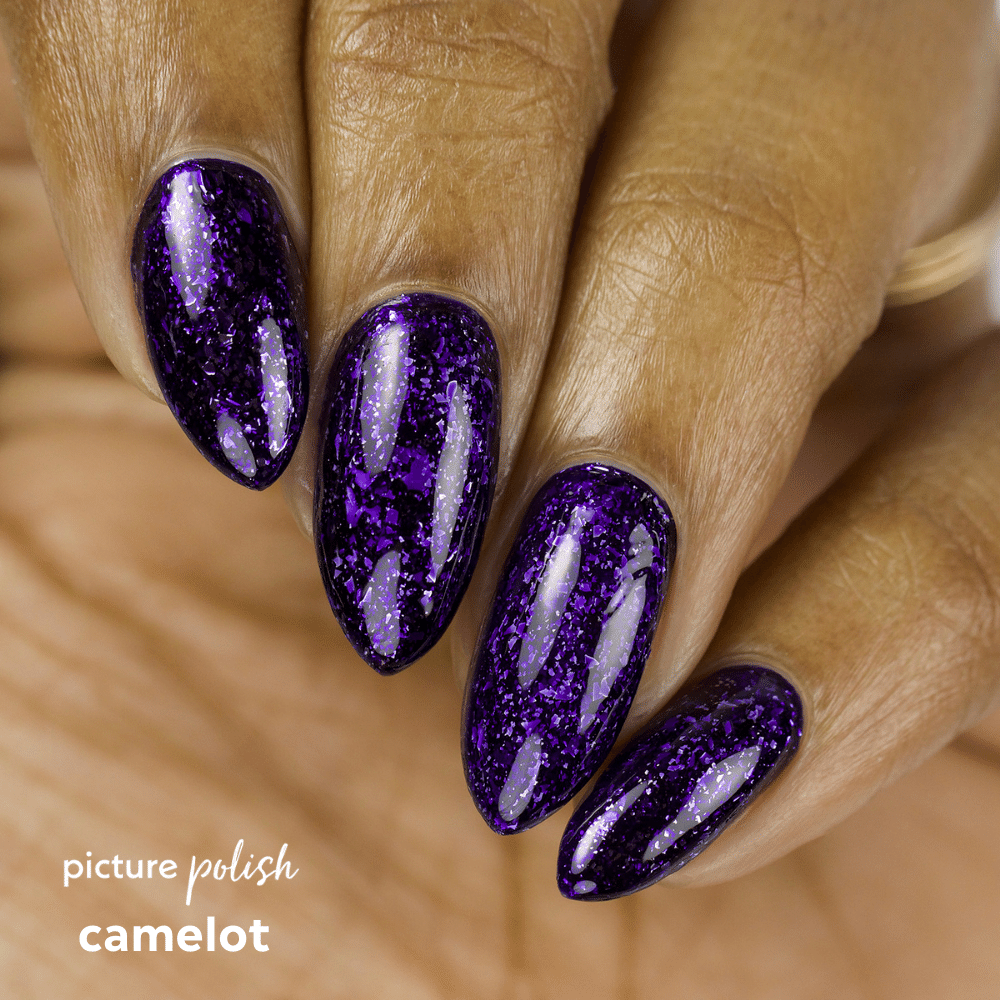
Ballerina (Coffin)
Ballerina nail shapes are fun, feminine, and fashion-forward. This nail shape has tapered sides and a flat tip, just like the shape of a ballerina’s slipper and a coffin. Keep in mind that longer nails require maintenance, and that goes for ballerina-shaped nails as well. Nails are not tools, and regular cuticle care will keep your nails strong.
Shaping Steps:
- Place the file against the side of your nail, angled at 45-degrees.
- Apply pressure and file upwards toward the middle of your nail.
- File the free edge until it’s tapered into a point in the middle of your nail by alternating sides.
- Place the file against the tip of the point and file down into a straight line. The goal is to keep the taper and create a small flat tip, similar to the shape of a coffin.
- As the dual name suggests, this nail shape looks incredible when painted in pastels but is equally eye-catching in matte black. So try Support’s pale pink holographic first, and then follow up with Rhysand for an edgier mani.
We hope this helps you get the nail shape of your dreams, and be sure to tag @picturepolish on Instagram if you use tips from this post.