


- How To
- Nail Polish
- Nail Care
How to Remove Gel Nail Polish
June 24, 2026
Are you looking to know how to remove gel nail polish without the fuss of a salon visit? Whether your gel manicure was done in the comfort of your home or by a professional, taking it off doesn’t have to be a challenging ordeal. Ever found yourself intimidated by those high-speed e-drills, wondering if there’s an easier way? Fear not! With a few household items and a bit of patience, you can effectively remove your gel polish without damaging your nails.
Acetone Application Options
Before discussing the necessary tools for gel nail polish removal for healthy nails, you must decide how to apply the acetone. There are two options: a tray or the cotton and clip method.
Tray Method
Place your fingers inside an empty, acetone-resistant nail tray and note the height of your tallest nail. Then, pour the appropriate amount of acetone into the tray to completely submerge your nails for 2–3 minutes.
Pros: The acetone won’t evaporate enough to hinder the removal, meaning it’s active the entire time. It’s also easier to just dip your fingers back in if the gel needs more time to soak.
Cons: A tray uses far more acetone than the cotton ball and clip method. Furthermore, soaking your skin in acetone can create temporary dryness and/or itchiness.
Cotton and Clip Method
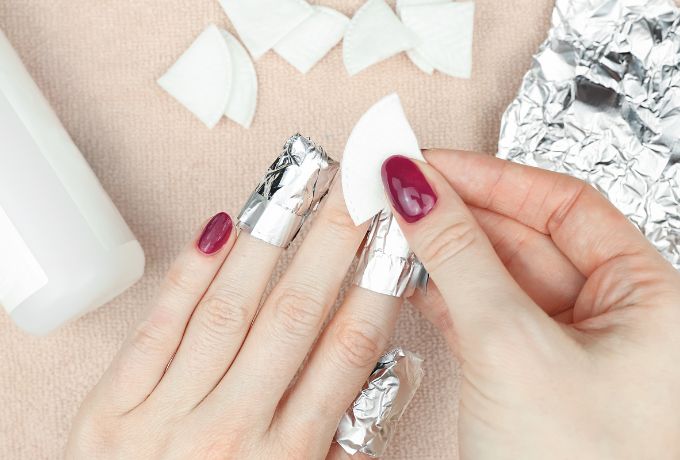
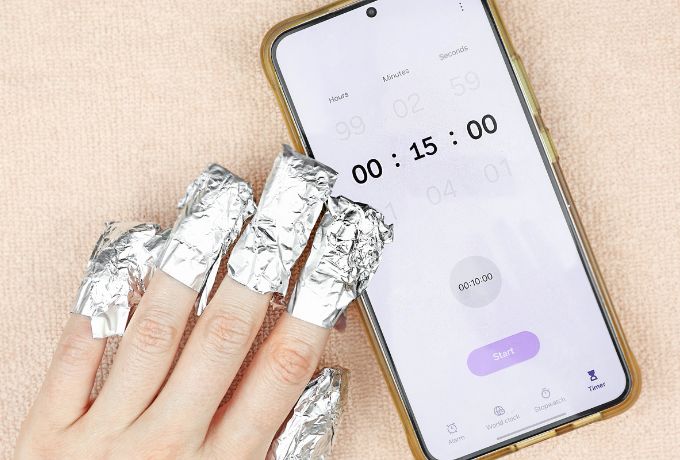
For the cotton and clip method, you’ll need either a cotton ball or a cotton pad. Regardless of whether you use a ball or a pad, we recommend cutting it in half, using one half per nail. Soak the cotton in acetone and place it directly onto your nail, covering it entirely. Then secure it in place to soak the nail for 2–3 minutes. Gel removal nail clips are available online, or you can wrap a small square of aluminum foil around your finger.
Pre-cut all the squares before getting started, as things can become tricky to hold once your fingers are covered.
Pros: You’ll use far less acetone than the tray method, and your skin won’t be soaking in it. For those with dry skin, apply cuticle oil on your skin before placing the cotton on your nail.
Cons: The acetone can evaporate, which means that parts of your gel polish won’t lift. The same applies if you don’t add enough acetone to the cotton before wrapping. This method can be tricky at first and may require multiple applications.
For safe gel nail polish removal at home, you’ll need some tools and accessories. Don’t worry, though, because you won’t need an e-drill. Leave those to the professionals!
Tools and Accessories for Gel Polish Removal
- Acetone
- Plastic nail tray or cotton/clips/aluminum foil
- Cuticle pusher or wooden cuticle stick
- Nail file (optional)
- Buffer (optional)
- Dry Hand & Nail Oil
Step-By-Step Guide for Gel Polish Removal
With your tools and accessories collected and close by for easy access, now it’s time to remove the nails. Gel nail polish removal for healthy nails is our priority, so we begin with an optional first step. This step is the most common place where damage occurs, so be mindful!
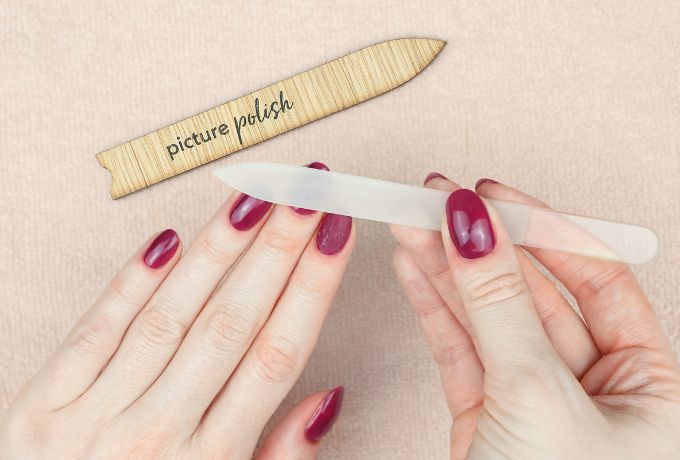
Pre-Step 1 (Optional) – Gently File the Topcoat
To help the acetone penetrate downwards, it’s common to file off the topcoat. While a standard salon experience, over-filing can cause severe damage. One stroke too hard and suddenly, you’re removing integral layers of your natural nails. Gel nail products cannot be used on damaged natural nails, which means no gel manicures until the damage grows out. A nightmare for nail polish fans, including us! We knew there had to be a better way for people to have safe gel manicures at home.
Step 1 – Acetone Application
For Picture Curable users, this will be your first step in a safe removal process. Apply acetone to your gel nails, either in a tray or with cotton/clips/aluminum. Picture Curable is removable within 2–3 minutes and begins to break down upon contact with acetone. If you’ve added more than two coats of color, soak for a longer time, checking progress periodically. For other gel systems, soaking off can range from 10 to 20 minutes, after filing the topcoat.
Step 2 – Remove Lifted Product
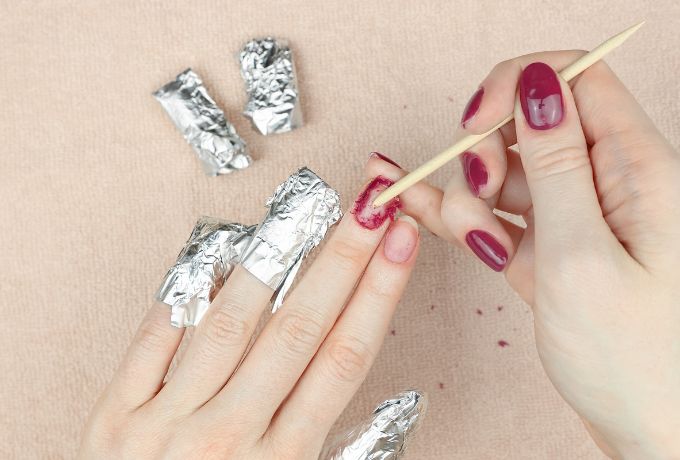
When your gel nail polish is ready to be scraped off, it will release from the nail plate. Using a cuticle pusher or wooden stick, gently push the lifted product off. If a piece is stubborn, don’t push harder! You could end up pulling off layers of your natural nail plate. For resistant sections, repeat the acetone application.
Step 3 – Lightly Buff
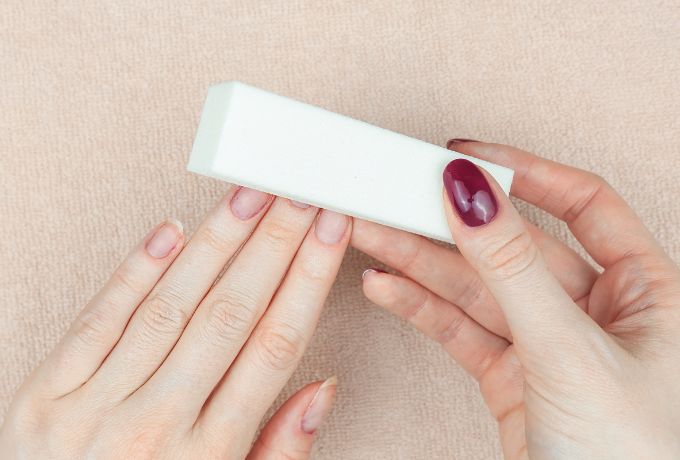
This step will likely be optional with Picture Curable because our system doesn’t include aggressive nail preparation. After safely removing Picture Curable, your natural nails will look virtually identical to how they were before. No buffing required! Other gel polish systems, however, may need this step to even out the nail plate.
Step 4 – Aftercare
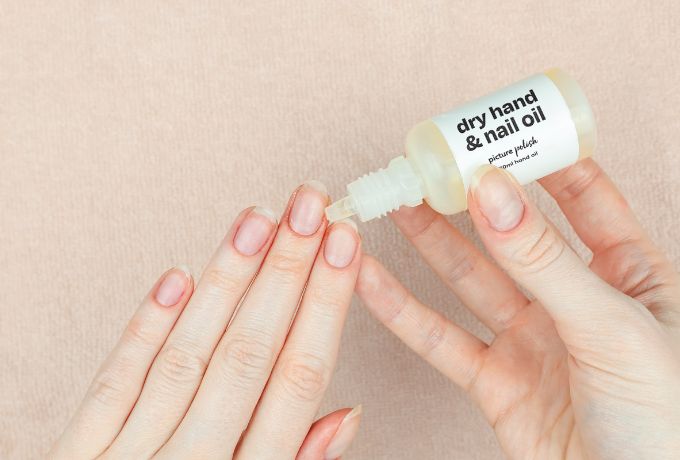
Whether you’re rocking naked nails or a flash of colour, your final step is nourishing your skin. Apply a small amount of Cuticle Conditioner and rub it into your cuticles and around your fingertips. Then finish with a few drops of Dry Hand and Nail Oil for nourished skin and cuticles.
Next Steps: For Healthy Natural Nails
Now that you know how to remove gel nail polish, why not take the next step and embrace your natural nails? Isn’t it time to let those damaged nails heal and thrive? At Picture Polish, we offer a fantastic range of nail care products designed to restore your nails to their healthiest state. Taking this step is crucial before you try our nail polish or curable lacquer.
Check out Four Steps For Nourised Nails, Cuticles and Hands here.
For Damage Free Nails: Choose Traditional Nail Polish
While gel nail polish offers a long-lasting and shiny finish, its removal process and damage to natural nails are concerning. Why endure the hassle and risk when traditional nail polish is a simpler, healthier alternative? With regular polish, enjoy vibrant colors and smooth application without harsh chemicals or complex removal. It allows creativity and self-expression while keeping your nails healthy. Isn’t it great to have stunning nails that remain strong? Embrace the simplicity and versatility of traditional nail polish, and let your nails shine naturally.