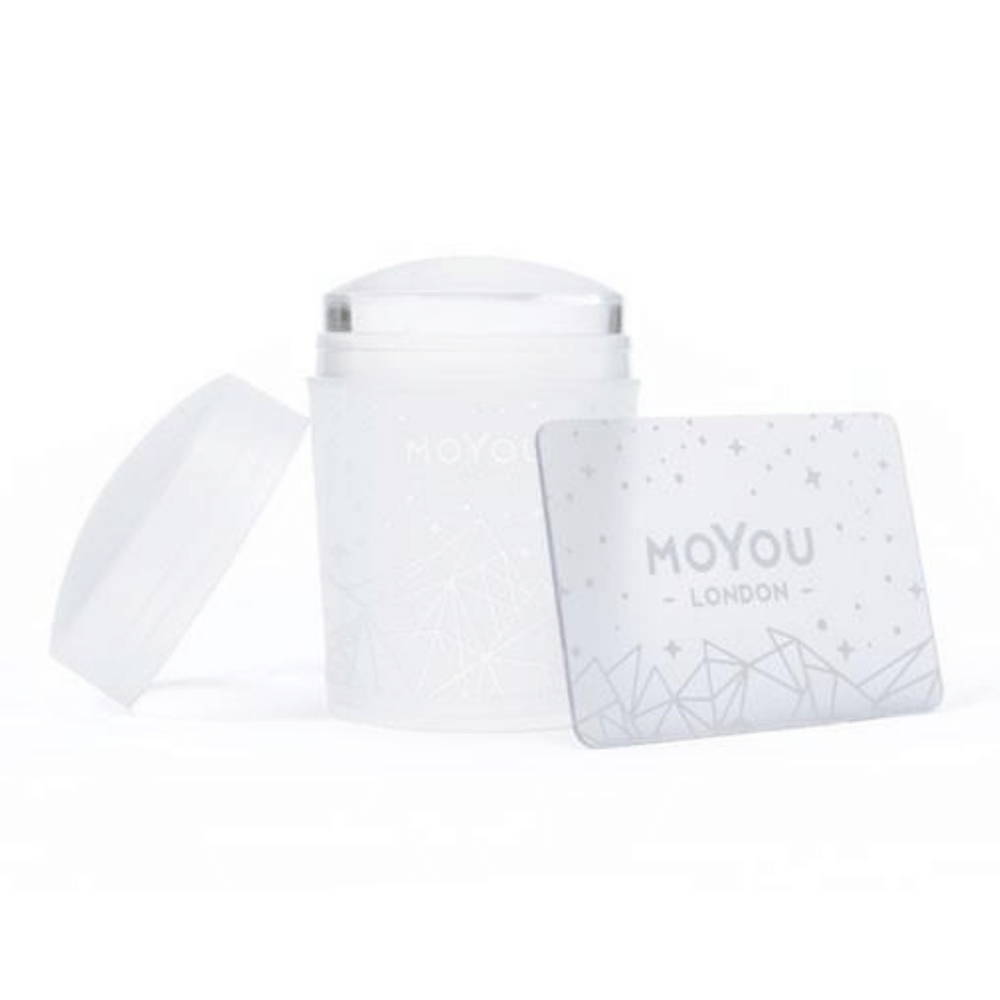
Spend $99 get a FREE Glass Mani Stick!


Showing all 11 results
In general, nail art is a creative process that elevates standard manicures and pedicures with decorations and embellishments. There are many techniques and some that require more labour and supplies than others. But no matter which type of nail art you try, practice makes perfect. Here are some examples of different kinds of nail art:
Freehand refers to hand-painted nail art. That means any design painted freely onto nails without decals, stamps, or vinyl patterns. With freehand nail art, the options are endless. From florals to portraits, abstracts to geometric patterns, and everything in between, freehand nail art’s only limit is your imagination.
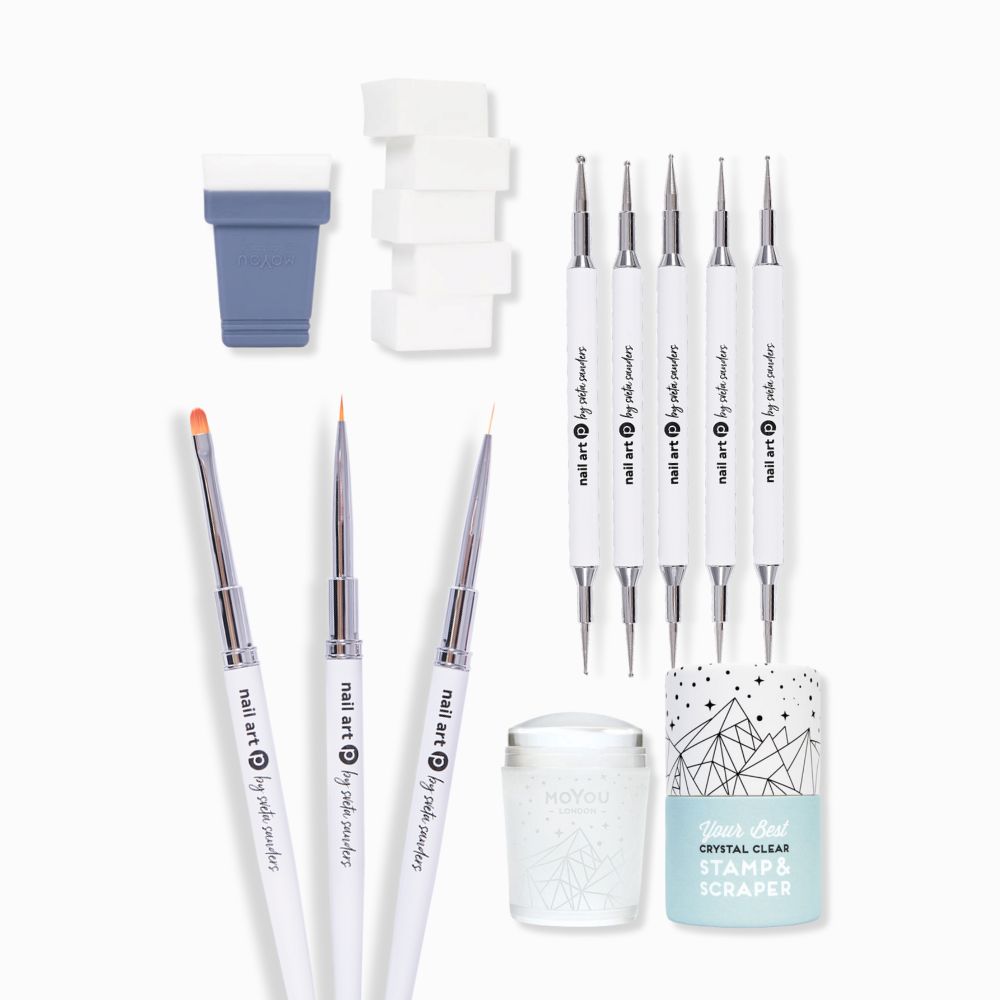
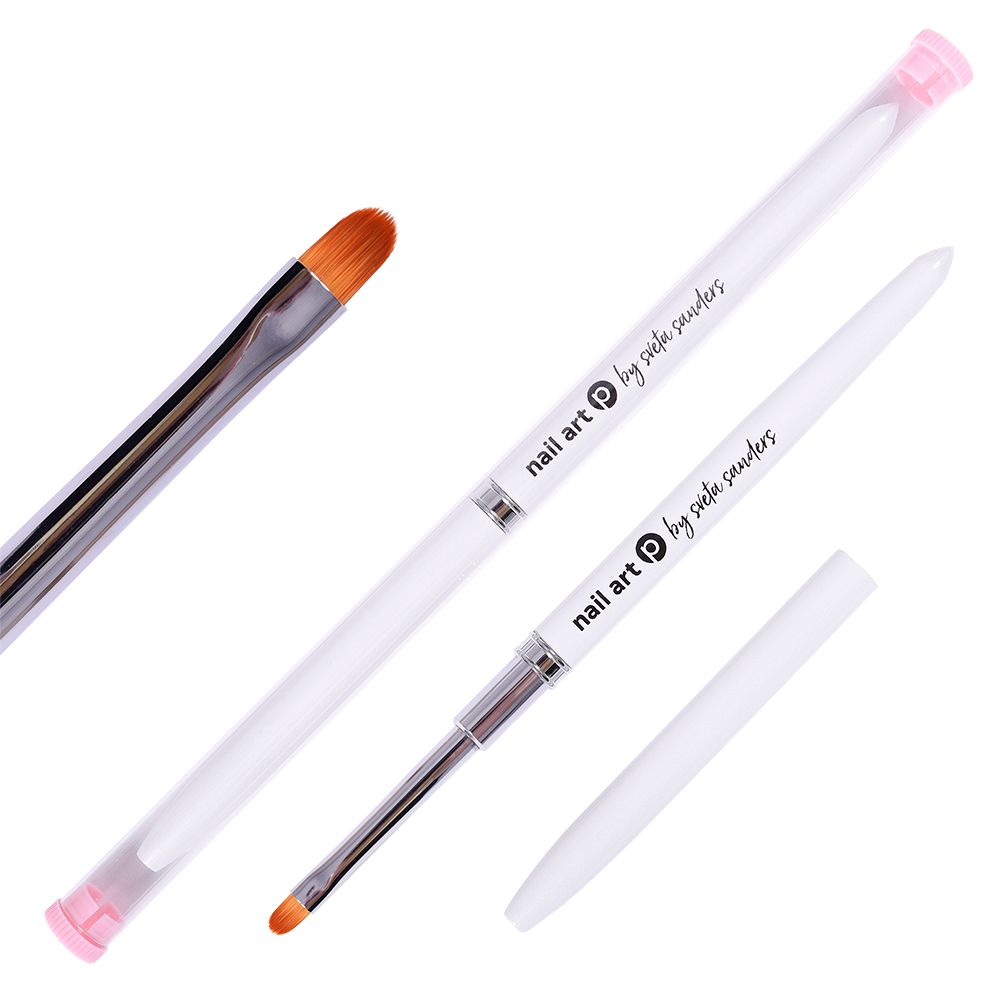
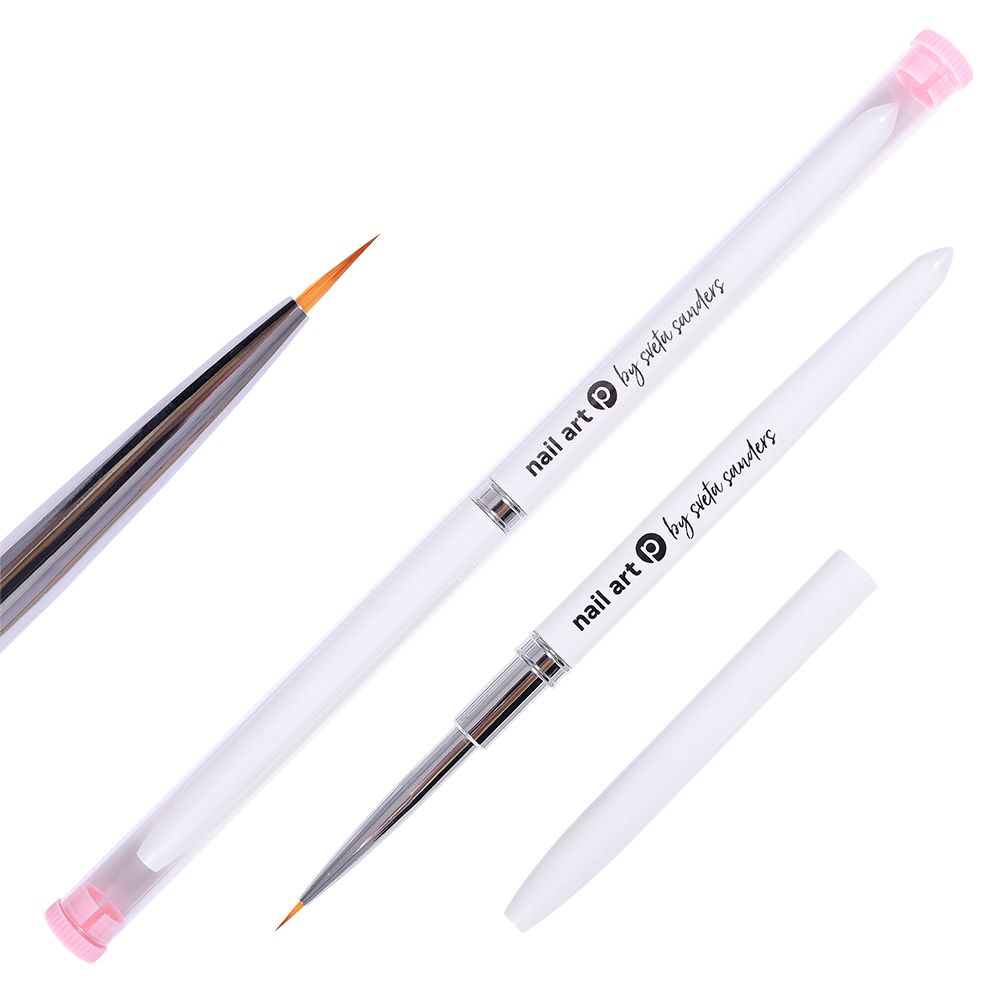
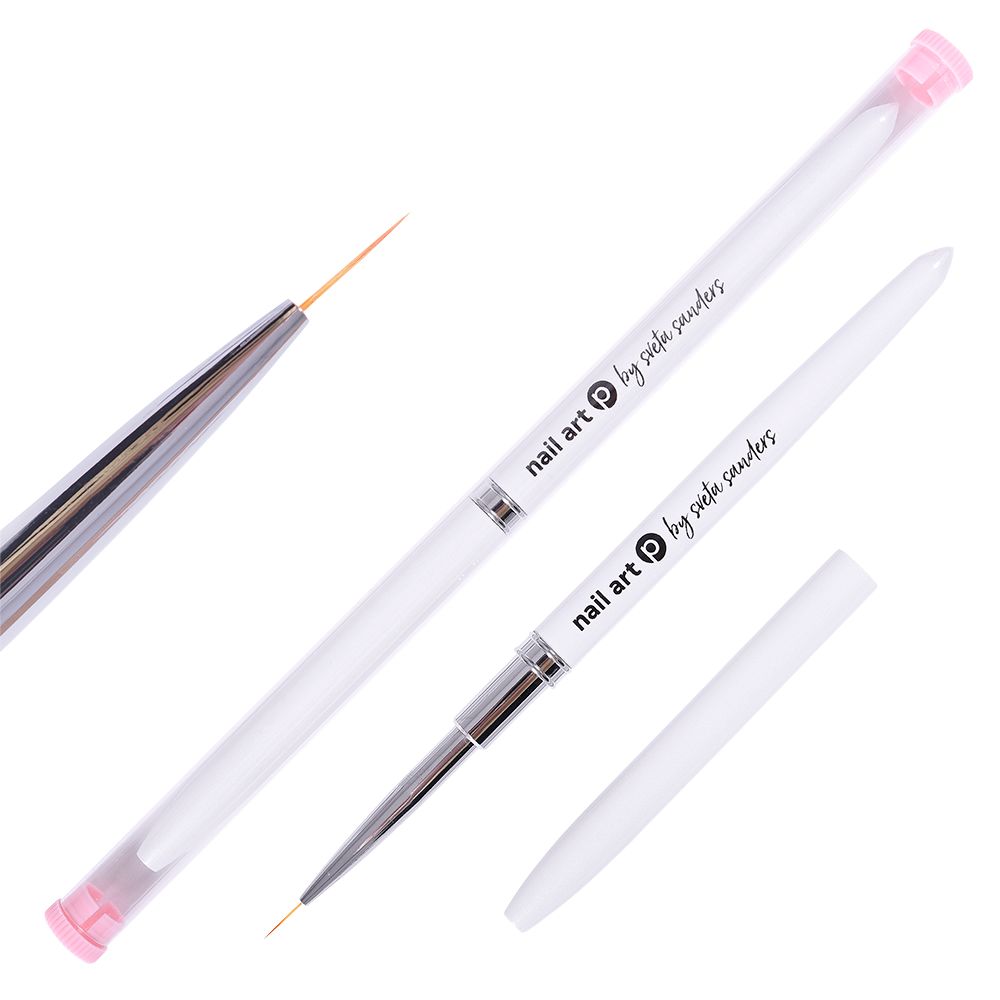
That said, you will need nail art brushes to create freehand nail art. Available in a variety of lengths, choose a brush with narrow, short bristles for details. Brushes with longer bristles work well for lines, and clean-up brushes are essential for salon-worthy nails. Protecting nail art brushes when not in use will extend their life, so look for brushes that come with caps.
Nail polish formulas and tools have come a long way, and because of those advancements, fluid nail art is possible. The goal of fluid nail designs is to create nail polish cells that layer together for a marble-like appearance.
To start, set up a silicone decal mat and arrange your polish in order of application. Using the polish bottle’s brush, drop a series of dots in a rectangular shape large enough to cover your nail. Continue to add drops of different colours of nail polish in a random pattern. And while not explicitly necessary, specialized polish that includes silicone is the easiest way to achieve good cells. This polish can either be applied last or intermittently throughout the process.
Once you have applied all the polish, fold the silicone decal mat in half. Gently squish the polish together and repeat until you are satisfied with the cells and blending. Then lay the mat back flatly to dry. When dry, peel the polish from the silicone mat and apply it to your nail. Clean up the excess polish and use a coat of topcoat to seal the design.
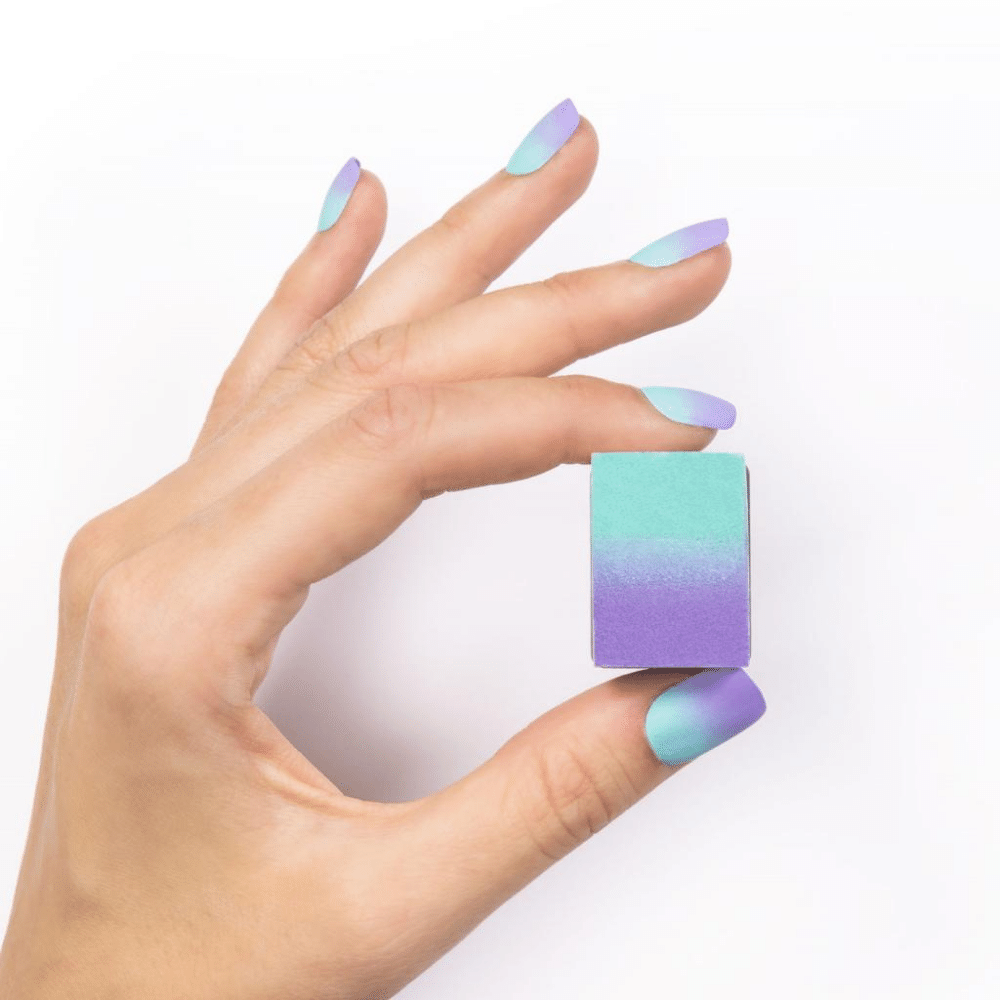
Negative space nail art has only one rule: part of your natural nail must be visible. Leaving a portion of your natural nail exposed is an edgy way to stay current with nail trends. The negative space can be a half-moon, lines, the majority of the nail, or even just the tips. But no matter how much of your natural nail remains uncovered, a topcoat is still necessary for protection and shine.
Arguably the most challenging technique to perfect, water marble nail art creates colourful and dynamic manicures. The technique involves adding drops of nail lacquer into a glass of water. With each new drop of nail polish, the water flares the polish outwards while keeping the circular shape. Once you’d added all the colours you’d like, the next step involves dragging the floating polish into a design.
Using a toothpick or dotting tool, start at one side of the nail polish and move through it to the other. The water allows the nail polish to swirl together into unique and beautiful patterns. Repeat as many times as desired in any direction. To apply the design, place your finger above the polish and then plunge the nail into the water. Remove the finger and, once dry, clean up the excess polish and seal with topcoat.
Affectionally referred to as “torties,” tortoiseshell nail art mimics the brown, black, and orange colour of tortoise shells. This technique requires several polishes. Most importantly, a sheer yellow-orange nail polish. Jelly formulas work well, or you can add clear polish to a coloured base and mix. Henna Nail Polish is the perfect choice.
After your basecoat is dry, apply one coat of the sheer yellow-orange nail polish. Using either a brush or dotting tool, add medium-sized spots of brown polish in a random pattern. The idea is to keep the spots uneven to achieve a more natural look. Next, add black polish in the same manner and slightly overlap the colours, but allow the brown to remain visible. These overlapping layers are what create the multidimensional effect. When the spots have dried, add another coat of sheer yellow-orange and then finish with a topcoat.