- Curable
- How To
- Nail Care
- Nail Polish
How Does Picture Curable Differ From Other Nail Systems?
September 3, 2023
Nail polish is a staple in many people’s lives, but not everyone has the time or budget for regular salon manicures. Traditional polish lasts three to five days, which generated demand for longer-lasting options. They can include acrylic, dip powder, gel polish, and gel overlays. The downside is that virtually all these systems require extensive nail preparation, expensive equipment, additional chemicals, and generate considerable dust. Most are restricted to professional use and can only be delivered safely in a salon environment.
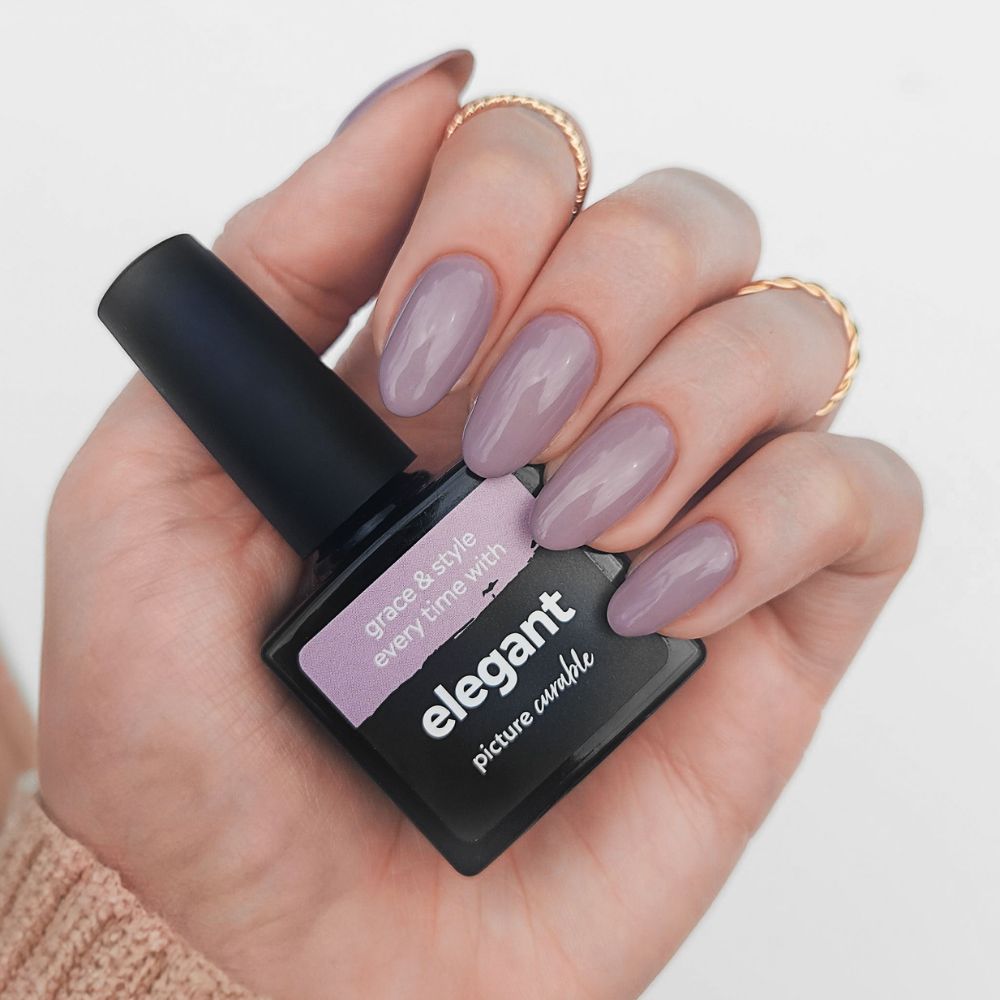
That is, until now. Picture Polish has created a unique, cutting-edge hybrid system for at-home. We developed the formula and simplified the application and removal process to make gel-like nails more accessible. To share the benefits of Picture Curable, we wrote this article that compares our system to the others.
Nail Preparation
Acrylic – Besides basic nail preparation, including shaping and cuticle work, acrylic nails require a scored nail plate. That means buffing the nail with a fine or extra-fine sanding band. Often used in an e-file machine, the goal is to create a bit of roughness for higher adhesion. That means filing away the top layer(s) of your nail plate. This process can result in “rings of fire” so be mindful of speed and how deeply you’re filing down.
Dip Powder – Despite popular belief, dip powder is acrylic. The application differs from the monomer and polymer method, and dip powder only needs buffing in addition to basic prep. Wipe with alcohol afterwards or a customized prep solution to balance pH, and you’re ready for application.
Gel Overlay – Nail preparation for gel overlays depends on the type of gel. After shaping and cuticle work, hard gel requires a rougher nail plate. Start by buffing to remove shine. Then, use a low-grit file to make tiny grooves on your nail for the product to settle. Soft gel systems can differ depending on the brand, but the best rule of thumb is to buff away any shine. Regardless of hard or soft gel, the product will lift if there is any shine on your natural nail. That could mean filing down all ridges to create a smooth, shine-free surface. Wipe the nail plate and underneath the free edge with alcohol before moving to application.
Gel Polish – Gel polish has a more straightforward nail preparation process after filing and cuticle work. Removing shine will increase the wear time but isn’t mandatory. Wipe the nail plate with alcohol and underneath your free edge so the basecoat can wrap over the tips.
Picture Curable – For Picture Curable, nail preparation is the same as the rest, except for one significant difference. Once you’ve shaped your nails and cleaned up your cuticles, that’s it! No buffing is required, and there’s no need to file the nail plate either. This system allows for your entire nail plate to remain intact, minimizing the potential for damage.
Application
Acrylic – In addition to the polymer (acrylic powder) and monomer (chemical liquid), acrylic nails require a dehydrator and primer. First, apply the dehydrator and let dry. Then, brush the primer on the nail plate. Once that’s dry, dip a brush into the monomer and then the polymer to create a bead of product. Use two or three beads to cover the nail, depending on the length. The upside to acrylic is its strength. As such, it’s the go-to product for extensions with tips of a form. Acrylic nails air-dry, so it’s best to work one nail at a time as quickly as possible. Acrylic often dries unevenly, so file it down to a smooth surface. Inhaling acrylic dust can be harmful, and wearing a mask is highly recommended. The final step is colour, nail art if desired, and top coat.
Dip Powder – Dip powder achieves its chemical reaction with three different products: base coat, activator, and top coat. Working one nail at a time, apply a base coat to the prepped nail plate, then dip the nail into the powder of your choice. Tap off the excess and move to the next finger. Once they’re dry, dust off the excess powder. Repeat this process again. Then, move onto the activator coat and apply generously. When dry, file the sides and top as the powder dries rough. Brush away that dust and apply another coat of activator, allowing it to dry completely. Finish with a top coat. For those counting, this is upwards of eight steps and requires at least four products.
Gel Overlay – The purpose of a gel overlay is to create volume and shape for the nail. Most natural nails are flat, which increases the possibility of breaks. Developed as an alternative to acrylic, gel overlays are strong enough for short extensions. Brands can differ wildly with how to apply gel overlays and the products you need. On average, gel overlays require two layers of base coat, aka builder gel. The first is applied thinly and remains uncured to work as a slip layer. The second coat goes on thicker, concentrated in the middle of the nail to create an apex. Use a liner brush to even out the cuticle line and edges, then flip the hand upside down. The flip helps center the apex peak. Depending on your experience with the application, gel overlays could require filing to smooth the gel before adding colour. Finish with topcoat.
Gel Polish – Applied similarly to traditional polish, gel polish requires a base coat, colour, and a top coat. Some gel polishes have thinner coats, while others have a thicker consistency, like paint. After each coat, cure for at least 30 seconds or the recommended brand duration. Also, take care not to touch your nails after preparing them. Any oil or residue will lift the polish and decrease wear time.
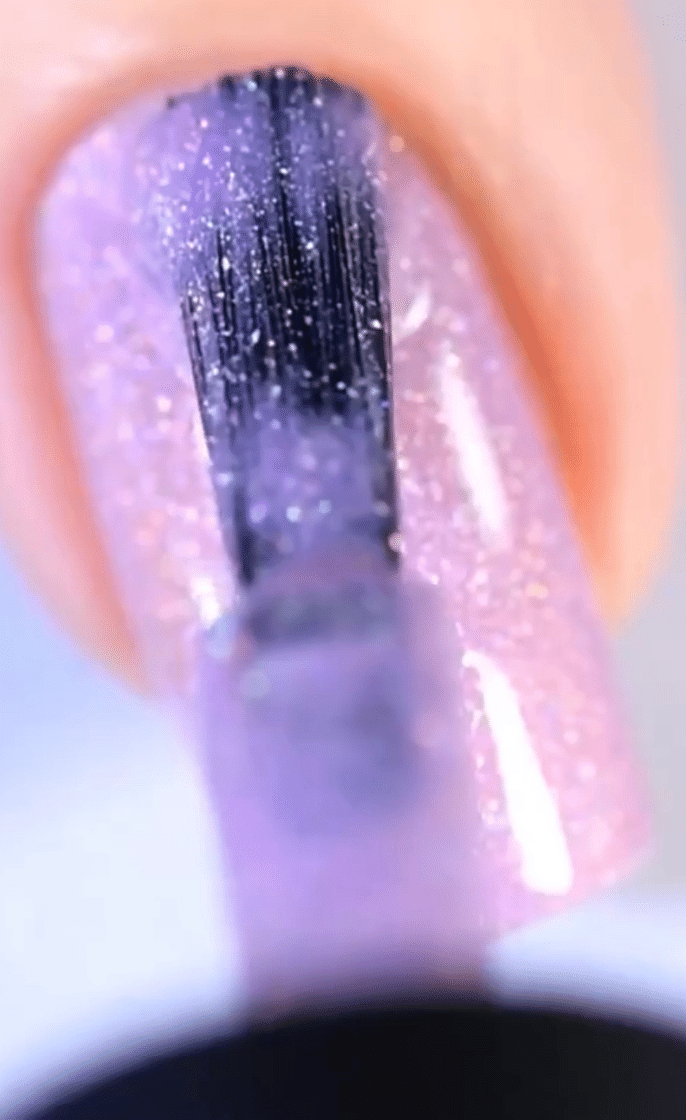
Picture Curable – Taking the essence of gel and creating a fresh formula, Picture Curable doesn’t require primers, dehydrators, or base coats. Yes, you read that correctly. There’s no basecoat required! After preparation, apply a thin layer of colour and cure for 120 seconds. The lamp works automatically, so just slide your hand in. Apply a second coat of colour, cure, and repeat the process with a top coat. Flip your hand upside down before curing the top coat to mimic the look of an apex. The self-levelling properties will draw the top coat away from your skin and into the center of your nail. This bonus step gives flatter nail beds a more rounded shape, but remember to keep the layer of topcoat thin.
Maintenance and Removal
Acrylic – Nails with acrylic overlays or extensions can last 3-4 weeks between appointments. Nail technicians can fill acrylic overlays up to three times before a complete removal is necessary. For removal, file down the acrylic until a very thin layer remains. This process is swiftly achieved with an e-file and takes considerably longer to hand-file. Soak the remaining product in acetone for 10-15 minutes. Use a cuticle pusher to scrape the acrylic from the nail bed when it is soft and pliable. Repeat if any product remains.
Dip Powder – A full removal of dip powder manis is required every 3-4 weeks or as needed. First, file the top of the nails to create grooves in the topcoat and eliminate shine. Soak nails in acetone for up to 30 minutes and then use a cuticle stick to remove the product. If any acrylic remains, repeat the soaking process. Be sure to wash your hands and apply cuticle oil afterwards.
Gel Overlay – Like acrylic, you can fill gel overlays multiple times, and wear-time is 3-5 weeks. Hard gel removal is the trickiest because acetone cannot dissolve it. Instead, hard gel must be filed off your nail plate, which can cause significant damage. For soft gel removals, file it down until a very thin layer remains. Unlike gel polish, gel overlay products don’t dissolve and flake off. Instead, the product will become granular. After soaking nails in acetone for 10-15 minutes, use a cuticle pusher to remove the product.
Gel Polish – After 2-3 weeks of wear, it’s time to remove gel polish. File the topcoat off and then soak nails in acetone for 10-15 minutes. Gel polish will dehydrate and flake off the nail bed. If stubborn spots remain, repeat the process. You’ll damage your natural nails if you force gel polish to detach from your nail bed before it’s ready.
Picture Curable – Regarding removal, Picture Curable is the simplest of these systems. Lasting up to two weeks, when you’re ready for a change, it’s time for a simple removal. No filing is required, which means no dust! Gently push the polish from your nails after soaking for 3-5 minutes. That’s half the time of mass-market gel polish! If you want to speed up the process, you can file a bit of the top coat, but it isn’t necessary. Repeat the soaking time if any bits of polish remain, and then you’re ready for your next mani!
As you can hopefully see, Picture Curable truly stands out against nail enhancement systems. The simplified application process delivers gorgeous colour and a hint of volume, and removal is a snap! Plus, there is no dust, additional chemical products, or finish filing. Welcome to the future of at-home gel-like polish, NPAs!
Like all curable nail products, Picture Curable contains HEMA. Avoid getting Picture Curable on your skin. If it happens, wipe it promptly with alcohol and a brush. For those with allergies, Picture Polish also offers traditional nail polish in an incredible variety of colours and shades.
Have you tried Picture Curable? We’d love to know what you think! Particularly if you have experience with other gel enhancement systems.