- How To
How to Fix a Broken Nail: We Show You How in 5 Ways!
July 25, 2023
Nails are determined to break, no matter how well we care for them. Often times, not even for an honourable reason like saving a child from a cliff or rescuing an animal in distress. No, it usually happens when opening the refrigerator or jamming fingers into a cluttered drawer. Regardless of how or when it happens, a nail break ranges from inconvenient to downright devastating. But before you completely cut off your free edge, there could be a way to save some of the length. So how to fix a broken nail? We’ve put together five ways!
1. File the Break
Certain types of minor nail breaks are easy to file down and erase as if they never happened. If the break occurs on the corner of your free edge, gently use the Picture Polish glass file until it’s gone. Because it’s glass, you can file in both directions but go slowly to avoid snags. If you’re using an emery board, be sure to file in one direction.
For side breaks, use your knuckle and finger bone as a guide to keep the file straight. Over-filing the side of your nail can lead to complications like uneven growth or exposing the skin beneath the nail bed. It’s essential to file in one direction for side breaks, even if using a glass file. Snags can happen instantly with side breaks, dramatically worsening the tear. File as much as possible, and move down to the Tea Bag Method if a crack is still visible. It’s tempting to buff the top of the break, but this can escalate quickly and lead to overfilling.
2. Change the Shape
Depending on the location of the break, filing it away may require changing your nail shape. You can just reshape the broken one or all of your nails for a symmetrical look.
Squares can easily become ovals or almonds.
Ovals can become almonds.
Almonds can become shorter rounds.
And if all else fails, forget about a specific shape and just even them out.
Again, any shape change depends on where your break is. Use the filing technique to change the shape and save your nails while giving you a fresh look. Sometimes, we need something drastic to mix things up! A nail break can be an opportunity to try a new style. When you’re happy with your fresh shape, remember to apply CoCo Potion Cuticle Conditioner to nourish your nails! This will help them stay healthy as they grow.
3. The Teabag Method
The Teabag Method is your best bet if your nail break needs a temporary patch. This technique uses a teabag’s interwoven fibres and nail glue to cover a break while offering additional strength and stability. It’s best to show the steps visually, so we’ve included some photos.
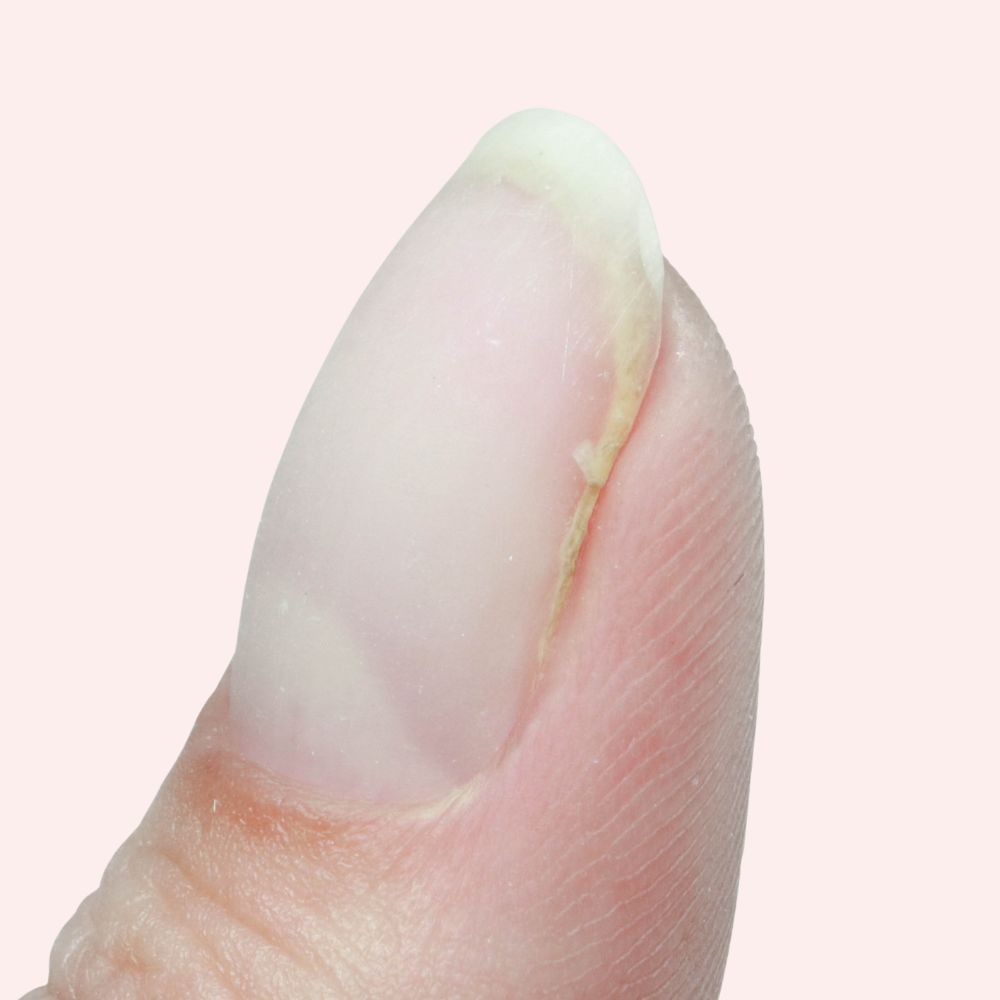
As you can see here, there’s a split on the side of a thumbnail. Too far down the nail to cut off, and it’s torn too far across the nail plate to file away completely. A perfect candidate for the Teabag Method.
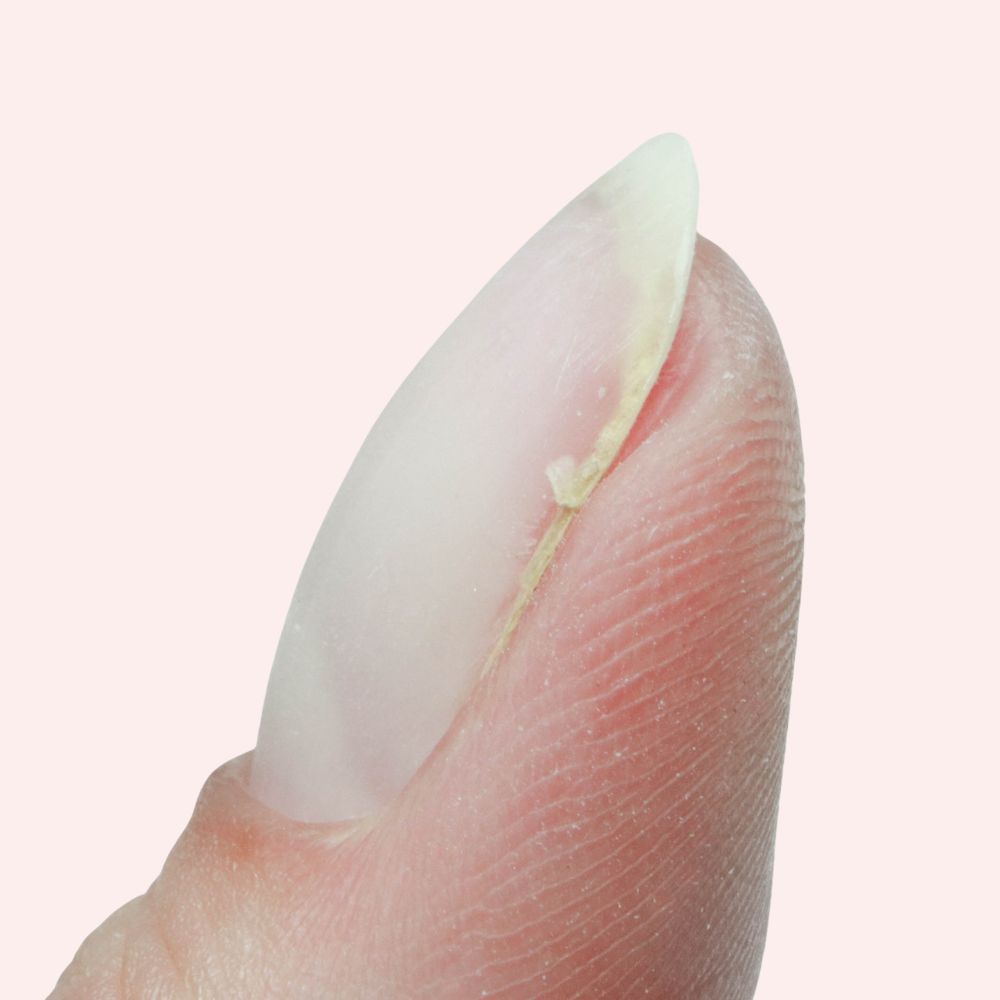
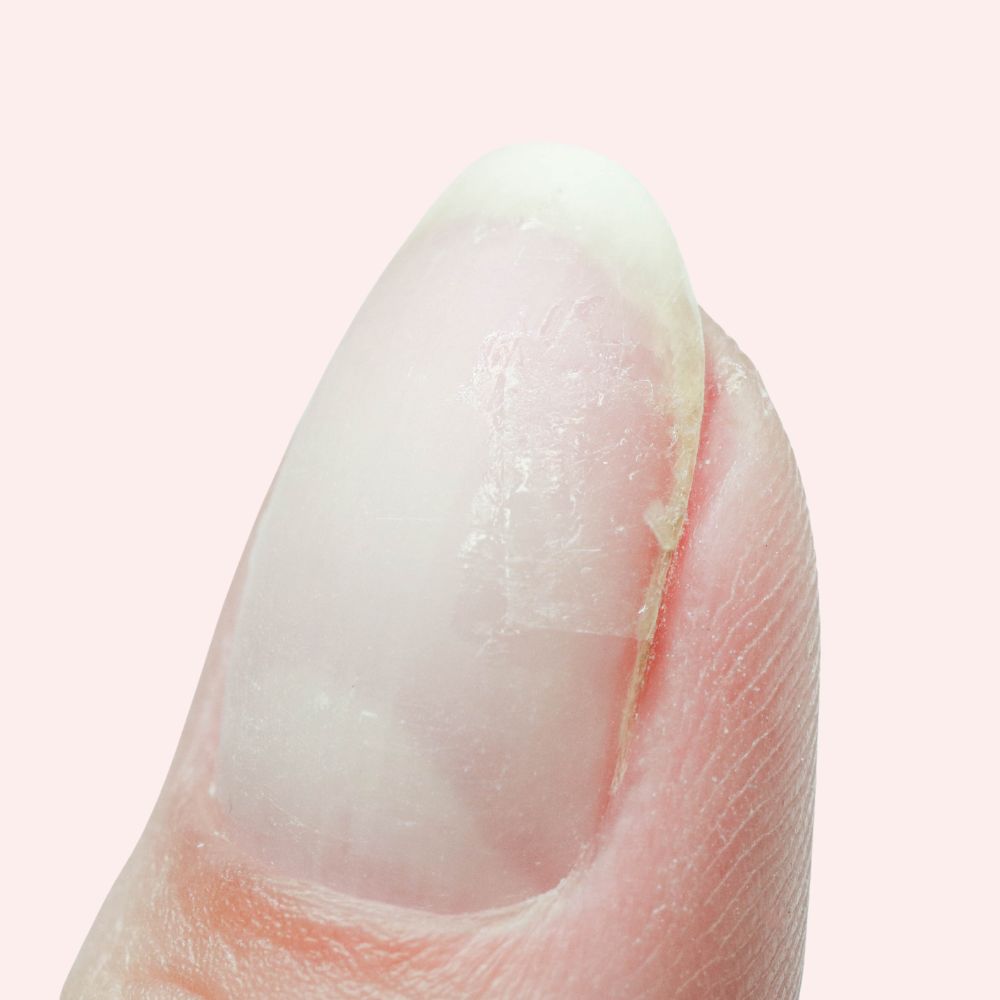
Step 1 – File
Use the filing technique to remove as much of the break as possible. Notice how the nail is shorter as well, which lessens the pressure on the break when you bump it. Most importantly, the break is smooth along the side. A bit of the nail remains visible, which is an ideal place to stop. While tempting to file down to your skin, over-filing can permanently damage your nail. And from the looks of this break, even if filed down to the skin, the break would remain. If you are in need of a nail file, check out our Glass Nail File!
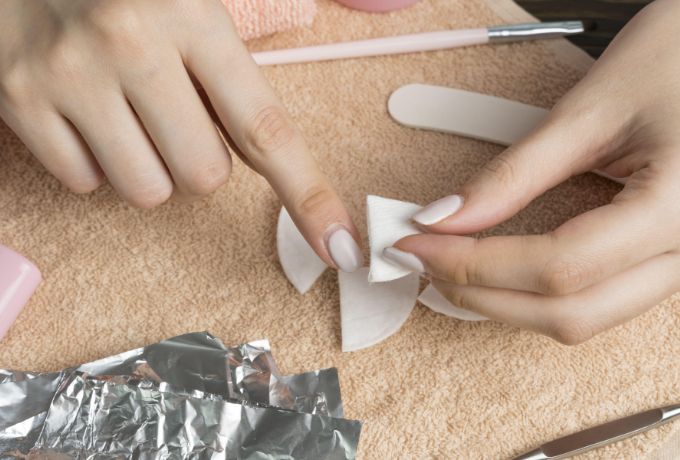
Step 2 – Cut the Tea Bag
You want the size of the teabag patch to be larger than the break. 2-3 times the width, and the length depends on the break itself. This break could tear inward easily, so extending it towards the center of the nail helps reinforce the protection.
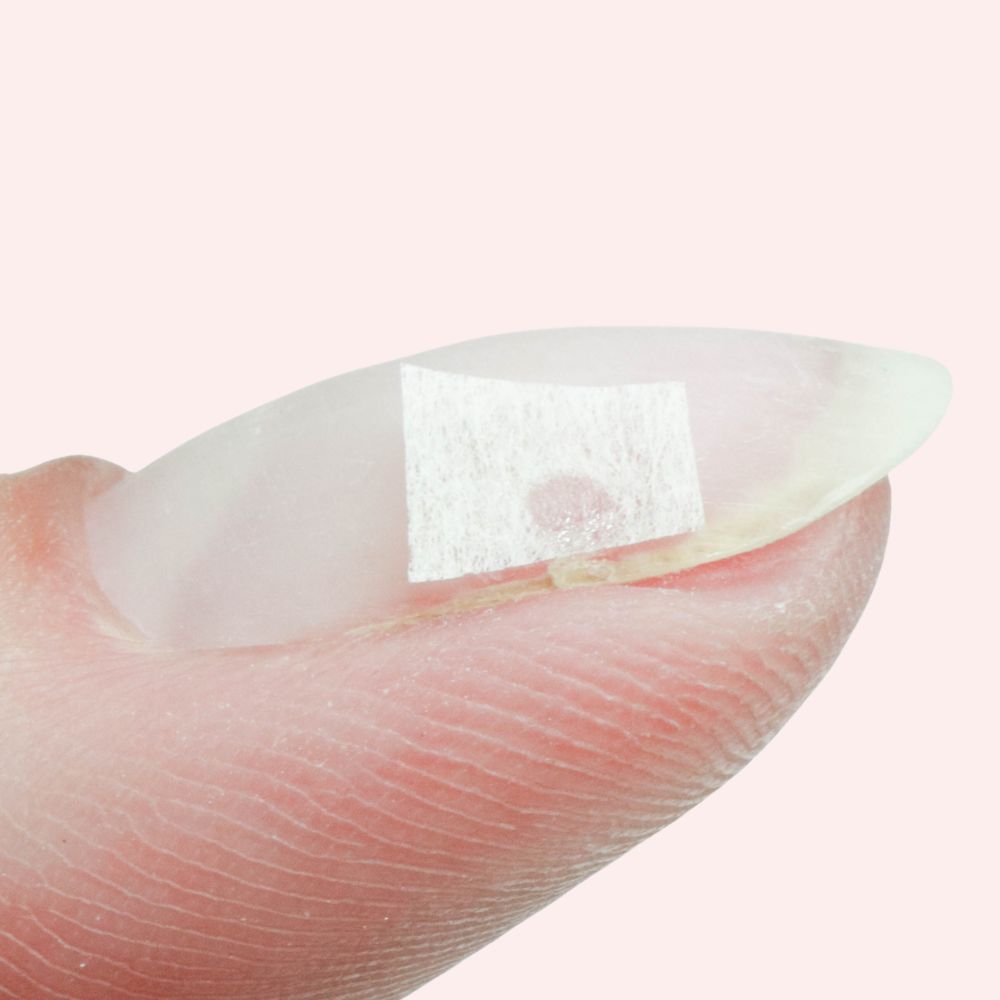
Step 3 – Drop of Glue
Add a tiny dot of glue to position the patch where you want it. The idea is to cover the break completely, so slide the patch right up to the side of the nail.
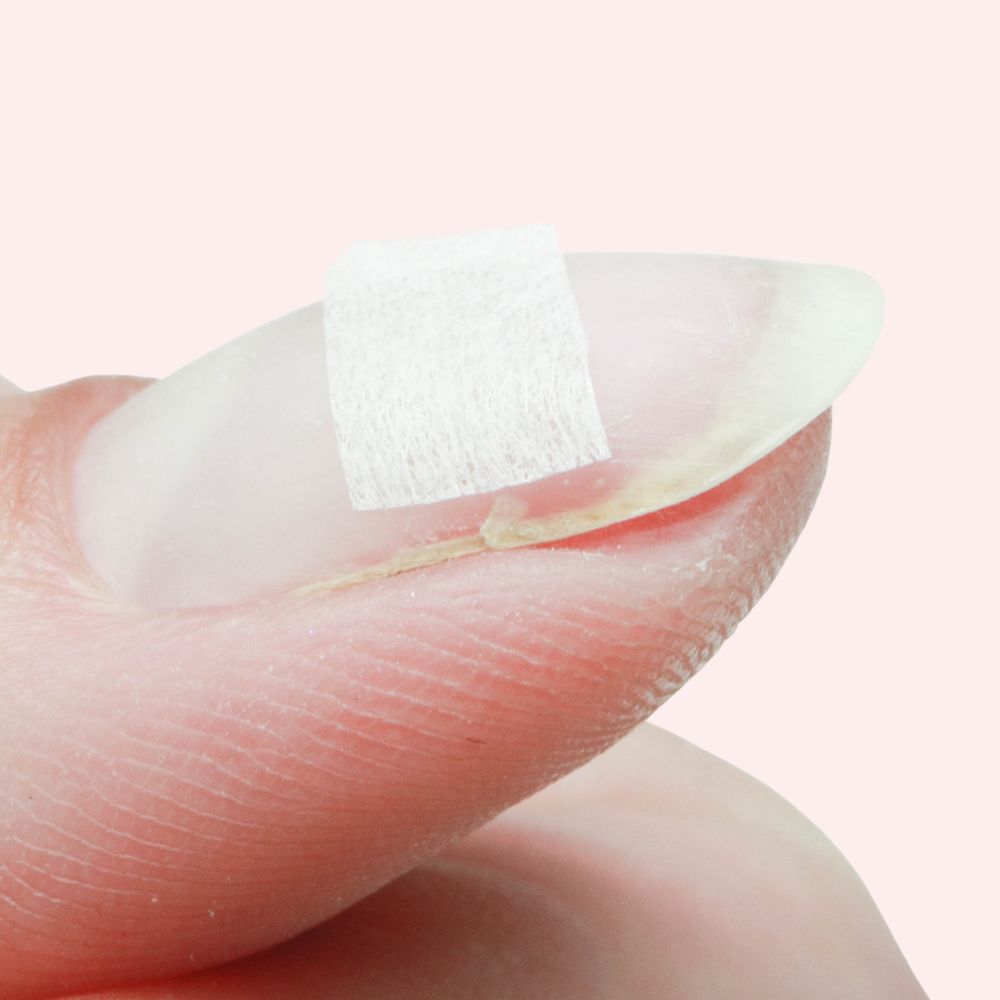
Step 4 – More Glue
Add more glue to saturate the patch. Try to keep the patch flat against the nail and avoid globs of glue seeping out. Use a light tapping method with a wooden cuticle pusher to even out the glue around the edges. The goal is to keep the patch as flat as possible. Let the glue dry completely.
Step 5 – Base Coat
Apply 1-2 thin coats of Fill ‘Em Up Base Coat. Let dry in between. Fill ‘Em Up’s unique formula will help blend in the patch with your nail. Evaluate how the light hits the patch’s edges to decide if a second coat is required.
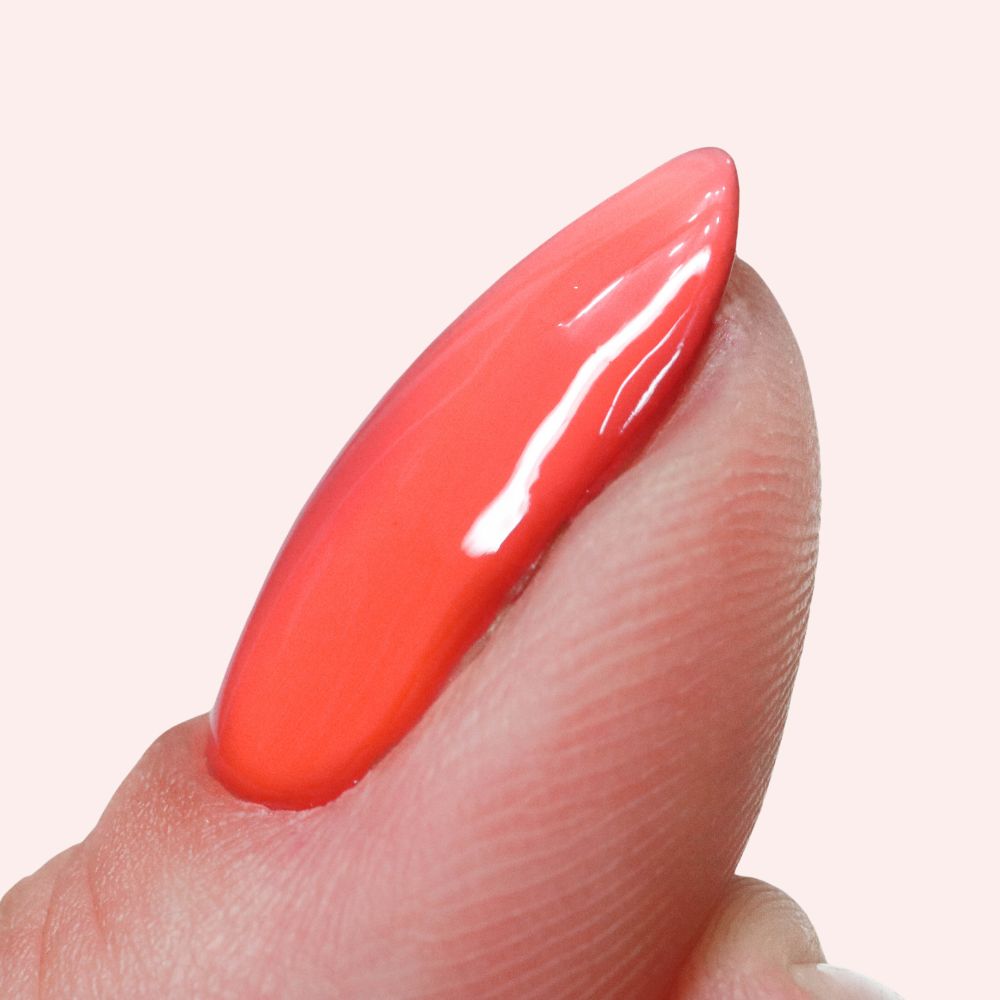
Step 6 – Colour and Top Coat
Finish with two coats of colour, like Coral Reef nail polish, and the top coat of your choice! The patch is barely visible, and the break is completely covered. A nail miracle! Be extra careful with your patched nails because they’re still at risk for further breakage. You may need to reapply the patch if you change your nail polish, so keep your materials handy.
4. The Big Cut
We’ve arrived at the last resort: The Big Cut. If you’ve tried everything, but the break is just too large, cut your free edge as short as possible. Despite the disappointment, we stand beside you in this moment of sadness and offer a way to have a little fun.
If you cut the broken nail but leave the rest of your nails longer, consider making the stubby a statement! Paint it in a different colour or add a binding coat of glitter. The shortie nail already stands out, so embrace the change and be a bit cheeky. Nails are supposed to bring joy, even when they betray us by breaking!
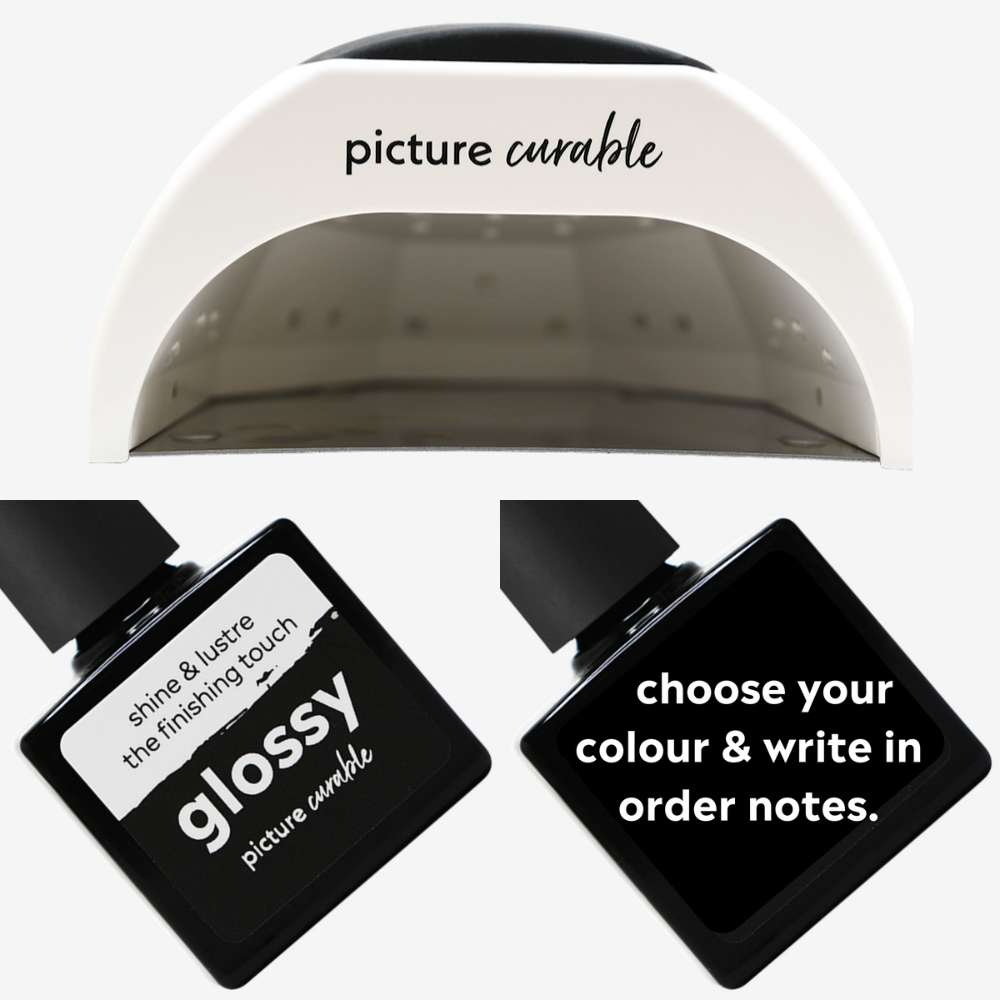
5. Picture Curable
If you find that your nails are breaking consistently, we highly recommend using Picture Curable. This incredible system is exclusive to Picture Polish, and shares many characteristics with gel nail polish. The unique formula features high adhesion, which creates a stronger line of defence against breaks. Nail preparation for Picture Curable is also far less aggressive than most professional-grade gel systems. Even better, though, Picture Curable removes like a dream!
Shop Home Nails Starter Bundle here.
We hope you never need this post, but we recommend bookmarking it just in case. The Teabag Method is a true lifesaver! Do you have any tips for how to fix a broken nail? Let us know in the comments! And please tag us @picturepolish in all of your Picture Polish manicures. We love seeing your creations, whether on longer nails or shorties.