- How To
- Polish
How To Store Nail Polish: We Show You How In 3 Ways!
June 8, 2023
Manicures and pedicures are an attainable luxury for most NPAs and a quiet way to practice self-care at home. In the long run, purchasing quality products is a small price, but a price just the same. Caring for your Picture Polishes will extend their life and maximize your investment. Because sure, we all love the look of a gleaming rainbow of neatly arranged polish bottles on a wall display. But there’s also a practical side, on how to store nail polish, which we’ll share today. Responsible NPAs, unite!
Storing and protecting your hoard of precious lacquer treasures requires some thought. Not all storage possibilities are created equal. First and foremost, direct sunlight is the enemy. The heat from prolonged sun exposure can distort pigments and texture, leading to dried-out bottles. Along the same lines, be sure to keep nail polish bottles away from other sources of extreme heat. That can include open flames, ovens or stoves, radiators, or vents. Nail lacquer is a flammable product, so stay safe! As far as safety is concerned, store nail polish bottles out of reach of unsupervised children.
Before we get into the types of storage options, there’s one more element to consider: the Picture Polish boxes! Much care and consideration went into their creation, and we highly recommend keeping them for storage. With sustainability in mind, the simple design has only three categories: nail polish, nail products, and curable lacquer. No individual product names are printed on the boxes, dramatically reducing waste and cost—a practical and conscientious choice. No matter the collection, the boxes are the same. They’re also made from 25% recycled materials and can be recycled themselves, should you choose to remove them.
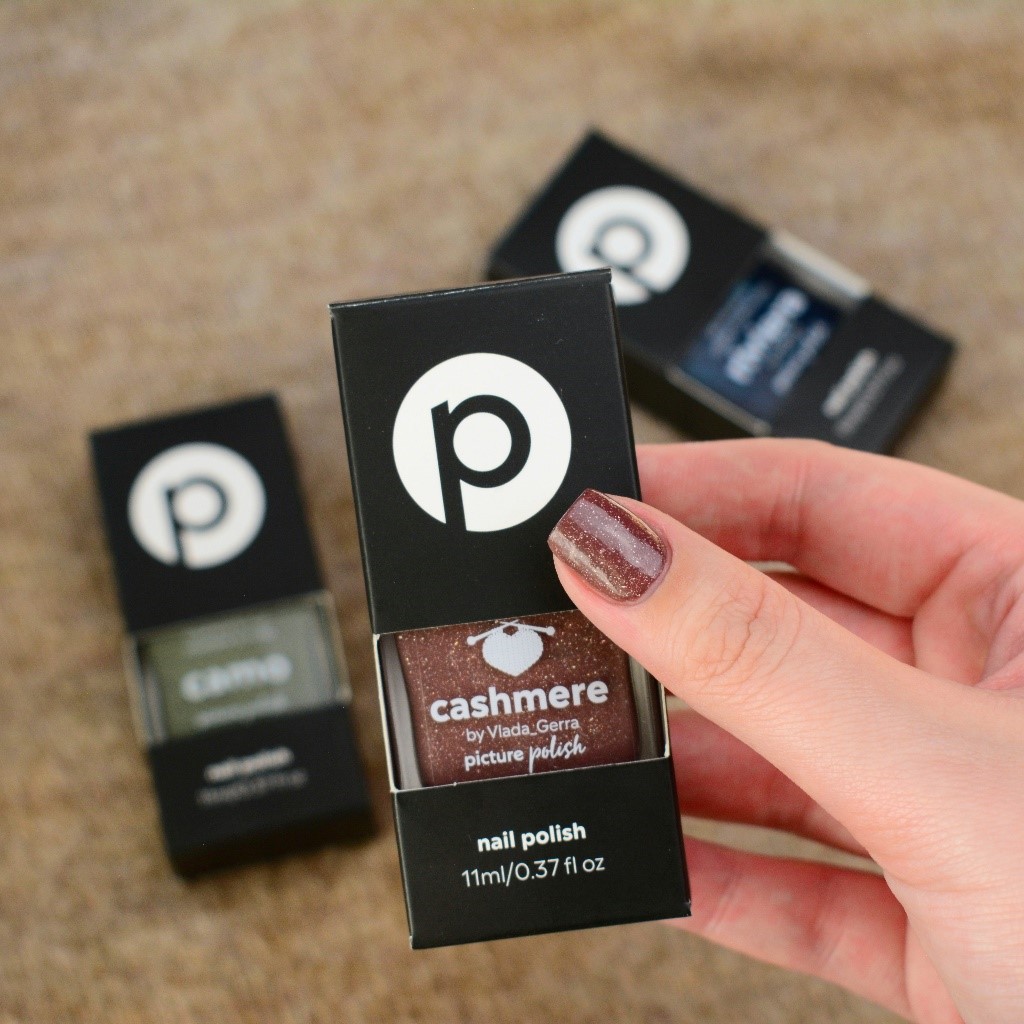
But we encourage you to keep in mind that the sleek black box is for more than just a killer visual display. Ever drop a bottle on the floor? Nail polish exploding into every crevice, deep and small? Nightmare. Keeping polishes in their boxes gives them a better chance of survival, should they slip from your fingers. With the cut-out at the front, you can see the colour and name, which helps with organization.
Now that we’ve talked about why proper storage is crucial for your nail polish, it’s time for the fun part! Yes, we’re moving onto the plethora of potential storage systems. Depending on the size of your collection and where you have room, there are a few general directions to ponder.
Drawer Storage For Nail Polish
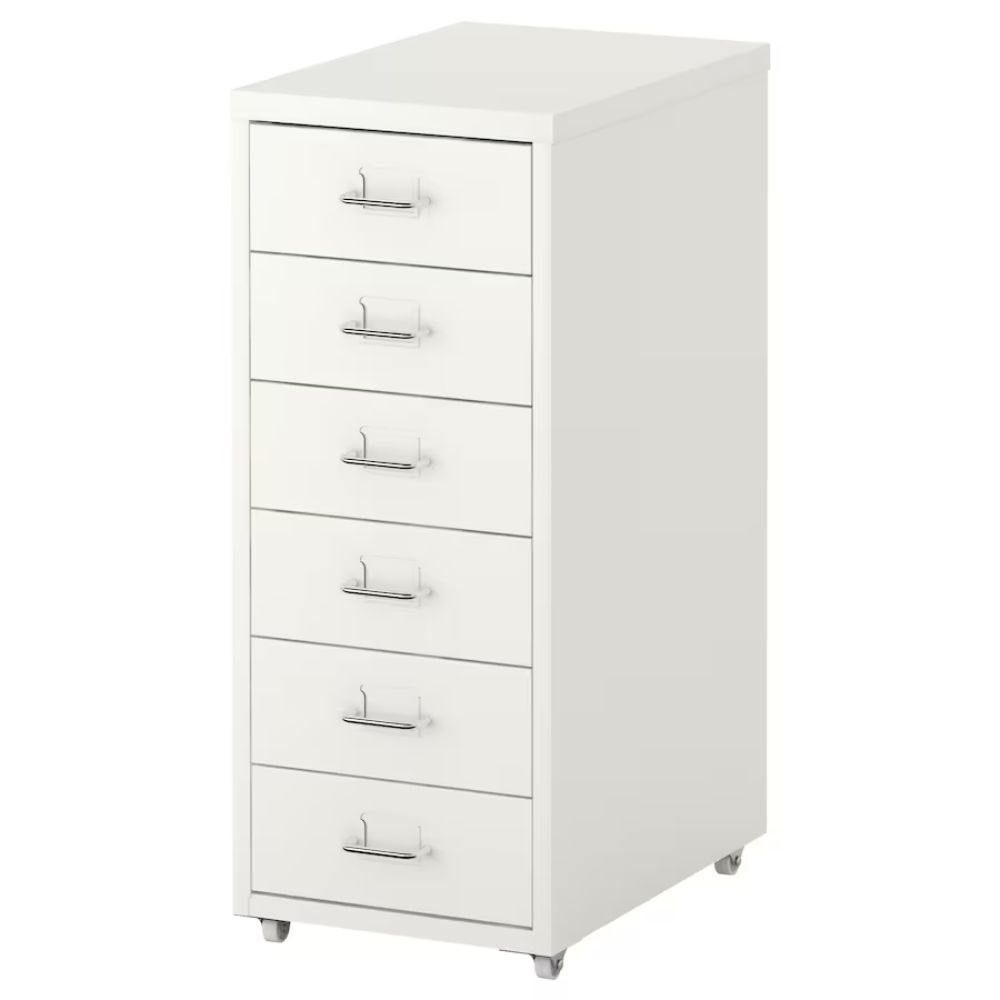
If you’ve been an NPA for a while, you probably already own the iconic HELMER from IKEA. Perhaps even more than one. With ample drawer heights and extended sweeping depths, HELMER units can hold hundreds of nail polish bottles. Not only that, but HELMER units stand on casters for more storage flexibility. It fits with most of the IKEA desks for a cohesive nail station, is priced appropriately and often in stock for speedy pick-up or delivery. In essence, it’s the nail storage that dreams are made of. Give us HELMER, or give us nothing!
Just kidding, there are other options, but this one is pretty hard to beat. Some NPAs keep the boxes and stick a painted falsie on top to see your colours easily in drawers. Admittedly, it’s a bit of extra work, but worth it for some hidden rainbow goodness and protecting your beauties.
Pro Tip: Additionally, keeping your collection in their Picture Polish boxes eliminates the bottles rattling together when opening and closing drawers.
Of course, you can choose other drawer systems. Most furniture retailers offer their own designs and versions. More stylish drawer systems are out there if your nail polish storage is in a common area. And hey, if you want to add a lock for security, we don’t blame you. Keep those precious babies safe at all costs.
Click here to shop Helmer at Ikea, Australia.
Wall Storage For Nail Polish
If you’re interested in Pinterest-worthy nail polish storage, it’s all about the wall display. While a drawer system like the beloved HELMER can pack in the polishes, they become difficult to see from the top. Keeping the bottles facing frontward in a single row puts their magnificence on center stage. Wall storage transforms your polish collection into a piece of art and allows for quick colour selection.
Some NPAs convert spice racks, others DIY them, and most beauty supply stores have a handful of options. We recommend choosing a rack with a safety lip or barrier on each shelf. It’s a long way to drop should a bottle or two accidentally get knocked off. The PP boxes also help in this case, adding another layer of protection to your stunning colours.
The only downside to wall storage is that it requires a wall and secure anchors for weight support. Remember that the display must be kept out of direct sunlight, as well. Perhaps not an ideal storage method for renters or those without wall space to spare. Maybe you could squeeze in a mini one for your absolute favourites, though. What’s more eye-catching than your PP collection?
Rolling Trolleys For Nail Polish
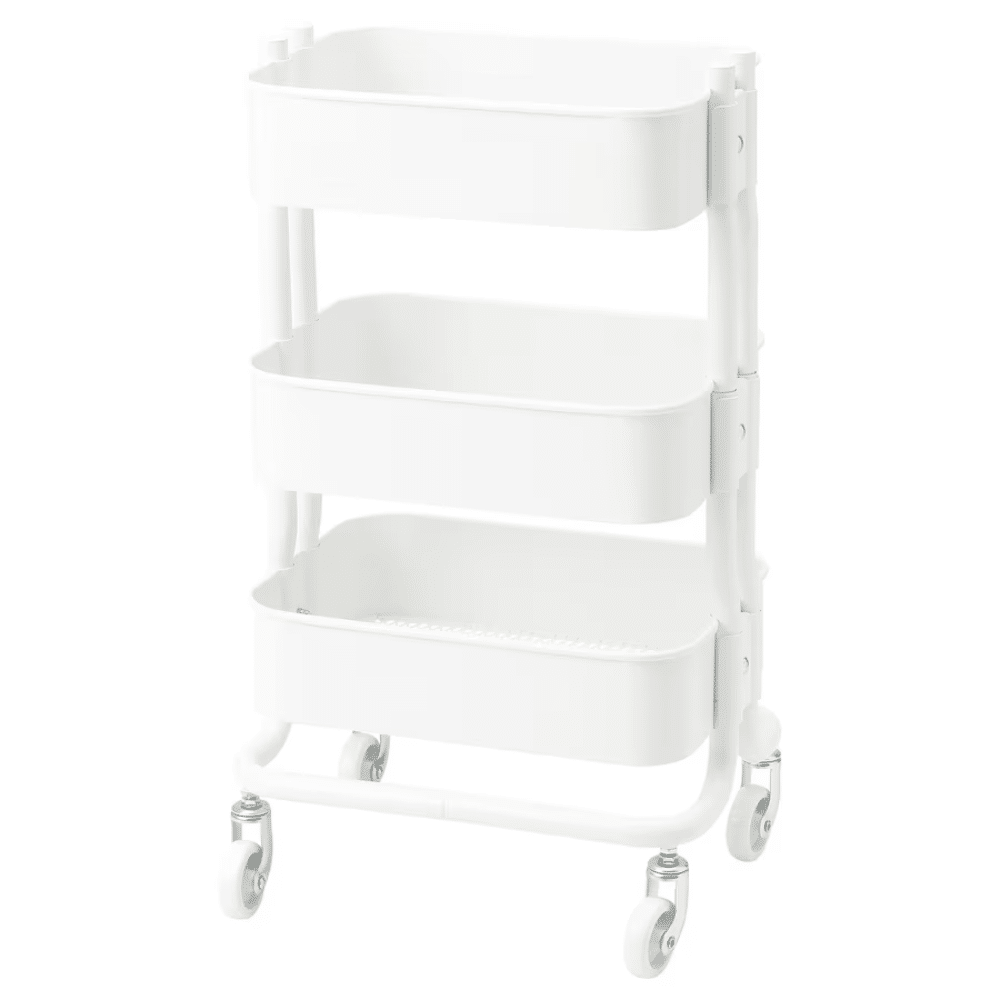
Rolling carts make for fantastic and portable nail polish storage. An excellent option if you don’t have a set space for doing your nails, as the wheels make it portable. Keep it in a closet or a corner until you’re ready, and everything you need will be at your fingertips. Not only can the deeper drawers hold your nail polish, but your other nail care items as well. Available in three or four heights, rolling carts also come in many different colours to compliment your existing décor. Found at craft or hardware stores or online.
Click here to shop Rolling Trolley at Ikea, Australia.
Next up! There are several words that instantly strike fear into any nail polish lovers heart. Terms like chip, break, and smudge can make us weep and wail. But no other word makes our blood run colder than a three-syllable necessity: Decluttering.
How to Declutter Your Nail Polish (Even When You Don’t Want To)!
Despite our best efforts to stay organized, collections can inevitably grow out of control. The good news is there’s no single way to declutter your polish, as everyone has their own taste and painting process. This guide is laid out in general phases to help you organically remove shades that don’t speak to you anymore. As we grow, preferences shift and change. Surrounding yourself with colours that inspire you to create and express yourself is the end goal of decluttering. And if there’s room for a little shopping spree at the end, well, let’s call that an unintentional bonus.
Phase 1 – Separate the Separators
The easiest way to instantly identify colours you haven’t used recently is to look at the tops of the bottles. If there’s a band of colour floating there, typically darker than the polish itself, it means the pigment has separated. Easy enough to fix with a few shakes holding the bottle upside down. But before you do that, collect all the separated bottles and put them to the side.
Phase 2 – Colour Ombré
If your storage system has colours arranged in a visible ombre from lightest to darkest, you’re already well into Phase 2. If not, work with one colour at a time. First, arrange all your bottles of the same colour into an ombre. We recommend laying them on a white surface to help the colours stay true. A piece of Bristol board, tabletop, or computer paper works well.
After they’re in order, grab the ones that immediately catch your eye. Don’t think too hard. Moving quickly will serve you. Trust your gut reactions! Create the beginning of your Keep pile with these polishes.
Then repeat the process with the remaining shades while thinking about the rest of your nail inspiration. Shades that you may not necessarily gravitate towards but need for designs you like to paint. For instance, having several different greens for floral foliage, even if you’d never wear a solid green manicure. If you’re unsure or wavering on a particular polish, consider it a keeper for now. Put all of those polishes together in the Keep pile. The remaining shades belong with the Separators.
Repeat Phase 2 with each colour group. As tedious as this phase is, it breaks down the decluttering process into manageable bites. If you need a break, we encourage you to take one. Also, snacks help. Decluttering isn’t a sprint. It’s a marathon. Carbo-load appropriately. We enjoy red licorice sticks as they can point at polish bottles in addition to being a delicious snack.
Phase 3 – The Final Pass
Great news, it’s almost over! In fact, if you’re someone who doesn’t feel regret or who has zero nail-polish-hoarding instincts, congratulations! Bundle up the Separators and Colour/Shade rejects and skip to Phase 4. Please know that you do so with our admiration.
If not, that’s ok because we need this step, too! Look at the Separators and each Colour/Shade reject pile. Are there any you can see a use for? Anything that stands out from the rest or your eyes keep lingering on? Grab it and compare the colour to the ones that already made the cut. Keep it if it’s unique enough and/or you can envision yourself using it in a design. If not, let it stay with the discards.
Be warned that the Separators can be tricky here. Sure, you haven’t used these polishes in a while, but maybe you will soon? You’d just forgotten about them, that’s all! You can paint a million designs with that teal…
If these circular thoughts pop up—they’re a trap! If a polish has separated, you simply don’t reach for it. The colour separation doesn’t lie. For whatever reason, those Separators are like the Final Boss in a video game and can be the most challenging to let go. You’ve come this far! See the process through. We believe in you!
Phase 4 – The Removal
It’s official, you’ve successfully decluttered your nail polish collection! Now comes the final, most crucial step: removing the polish from your home.
Giving away to friends and family is a great option. Both for you, and for them! Bundle up colours they’ll love, and if you have some base and topcoats, those are awesome to include too. If the bottles are nearly empty, swirl around some acetone to remove the colour and reuse them for cuticle oil.
Because nail polish lovers are generous souls, there’s also the option of donating nail polish. Keep in mind that for sanitation and health safety reasons, donated polish must be unopened and within one year old. Always contact the charity ahead of time to ask if they accept nail polish, along with their guidelines. As nail polish is flammable, your donation must stay out of direct sunlight if dropped off outside.
After exhausting all options and you have some polish left, you’ll need to dispose of it. Nail polish is considered hazardous waste and cannot be poured down drains or included in standard garbage collection. Local agencies sometimes host free hazardous waste drop-off days, so be sure to contact your waste disposal services.
No matter how you choose to get the polishes out of your home, we highly recommend doing so as quickly as possible. Bags of polish have a way of sticking around at the bottom of closets, and the whole point of decluttering is to give yourself new room. You went to all the effort of considering each and every colour in your collection, so reap the benefits!
We hope you found this article helpful! What’s your preferred method to store your PP collection? What are your decluttering tips? Check out our Instagram page and let us know in the comments! We’d also love to see your before and after pictures of your own nail polish declutter. Include #picturepolish and tag us @picturepolish!