- How To
- Nail Polish
How To Apply Different Nail Polish Formulas
May 17, 2023
The traditional understanding of nail polish application typically includes a base coat, two coats of colour, and a top coat. As the nail industry has evolved, the options for these basic steps have also expanded. There are extensive variations of base and top coats, each with specific purposes for longer-lasting manicures. Regarding the nail polish itself, the standard of two coats also has some wiggle room. The fact is, to get the most flawless application, it’s essential to consider the formula! In this article, we’ve briefly summarized each PP formula and the best application method. We also include recommended base coats and top coats to enhance each formula. PP fans, we’ve got you covered!
Crème Nail Polish: The Classic Favourite
This formula is the OG of the nail polish world. We all know it, love it, and can’t get enough. Crèmes are rich and smooth and are available in soft yellows like Sorbet nail polish and darker neutrals like Nougat nail polish. That means no glitter, holographic elements, or shimmer—just pure, unadulterated, gorgeous colour. No matter the shade, crème nail polish requires two coats for even coverage. Floating your brush on the second coat for lighter colours will help prevent streaks. Our popular Dual Purpose Top’N Base works very well with crème nail polish. Begin with a coat for the base and then finish the manicure with a final coat for a shiny finish. Don’t forget to wrap the free edge, too!
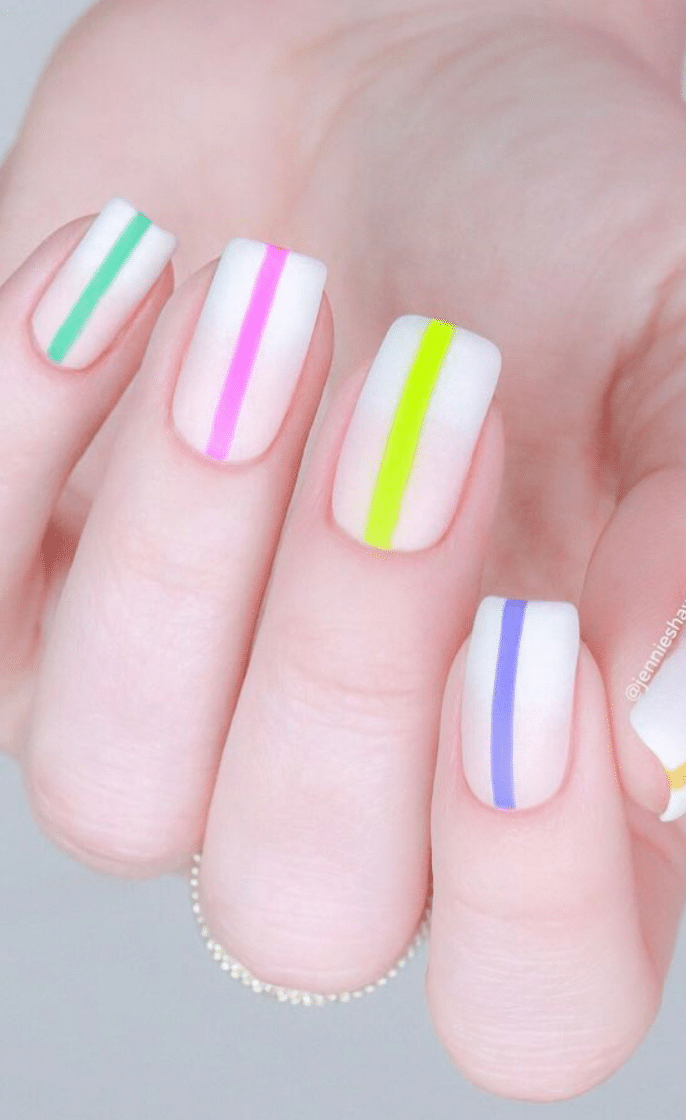
Neon Nail Polish: Bright and Bold
For more than just an 80s party, neon nail polish is a summertime staple. Bright, cheery, and sometimes blinding, these colours seem to glow in the dark. At the very least, under a black light. To bring the very brightest pigments to life, neon nail polish requires a matte finish. These formulas can be tricky to apply because they dry quickly, leaving streaks. Applying a thicker coat can seem appealing, but it will likely exacerbate the struggle. Work with less polish in two or three thin coats to keep your nails smooth and even.
We suggest Dual Purpose Top’ N Base as a base and top coat for a glossy finish. And if you crave extra vibrance, begin with a coat of Bright White nail polish. Layering it before Sunset nail polish or any other neon will really make it pop. If you prefer the natural matte finish but want to protect your nails from premature chipping, we recommend G’Day Matte top coat.
Pearl Nail Polish: Subtle Elegance
Shimmery and soft, pearl nail polish adds a hint of sparkle to your nails. These polishes can also be slightly translucent, so three thin coats may be necessary for full coverage. Recent trends have embraced sheer polishes, so try using a single coat of colour. Allowing the white tip of your free edge to peek through adds dimension and an air of modernity.
Pearl polishes look equally stunning with matte or shiny top coats. Looking Glass fast-drying top coat is a great choice, along with Fill’ Em Up base coat to smooth out any natural nail ridges.
Jelly Nail Polish: A Playful Twist
Along the same lines as pearl nail polish, jelly formulas are translucent. Even more so, actually, but their texture is on the thicker side. They’re similar to lip gloss in that effect. A trendy nail art method called a “jelly sandwich” uses layers to create dazzling effects.
The first step in a jelly sandwich is to add a coat of polish and allow it to dry. Then add the delicious middle of the sandwich. It can be glitter, nail art, or anything else you want to throw in there. Applying another coat of jelly polish on top makes the art and/or glitter appear like it’s floating or suspended. Just think about what you could hide in a chunk of amber using Henna nail polish!
Because the goal of jelly nails is a juicy sheen, we suggest our gel-like top coat, Gloss On Top. It takes longer to dry but delivers a dramatically shiny nail.
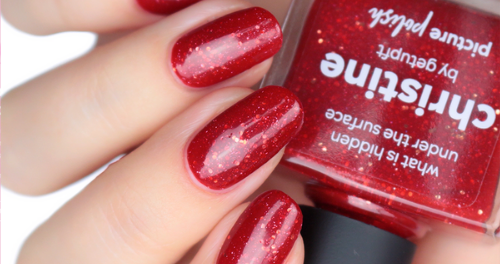
Glitter Nail Polish: Sparkle and Shine
Coming in hot to brighten up a lousy day, Glitter nail polish has now entered the chat. Packed with sparkle and shine, glitter polishes are always a fantastic choice. Some glitter polishes, called Toppers, have a clear base. Apply a thin coat with the bottle’s brush for a scattering of glitter that accents the base colour. If needed, add a second coat and use the corner of the brush to nudge the glitter around. For full coverage, we recommend using a sponge.
The other type of glitter polish includes a base colour in the formula, like Infinity nail polish. These polishes often are opaque after two coats, allowing for a two-punch combination of splendour.
Glitter polish is beloved in the NPA community, but the removal process can be challenging. If you’d like to rock your nails for longer, try Revolution water base coat. Because glitter polish can dry textured, they require a glossy finish to bring out the sparkle. Gloss On Top gel-like top coat seals rough edges while enhancing the glittery goodness.
Flakie Nail Polish: Edgy Elegance
Flakie nail polish, have a natural edge to their appearance. While glitter can come in various shapes like circles or hexagons, flakie polishes contain flakes. The unevenness of each flakie produces a slightly chaotic undertone, as each application is unique—no two nails are precisely the same. But there’s no denying they make a statement, especially when they catch the light.
Depending on the colour, metallic polishes apply well in two coats. When it comes to creating a smooth cuticle line, pay attention to the flakies. Some may need assistance with the corner of the brush to rest where you want them. As metallic polishes can dry textured, we highly recommend a glossy top coat like Fast Dry top coat. The good news is that flakie polishes look incredible with a glossy or matte finish, so it’s choice!
Holographic Nail Polish: A Spectrum of Wonders
Picture Polish is known for creating dynamic nail polish with unique colours, particularly holographic elements. We’d argue we helped spread this trend worldwide! Holographic polishes take sparkly nails to the next level by transforming them in direct sunlight. What appears to be a classic pearl or glitter polish suddenly releases rainbows. Whether linear, meaning a rainbow stretches across the nail or scattered, with pops of rainbow, they are truly spectacular. Fan favourites for this very reason, and why we offer an entire spectrum of holographic nail polishes.
Along with two coats for application, holographic polishes require a smooth base. Any imperfections or bumps will be visible if the holo is lineal like Deep nail polish. For this reason, we highly recommend the Ridge-Filling base coat. This base coat will fill in any ridges or unevenness on your natural nails. Looking Glass top coat dries quickly with a glossy finish and accents the holographic twinkle.
Multi-chrome Nail Polish: Colour Shift Magic
Multi-chrome nail polishes contain a type of pigment sorcery that shifts in colour depending on the light. For instance, bestselling Beetle nail polish combines rich gold, blazing pink, and vibrant green. Almost hypnotic in their ability to morph from one colour to another, multi-chrome polishes replace the need for loose powder. An easy application with incredible results? Sign us up!
Unfortunately, the overall sheen of multi-chrome polishes will enhance any unevenness on your nail bed. We recommend using Cuticle Exfoliate beforehand and starting with a clean natural nail. Add a coat of Fill’ Em Up base for a smooth application, and finish with either glossy or matte. If you’re craving an edgier look, G’Day Matte top coat is definitely the way to go.
Curable Lacquer: Damage Free Nails
The unique formula of Picture Curable lands somewhere between traditional polish and gel polish. Picture Curable requires far fewer products than gel polish, and the ground-breaking formula lasts up to two weeks.
Clean your nail plate by pushing back cuticles and then add a coat of colour like Frenchie Curable Lacquer. No base coat is required! Picture Curable self-levels, so give it a second to balance. Then cure in the PC LED lamp, aka The Spaceship, for a complete automatic cycle of 120 seconds. Add a second coat, cure for 120 seconds, and repeat the process with Picture Curable Glossy top coat. Put your alcohol away because there’s no sticky inhibition layer to wipe. Just stunning and shiny nails! Soak nails in 100% acetone for 2-3 minutes when removing. The polish flakes off like a dream, and then you’re ready for your next fresh set.
Wrapping Up: Your Nail Application Questions Answers
We trust that this article has illuminated the art of applying various nail polish formulas. As the nail industry continues to evolve, so do we. Do you have lingering questions or challenges with any of these formulas? What are your go-to tips and tricks? We’d love to hear from you! Share your thoughts and tag us on Instagram @picturepolish to showcase your stunning creations. Together, let’s continue this colourful journey and inspire one another. Your voice matters—join the conversation today!