- How To
Getting Started With Nail Stamping: Tips and Tricks
March 20, 2021
Nail stamping is a great alternative to hand-painted nail art because it gives NPAs the ability to use their creativity and imagination to rock highly detailed nail art in a fraction of the time. Nail stamping can feel intimidating at first, so here are 5 nail stamping tips to get you stamping right!
1. Choose Your Tools
The three must-have tools for nail stamping are a plate, scraper, and stamper. The stamper can have a squishy silicone or harder plastic top.
It’s also important to consider which nail polish to use. Highly pigmented nail polish can work, but some become semi-transparent so it’s best to test them beforehand. To guarantee a great result, use a stamping polish that remains solid after scraping. They are designed to specifically work for stamping and are available in a wide variety of colours including metallics.
2. Start Fresh
Build-up on any tool can turn your stamping dreams into nightmares. Distorted images, flaking polish, and leftover bits? No thank you! Cleaning the tools after every use will maintain the integrity of each design, and there are a few ways to clean each one.
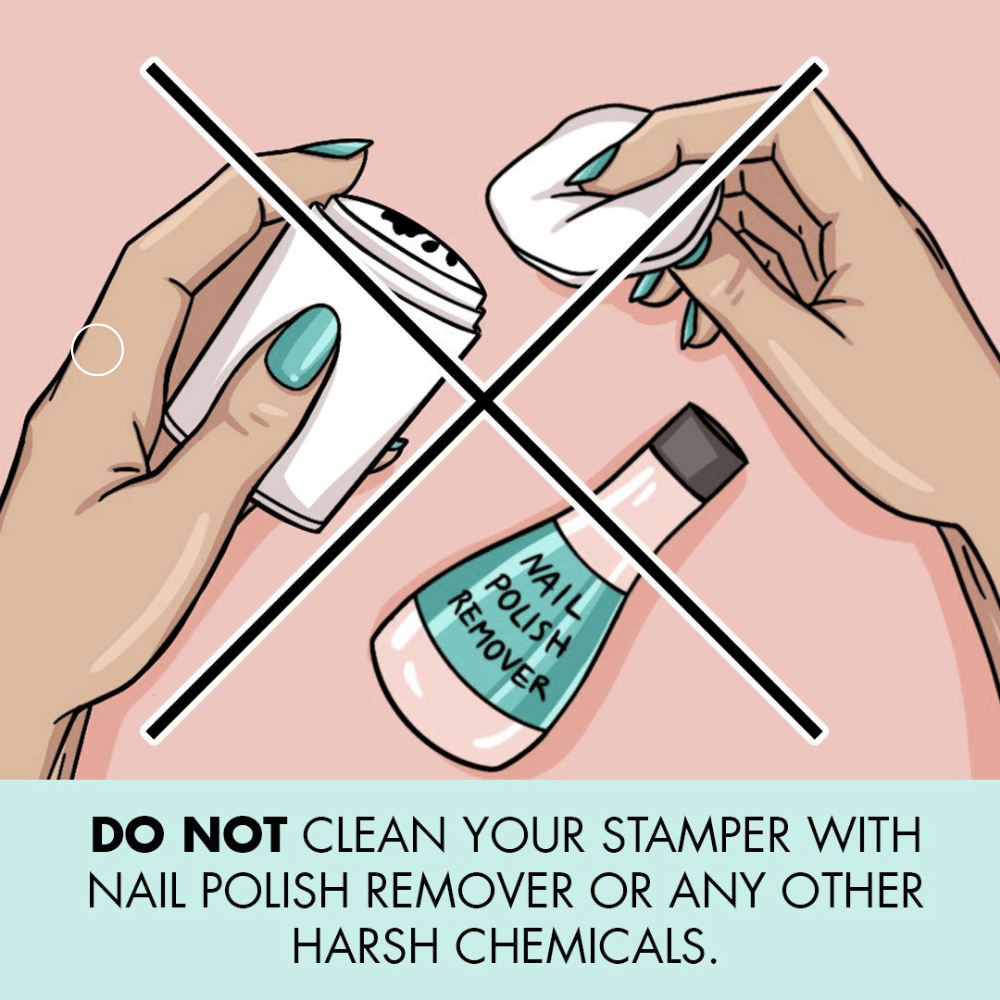
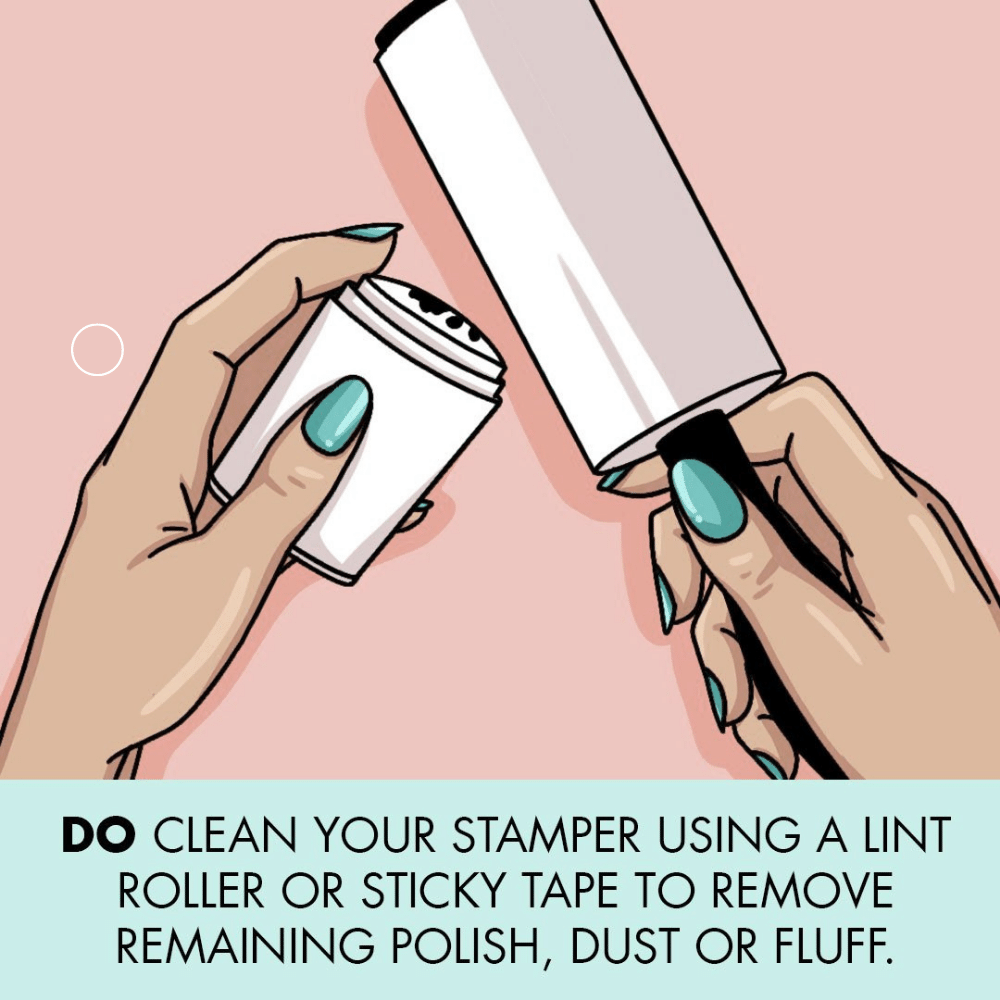
Stampers can be cleaned with a piece tape or a sticky roller. Because the polish dries quickly, using something sticky will latch onto the remaining design and remove it from the stamper so you’re set to use it again right away.
For the scraper, wipe off the excess polish after each use. If the polish has dried, add some acetone and continue wiping until clean.
Stamping Plates require acetone to dissolve any leftover polish. A Q-tip, paper towel, or makeup pad works well to get into the nooks and crannies.
Pro Tip: When it comes to cleaning stamping tools with acetone, make sure to use 100% acetone. Some acetone blends include scents or oils that will leave a residue on plates, scrapers, and stampers. Using pure acetone ensures your plates, scrapers, and stampers remain clean and ready to go!
3. Method in the Madness
There are two sorts of stampers: firm and squishy. Each one requires a specific technique to get the perfect transfer.
If your stamper is firm, use a rolling movement to pick up the image from the plate. Once the image is on the stamper, check to make sure the image transferred well. Remove any unwanted pieces with a toothpick or a nail art brush. Don’t wait too long, though, because the thin layer of polish will dry quickly. Once you know the image is crisp, use the same rolling technique to apply to your nail.
A squishy stamper can use the rolling technique but also offers a unique application method. Because the squishy top is flexible, you can place the stamper directly over the scraped image on the plate and press down . The squishy stamper will flatten with pressure and pick up the design. The same technique is used to apply the stamp to your nails.
4. Practice and Patience
Rome wasn’t built in a day and nail polish stamping won’t be perfect on the first try. Both firm and squishy stampers take practice to master, so be patient with yourself! Including a single feature nail can be a good way to start, and then add additional nails as you grow more comfortable. If you get frustrated, take a break and try again later. If you keep at it, you’ll be a nail stamping pro in no time!
5. Get Creative!
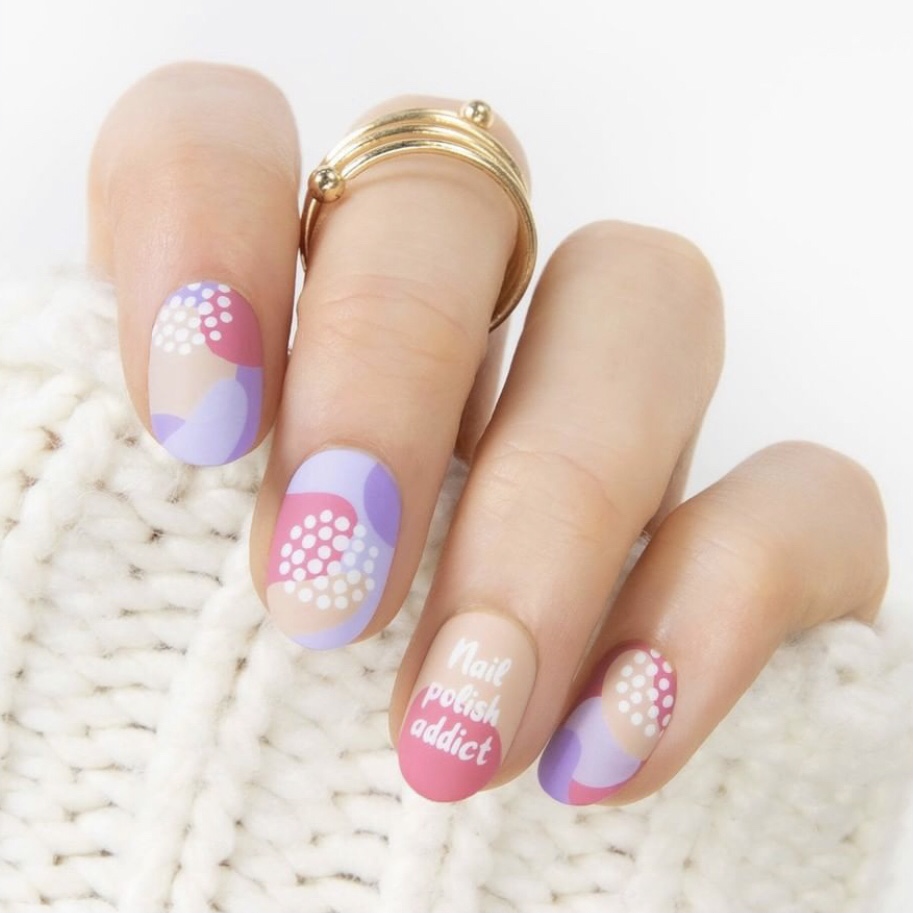
Rules are made to be broken when it comes to creativity. There are countless ways to combine colours and stamping designs so once you feel comfortable with the application technique, it can be extra fun to experiment. Just make sure your basecoat colour is dry before getting started and then have fun! Or don’t use a basecoat colour and rock a negative space stamped mani.
And if you really want to elevate your stamped mani, try a reverse stamp! When the design has been lifted onto the stamper, use a nail art brush to fill in the design with different colours. Whatever you paint onto the stamper will cover the base coat colour and create an entirely new effect. The options with nail stamping are limitless so don’t be afraid to try something new!
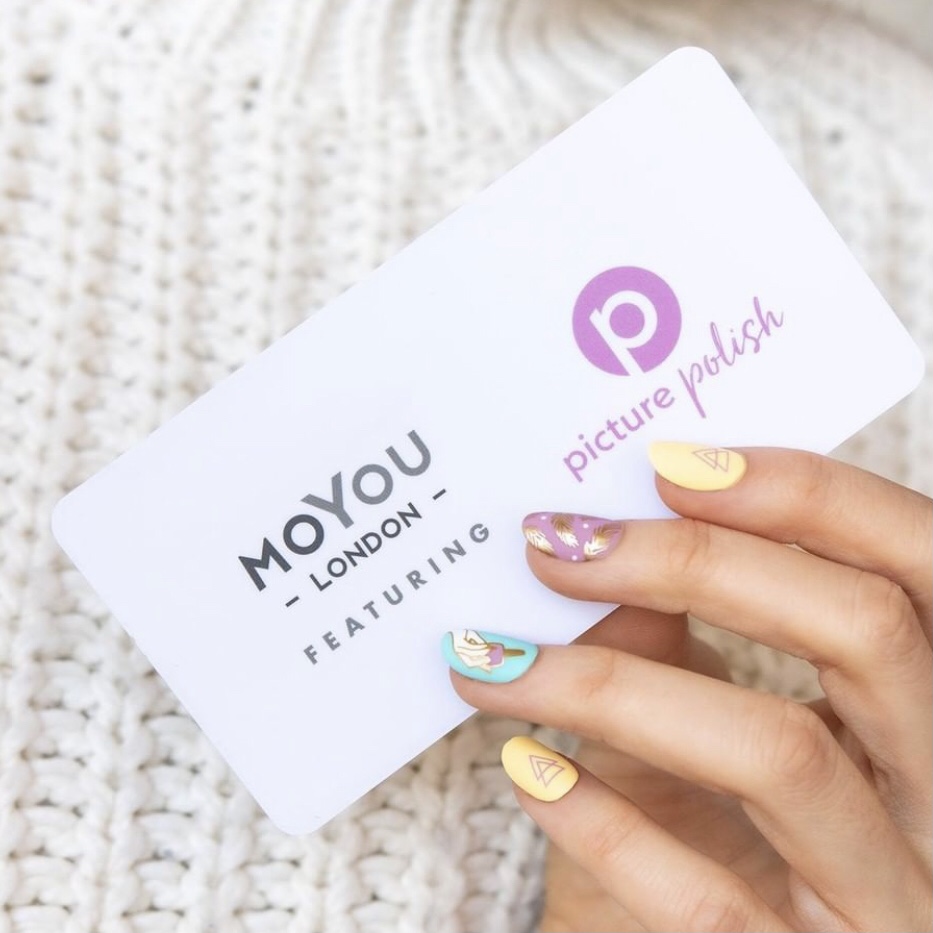
What better way to try out these nail stamping tips with your MoYou London Collaboration Stamping Plate!
Extra tip: How To Clean Your Nail Stamper
Now you know what you need to do check out nail stampers and stamping plates here!