- How To
How to Clean Nail Art Brushes: What You Need to Know
November 5, 2021
After investing in a set of high-quality nail art brushes, it’s essential to take care of them. Brushes that are cleaned properly after use and stored safely will last much longer. One of the downsides of poor brush care is bristle damage. That can include the sharp tip of the brush widening out or bristles that break and warp. Total NPA nightmare, right?
But never fear because we’re here to help by outlining two popular cleaning techniques for traditional nail polish. And if brush care seems intimidating, don’t worry! Like nail art itself, learning how to clean nail art is a process, and practice makes perfect.
So let’s get started!
Type of Bristles
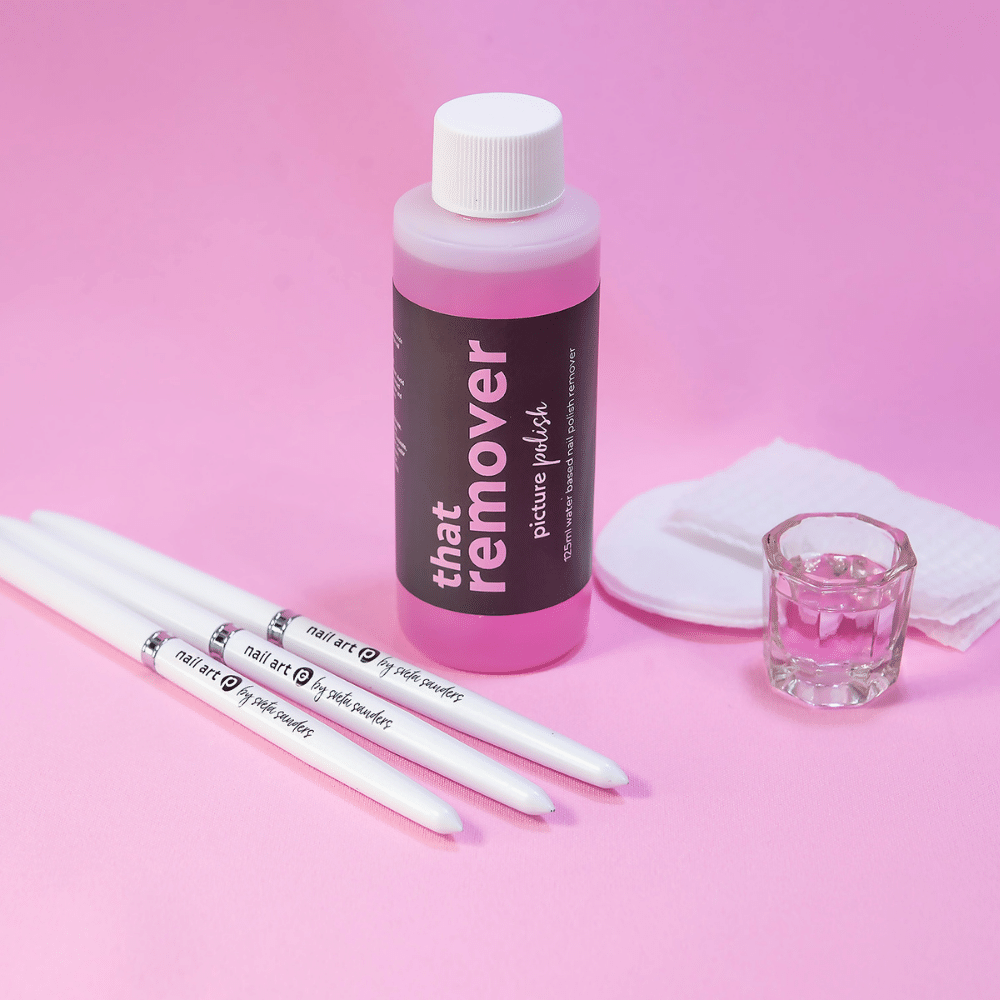
The type of bristles your nail art brushes have will dictate what kind of cleaning products you’ll need. For synthetic and vegan bristles found in the Picture Polish brushes, acetone free remover is the best choice. That Remover gently cleans excess polish from the bristles without damaging them. That Remover also includes conditioner, which helps smooth the strands.
Cleaning with That Remover or another acetone-free nail polish remover can take slightly longer to remove polish. But the pay-out is your brushes stay moisturized. So protect your investment by using acetone free remover like That Remover.
Cleaning the Handle
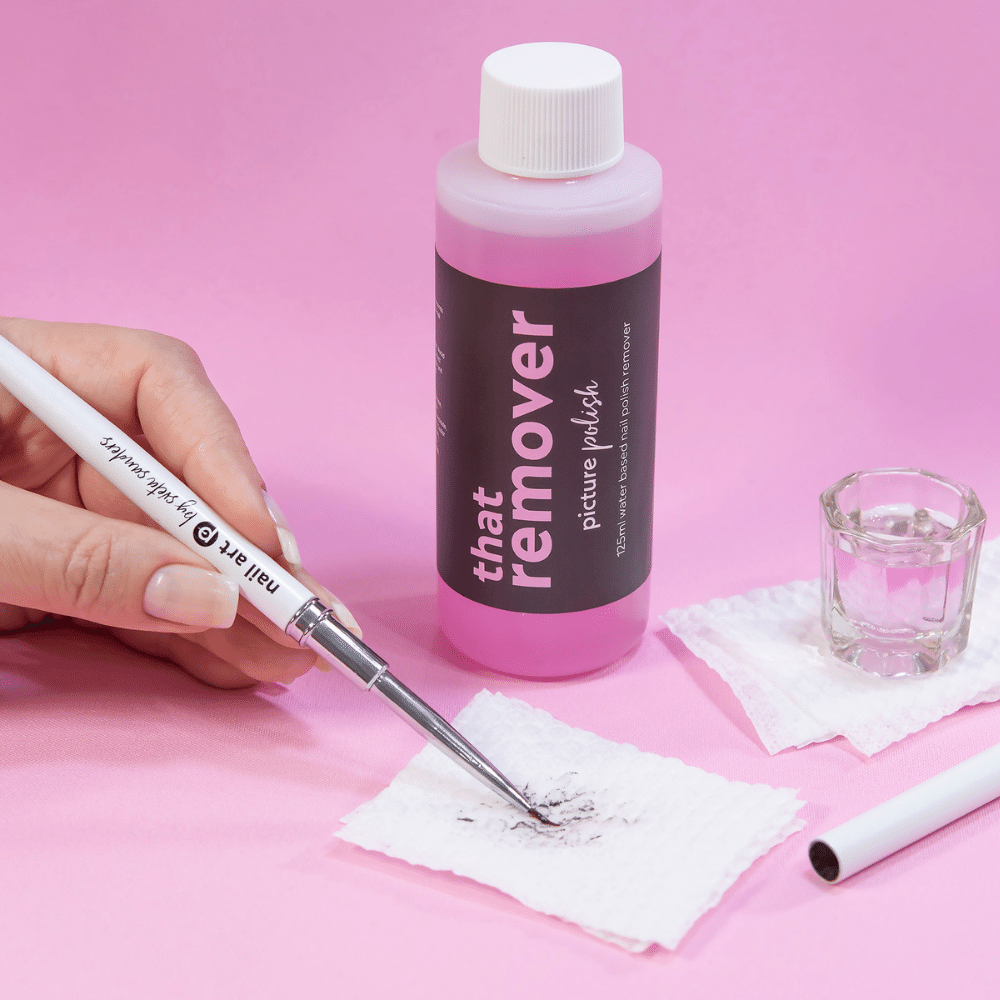
NPAs are more than aware of how messy nail art can get. Sometimes that means getting nail polish on the handle of your brush. Picture Polish brushes have a metal handle, so clean-up is easy. Add a small amount of That Remover to a makeup pad to remove any unintentional blobs. By starting your cleaning process with the handle, you won’t accidentally spread polish that’s still wet.
Wet vs. Dry Polish
While there are two popular ways to clean your nail art brushes, they have one thing in common: it’s much easier to clean wet polish over dry. In fact, letting polish completely dry on your brushes is a quick way to warp the bristles. Just don’t do it, friends! (Or try not to do it very often. Sometimes it’s hard to remember. We’re all human, after all. J)
Swishing
The first popular brush cleaning technique involves pouring a small amount of That Remover into a small glass dish. Some nail artists use glass votive candle holders or shot glasses. The goal is to have enough depth to swish the bristles without bending them against the glass. For example, The Liner Brush would need more depth than The Detail Brush.
When you’re ready to go, swish the bristles for 5-10 seconds and then blot the excess liquid on a lint-free pad. Repeat as necessary until the brush is clean. If you’re using acrylic paint for nail art, repeat this process using water instead of nail polish remover.
Pro tip: Don’t completely submerge your bristles! Dunking the brush up to the handle can affect the bonding of the bristles.
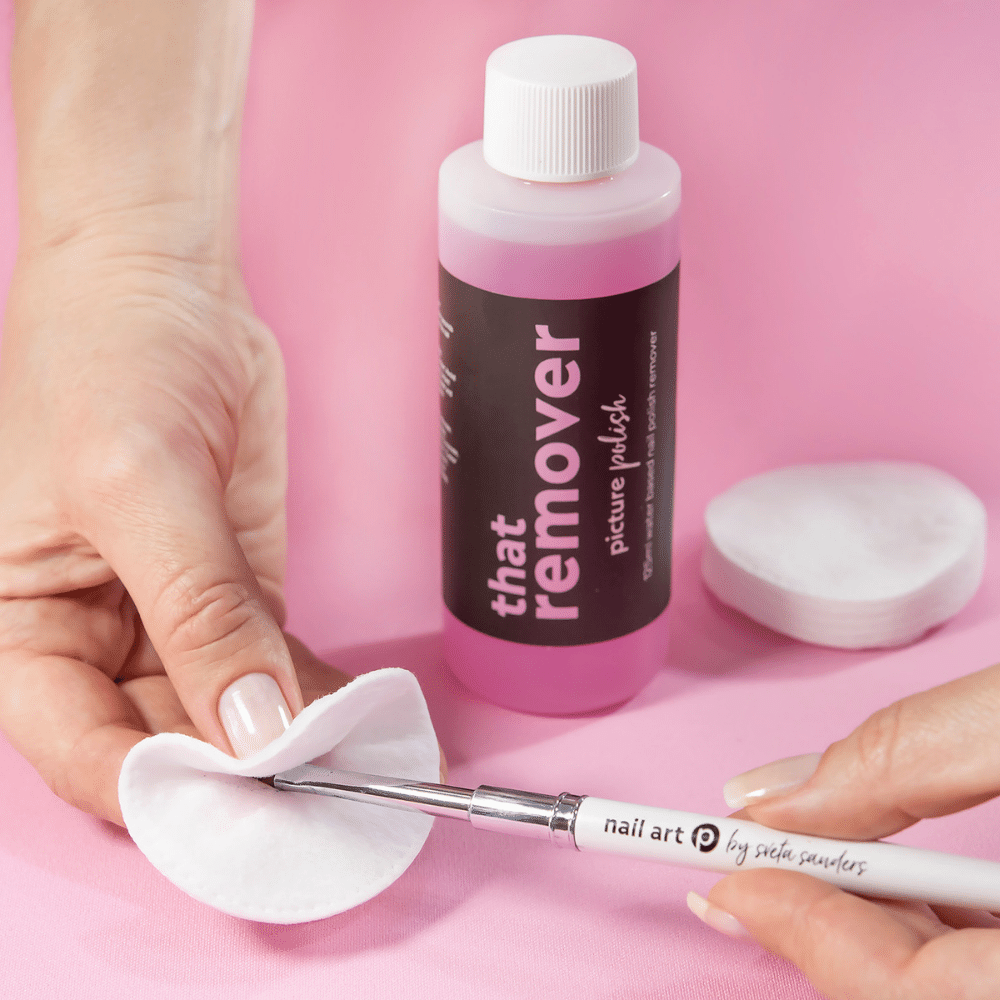
Makeup Pad
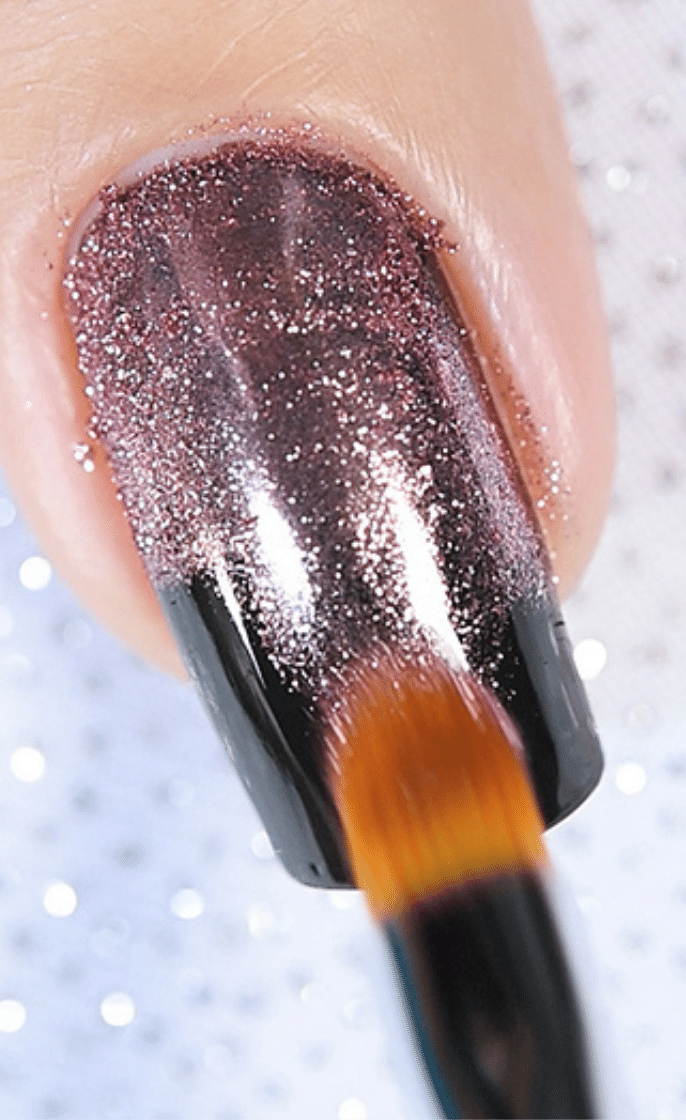
The second brush cleaning technique works well with glitter-packed polishes like Saphira. Add That Remover to a lint-free makeup pad and place the bristles on the wet part. Fold the pad over the bristles and gently rub, moving upwards towards the tip.
Repeat this process until the brush is clean, taking care not to press too hard. The very last thing you want to do is flatten the bristles! And if you’re using acrylic paint for nail art, repeat this process using water instead of nail polish remover.
Pro tip: Use this technique for cleaning your dotting tools, too!
Cuticle Oil
To help maintain the integrity of your nail art brush, add a bit of cuticle oil to the bristles before storage. Then use two fingers to shape the bristles into their original position.
Snap the Cap!
The number one way to protect your brushes is to use their included caps. Because brushes can sometimes roll off desks and tables, and it’s hard to stay organized with overflowing collections. So whenever your brushes aren’t in use, snap that cap! It’s a brush-saving move when brushes accidentally fall on the floor or get buried in a drawer.
We hope these tips help you care for your nail art brushes. If you try any of them, let us know! And remember to tag @picturepolish on Instagram so we can see your gorgeous nails!