- How To
- Polish
The 6 Best Tips for Creating a Long Lasting Manicure
During these busy times, it’s hard to fit self-care into the picture. Between child care, careers, or working from home, days can seem endless. But when you have a moment to paint your nails a glorious shade of teal, things really do feel better. Until the very next day, when you look down to see a chip on your thumb. Ultimate polish betrayal!
We hear you. It’s the worst. So here are six tips for a long lasting manicure. That will extend the life of your mani! Because nobody has time for touch-ups right now.
Tip 1: Proper prep
One could argue that prepping nails isn’t much fun. There’s no instant gratification of seeing a beautiful colour coat your nails, and things can get messy. But having properly prepared nails will dramatically extend the life of your manicure. It allows the product to adhere tightly to your nail plate while making your nails symmetrical. There’s quite a bit of information about prepping nails for acrylics and gels, but it’s just as crucial for traditional polish as well.
First, choose your shape and trim/file accordingly. Here’s an article that may help you decide, in addition to instructions on how to achieve the shape!
Once you’ve trimmed and filed your nails into their desired shape, you’re ready for the next component. If you stay on top of cuticle care, this will be a snap. If not, that’s okay! We’ve all been there. Click here for a refresh on cuticle care if it’s been a while. After you’ve prepped your nails, it’s time for the next tip, which may be a bit of a surprise.
Tip 2: Wipe the free edge
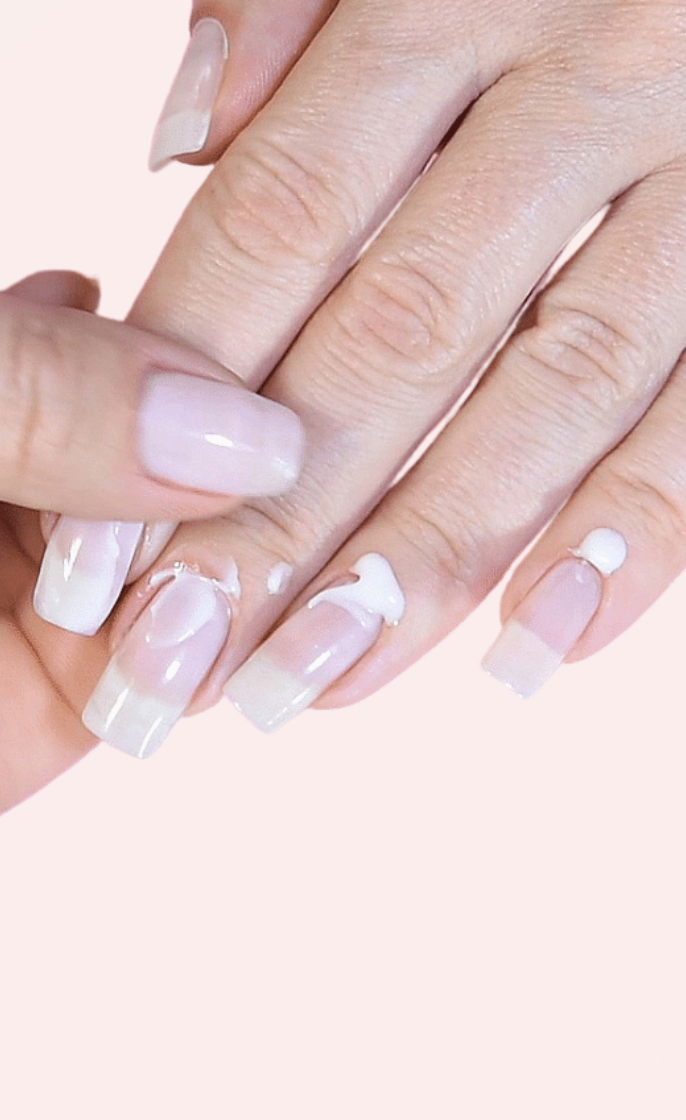
While there isn’t much to this step, it can make all the difference. When it comes to longer-lasting manicures, the free edge is a primary line of defence. Whether typing on a keyboard, working out, or cooking, day-to-day activities impact the tips of your nails. The more tip wear, the more likely water can penetrate underneath the polish, leaving you with chips.
Wiping the free edge with nail polish remover before applying polish, including underneath, clears away dust, dirt, and other debris. A clean and dry free edge allows the polish to adhere as strongly as possible to help minimize tip wear.
Tip 3: Base and Topcoat
Step three is another small step, but one with a big pay-out. Not only does base coat protect your nails from staining, but it also gives the colour an ideal application surface. Basecoat can also fill in natural ridges, leaving you with smooth nails. No matter which base coat you choose, add one coat before colour, including the free edge.
After applying the colour of your choice, the finishing touch is a top coat. Top coats are a clear polish that seals the colour and dries in either a glossy or matte finish. Some top coats help polish dry quicker, while others leave a gel-like effect. And don’t forget the free edge! As with base coats and colour, finish the top coat application with a swipe across the tip of your nail.
For help choosing the best base coat and top coat for you, click here!
Tip 4: Wear gloves while cleaning
In addition to the perk of having a barrier between your hands and dirty dishes, gloves help save manis. When submerging your hands in water, gloves protect the free edge of your nails from water. We’ve already been over the importance of keeping that layer strong, and wearing any sort of waterproof gloves helps tremendously. The same goes for household chores involving abrasive cleaning products. If you’re working with your hands, gloves are your mani’s BFF.
Tip 5: Nails aren’t tools!
While it can be tempting to use your nails for daily tasks, it’s the fastest way to destroy your mani. No matter how strong your nails are, they can still break if used for strenuous actions. When in doubt on whether or not to perform a task with your nails, feel free to consult this list:
No, your nails aren’t a letter opener.
Or a tape slicer.
They aren’t a sticker picker-offer.
Certainly not an aid for removing keys from a keychain.
But they’re great for opening cans, right? (False. This was a test, and we’re proud that you passed!)
So when you wonder if you could use your nails “just this one time,” remember that nails are precious. They deserve to be treated as such. The rewards are not only longer-lasting manis but also stronger and longer nails!
Tip 6: Picture Curable
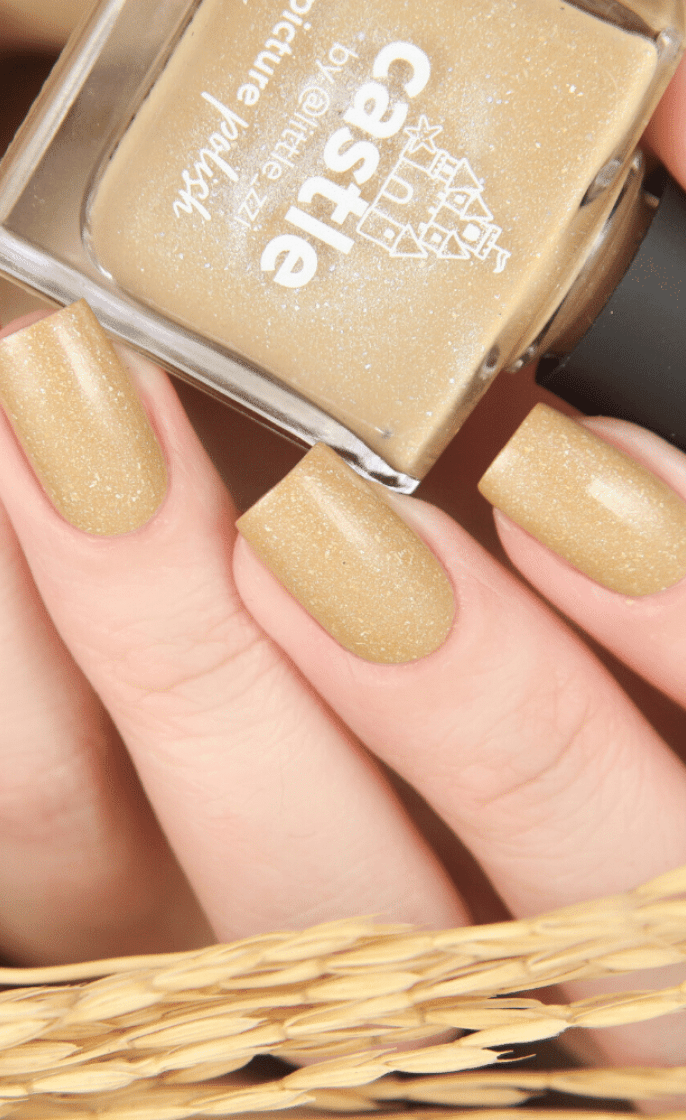
If you’re really serious about longer wear, we can’t wait to rave about Picture Curable. Landing somewhere between a gel and a traditional polish, it’s the best of both worlds. An application like a traditional polish, gel-like wear, and easy removal? Yes, please! Available in a wide variety of colours, check out this unique system. The hype is real, NPAs!
We hope you found these tips helpful and you’re on your way to longer-lasting manis! Remember to tag @picturepolish in all of your social media posts. We love seeing how you rock Picture Polish colours!


